Quinoa Chili – Kids Cook Monday

It seems as though Fall temperatures were out in full force this weekend. I even saw Florida Facebook friends remark about needing their jackets…which means it must have dipped down below 70! Between endless football games on television and cooler weather, we were desperate for some chili around here.

DSC_0706

I almost always make my chili meatless. It’s just how I like it. Sometimes I put it on something like spaghetti. Other times we use it to make nachos. But today I just wanted a big bowl of chili. We did however mix things up a bit by bumping up the flavor and texture by adding some quinoa. This made the chili so thick and substantial. I was completely surprised by how much I loved it! Plus, quinoa is like, SO good for you. Score!

DSC_0687

I rarely am down for healthy versions of recipes, but this one is an exception.

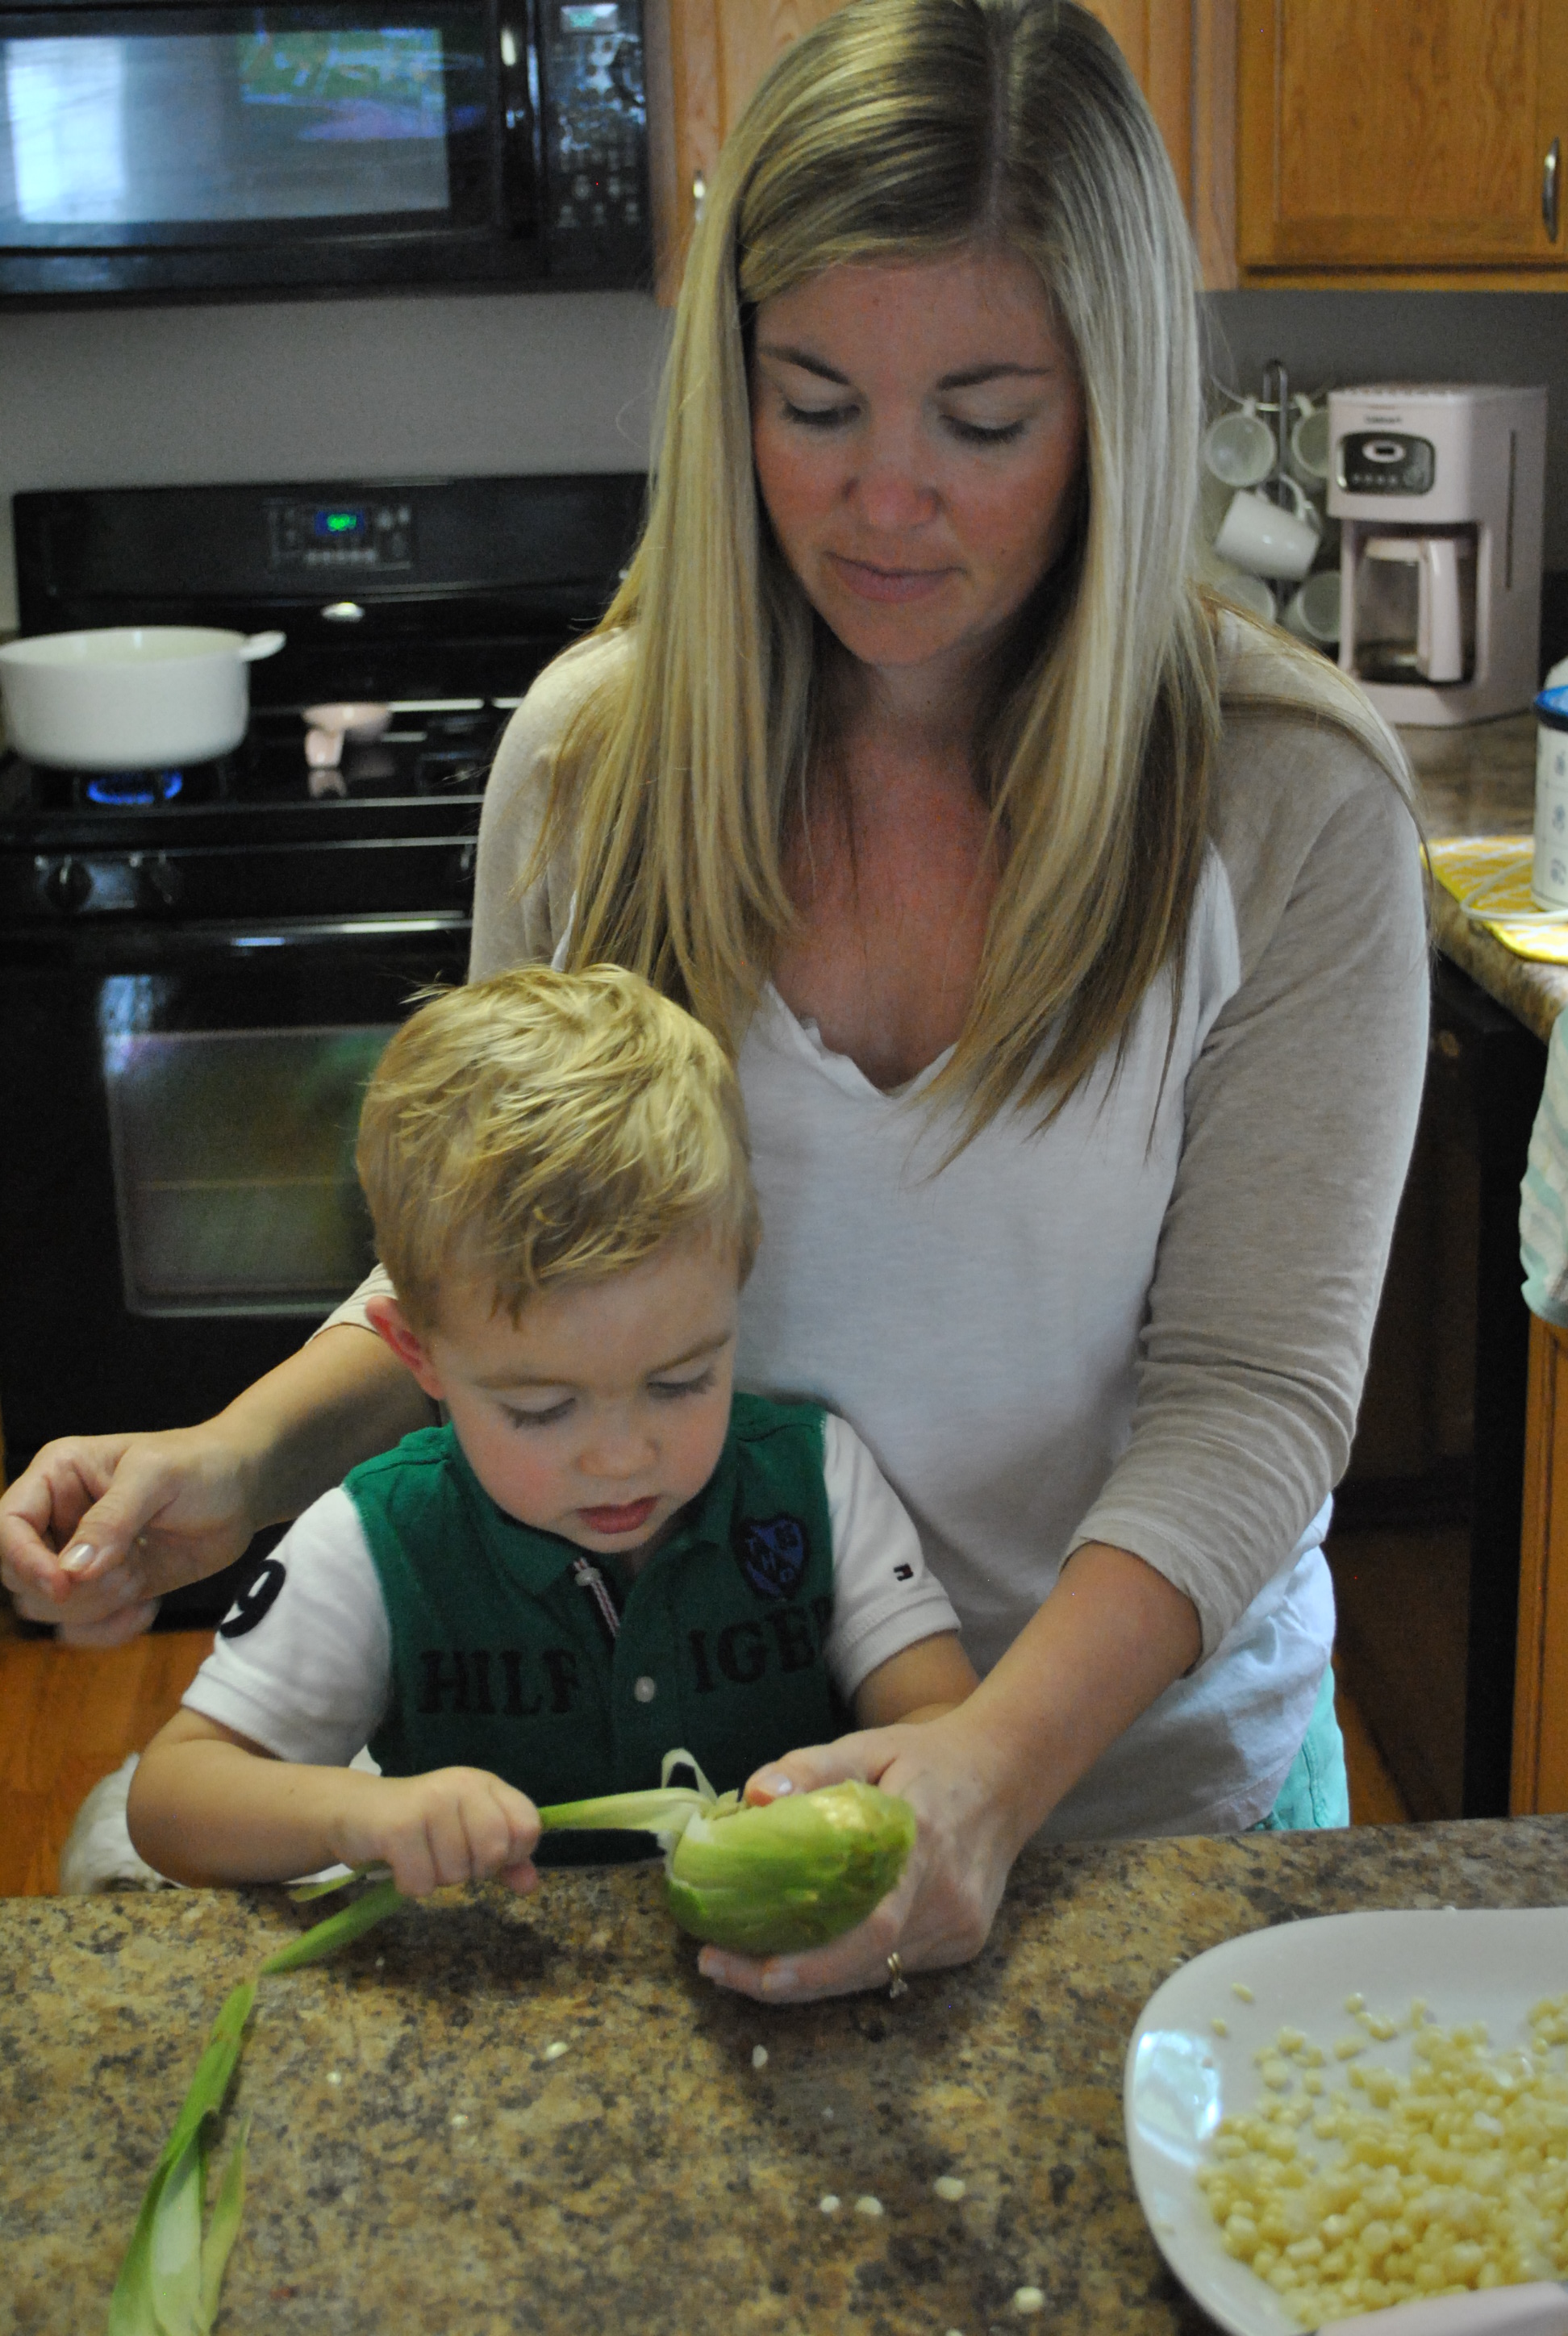
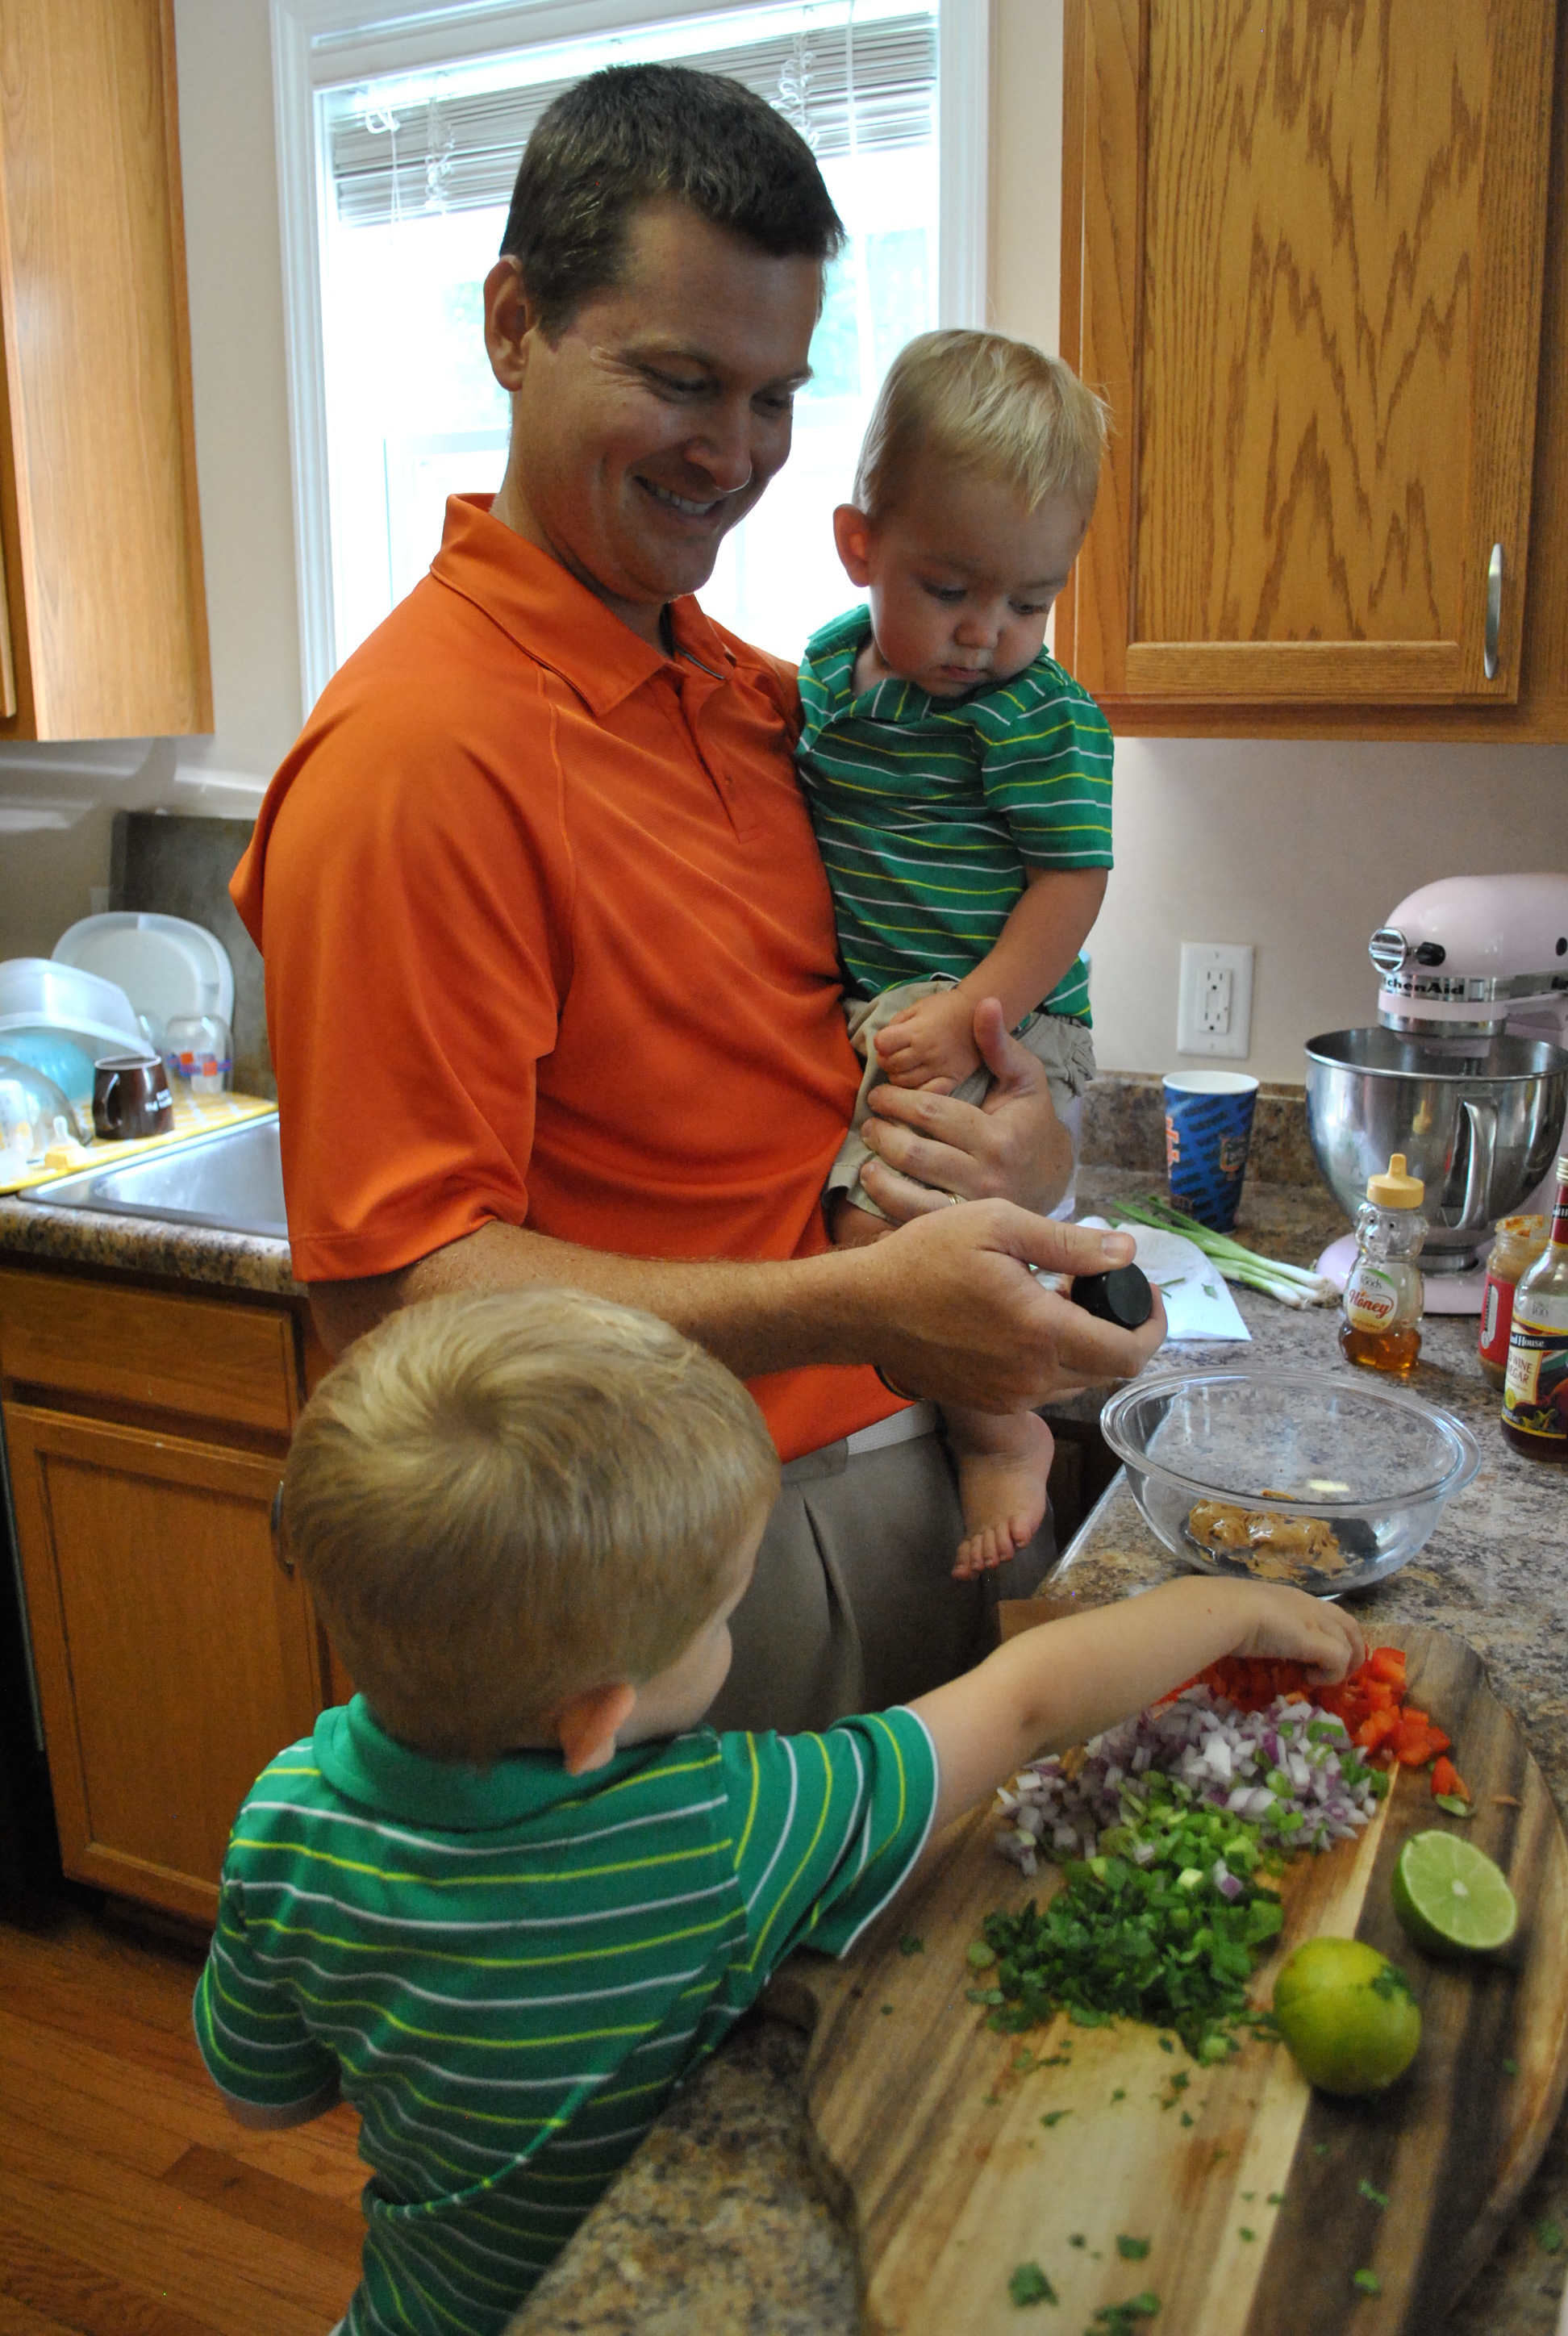
Here’s how me and my little sous chef made this chili happen!

DSC_0665

Quinoa Chili

Ingredients
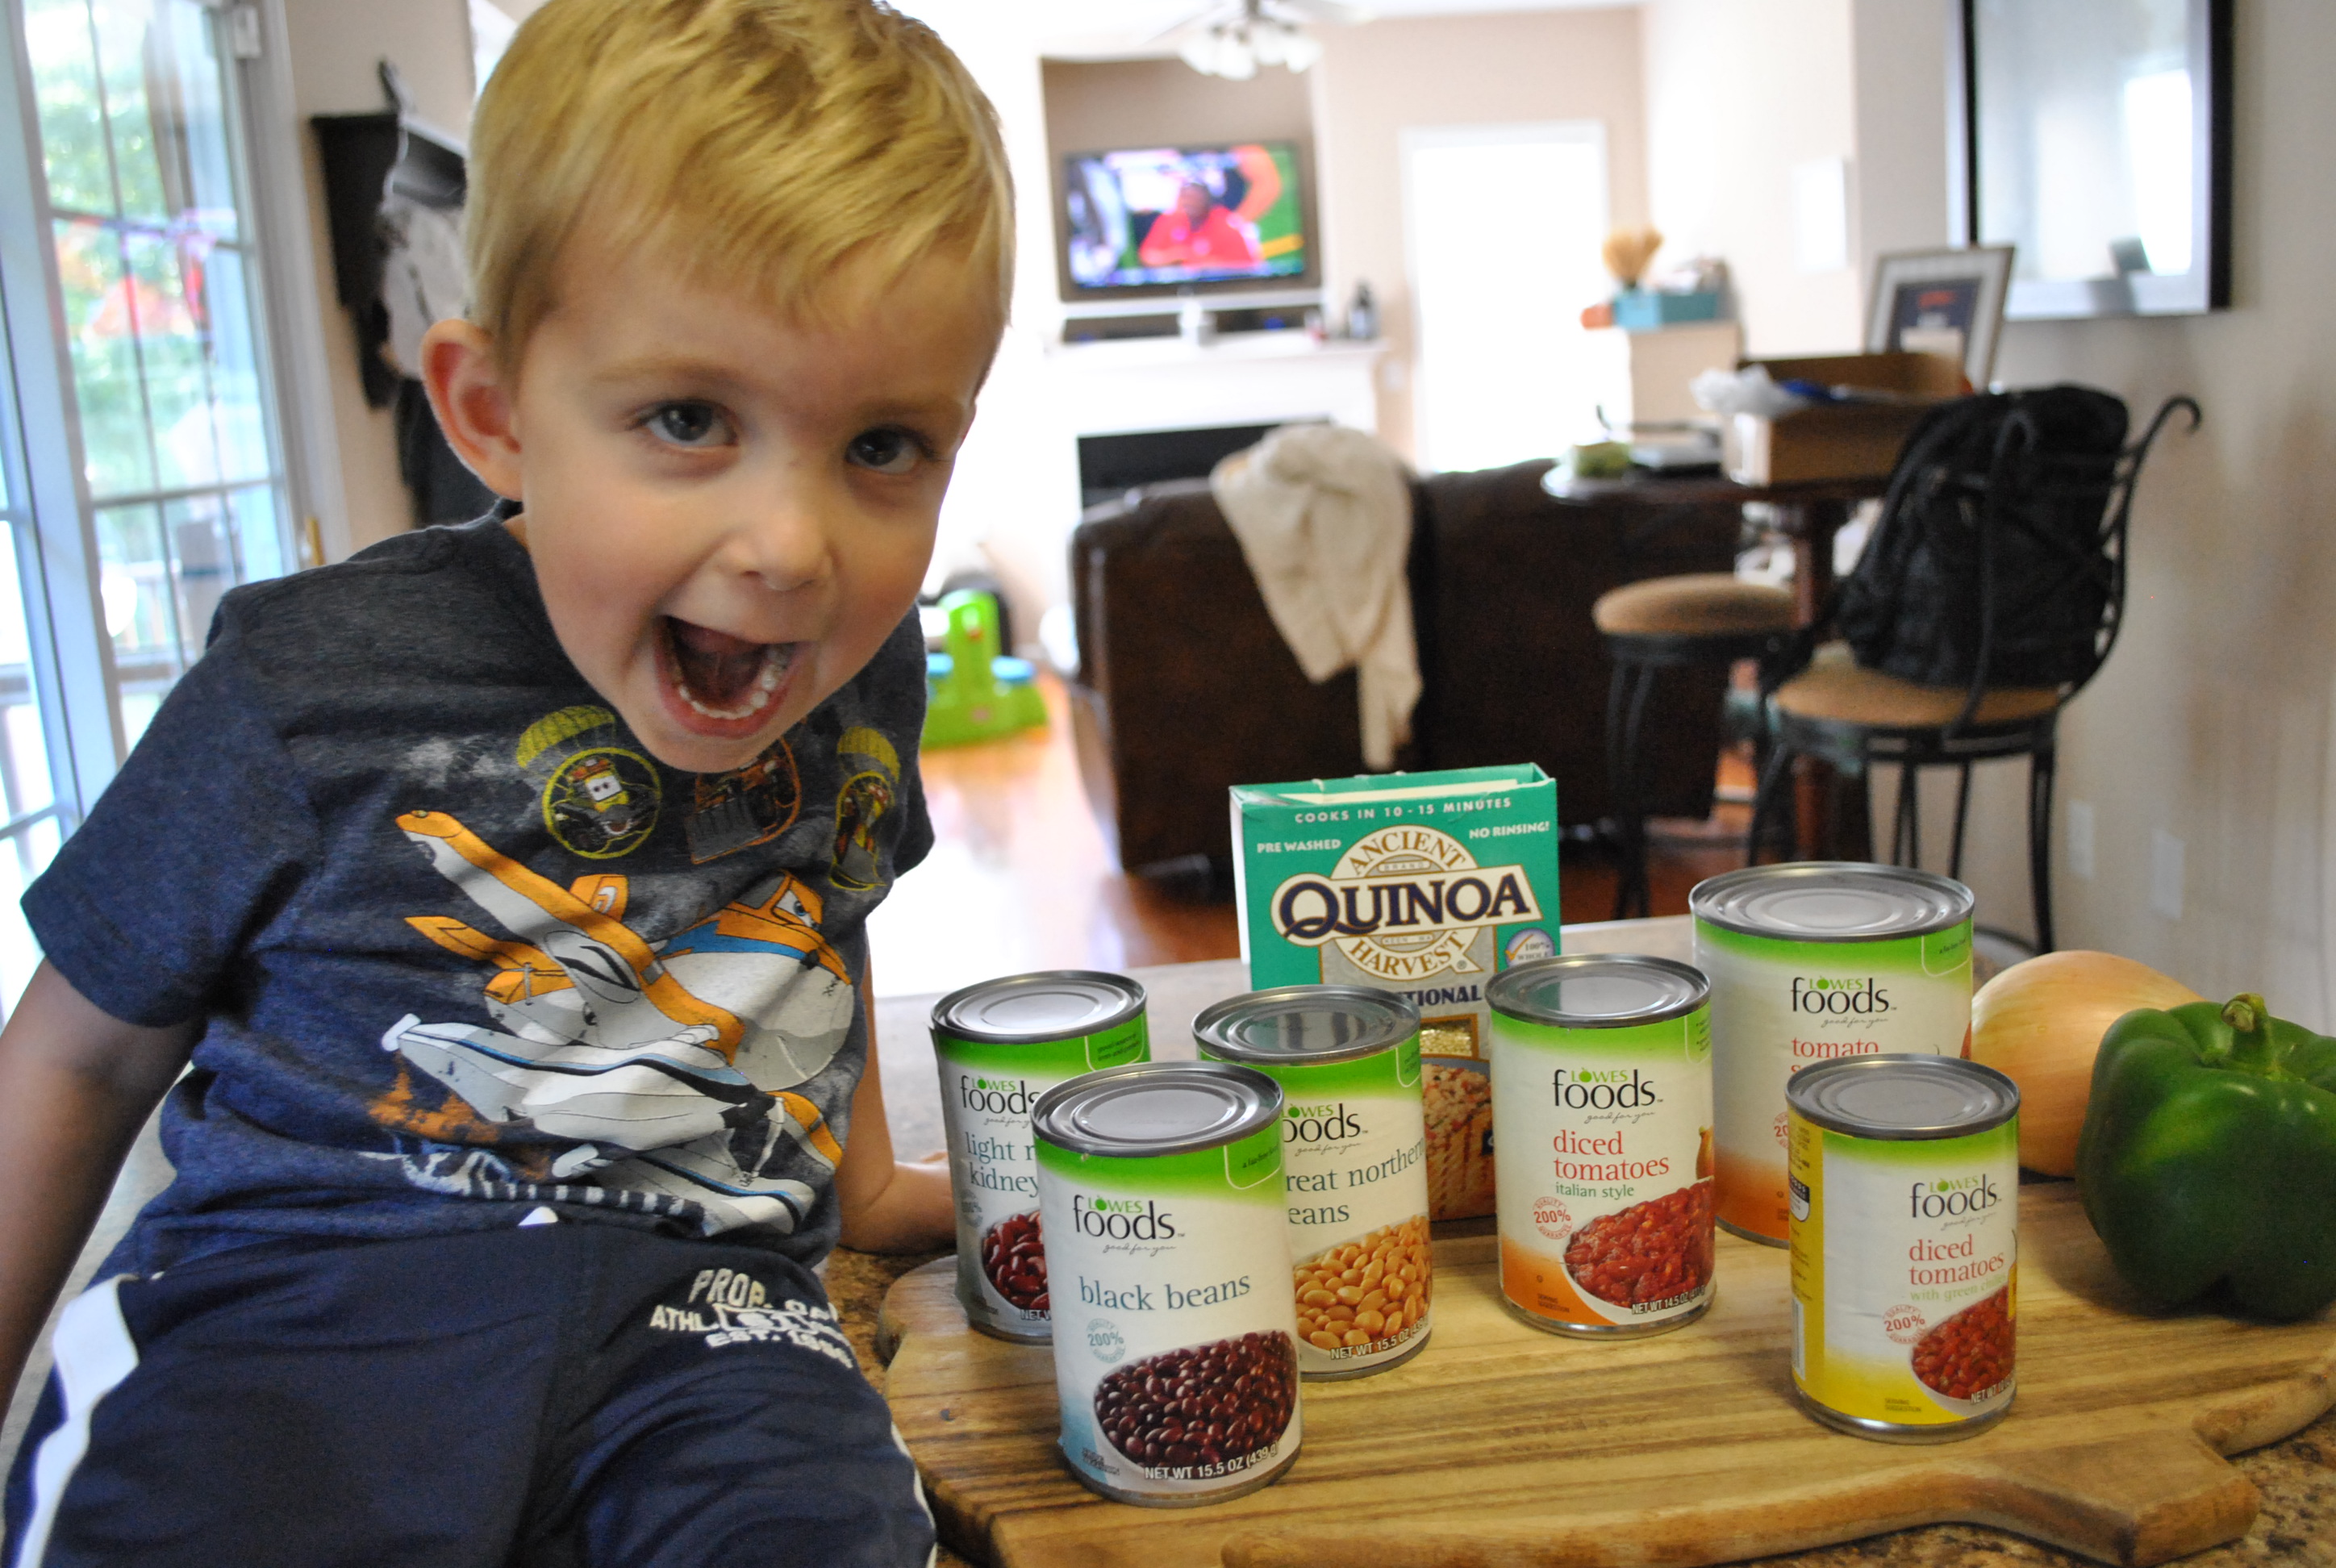
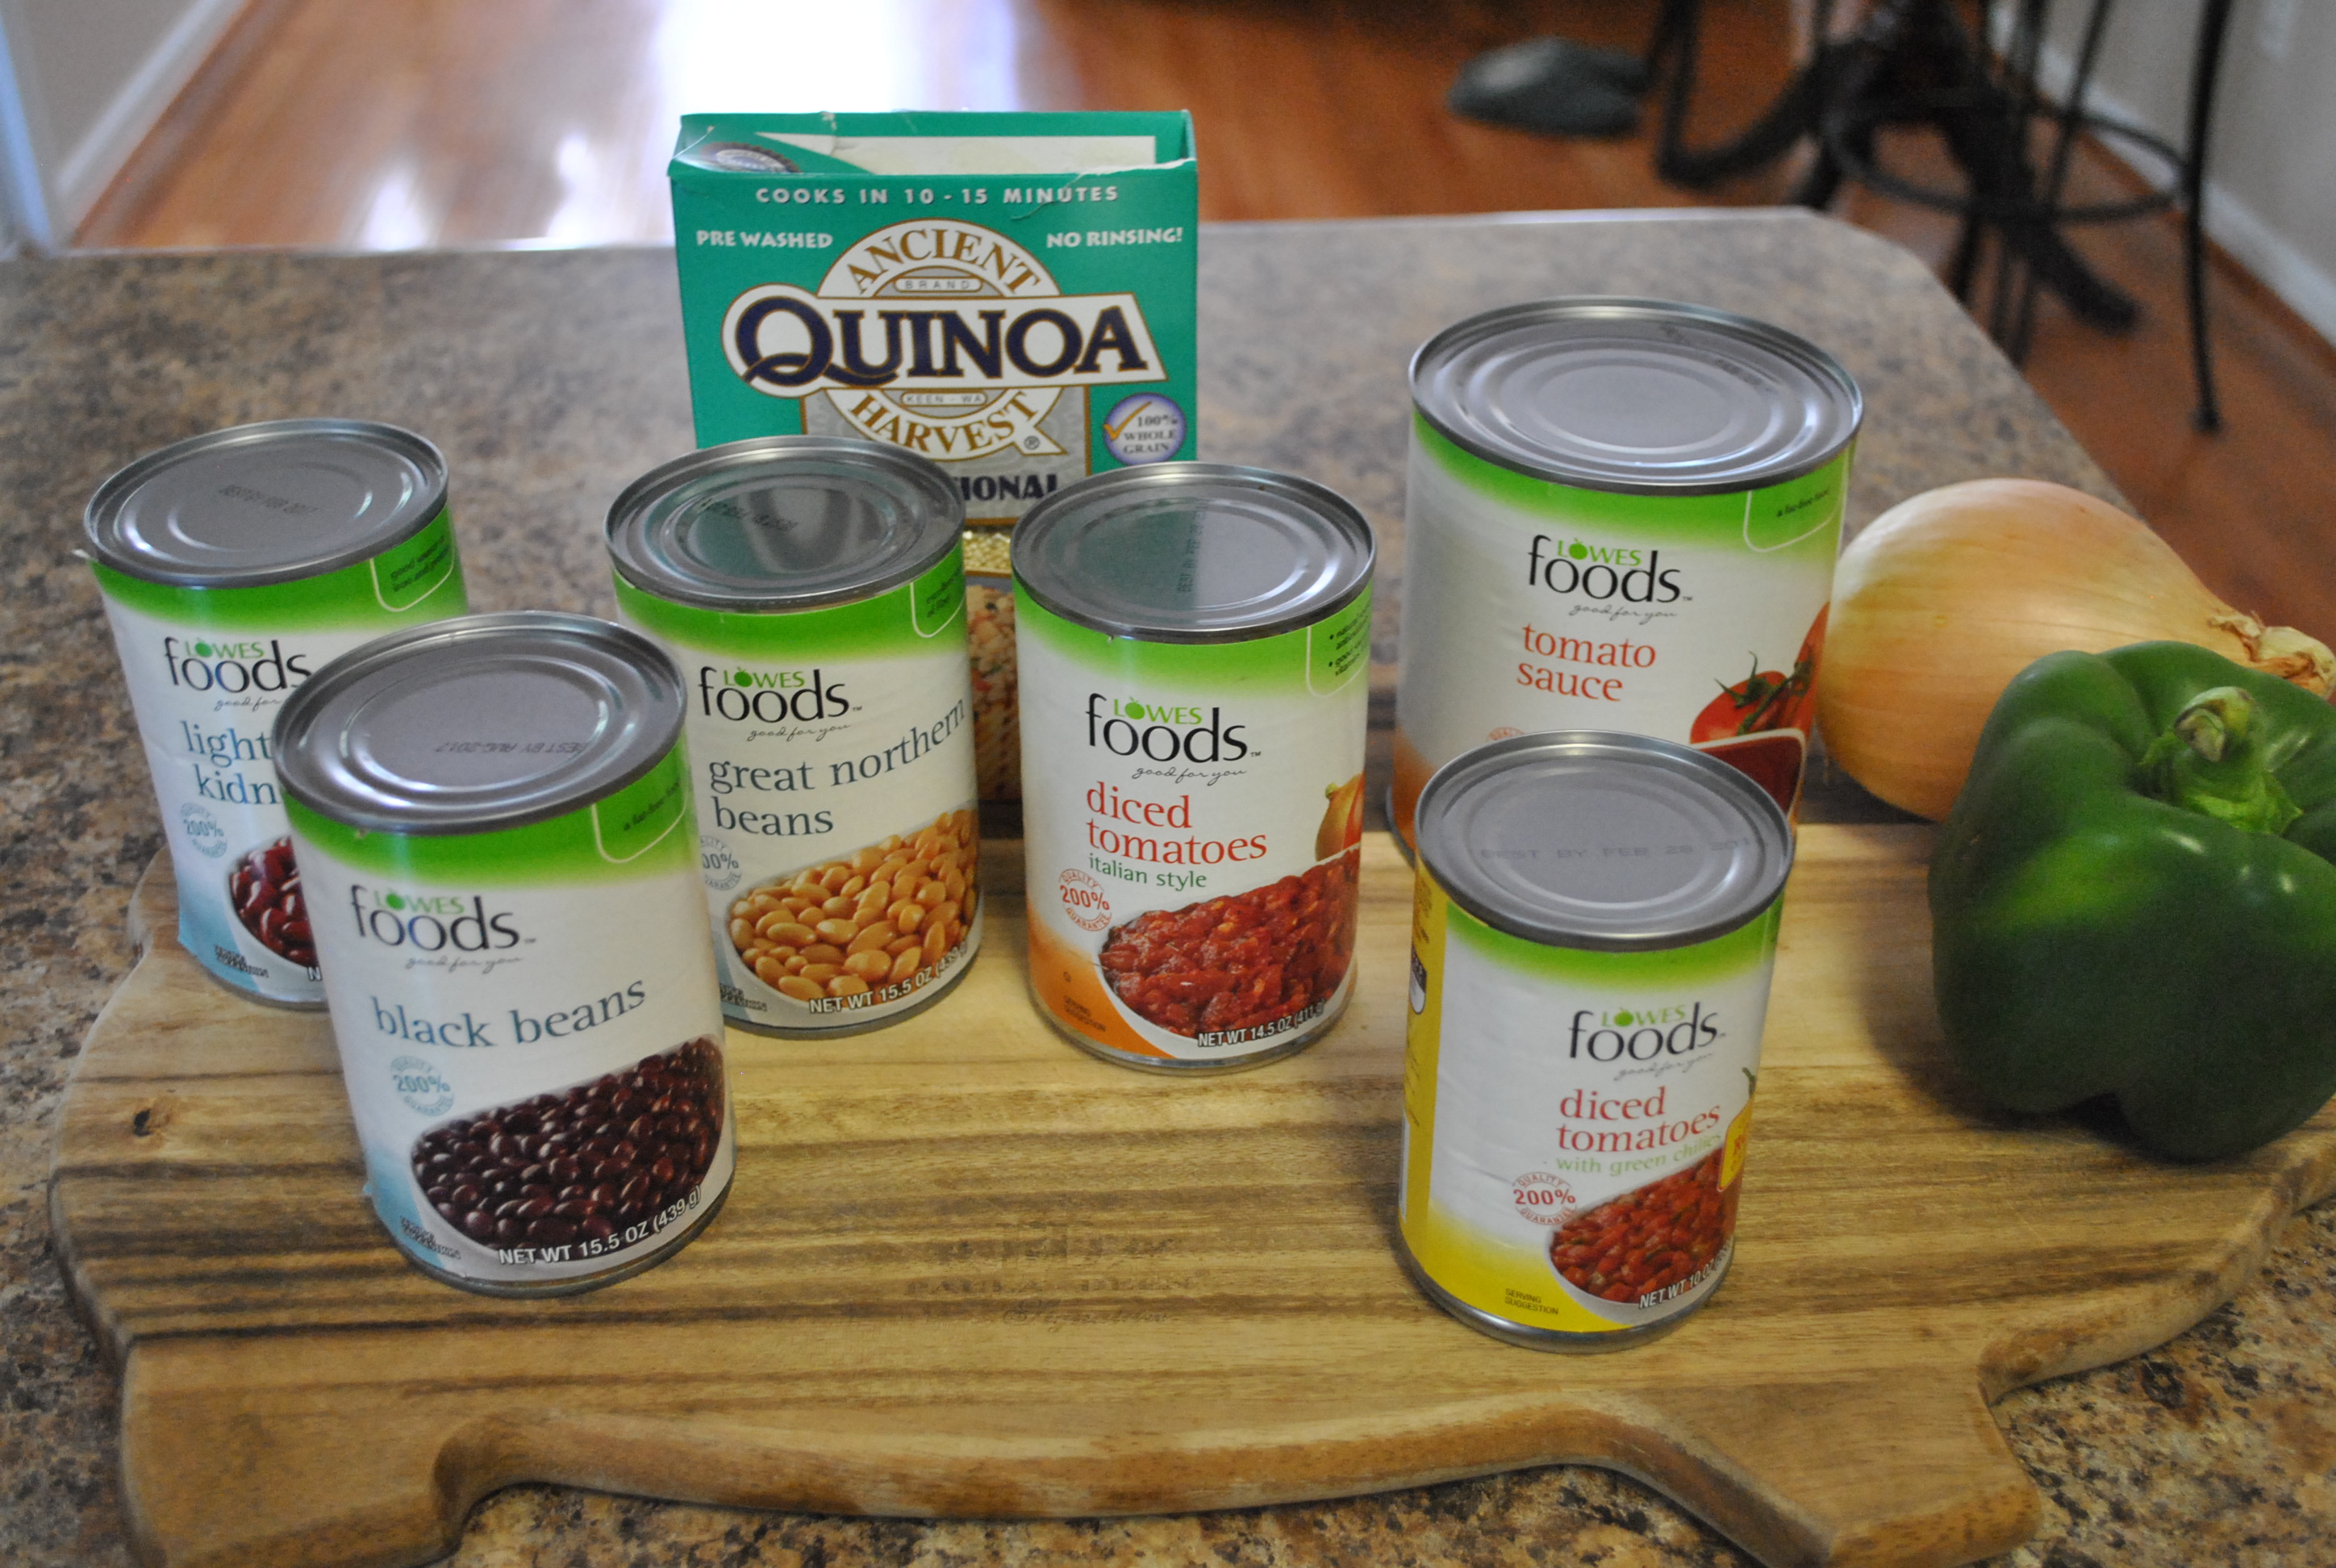
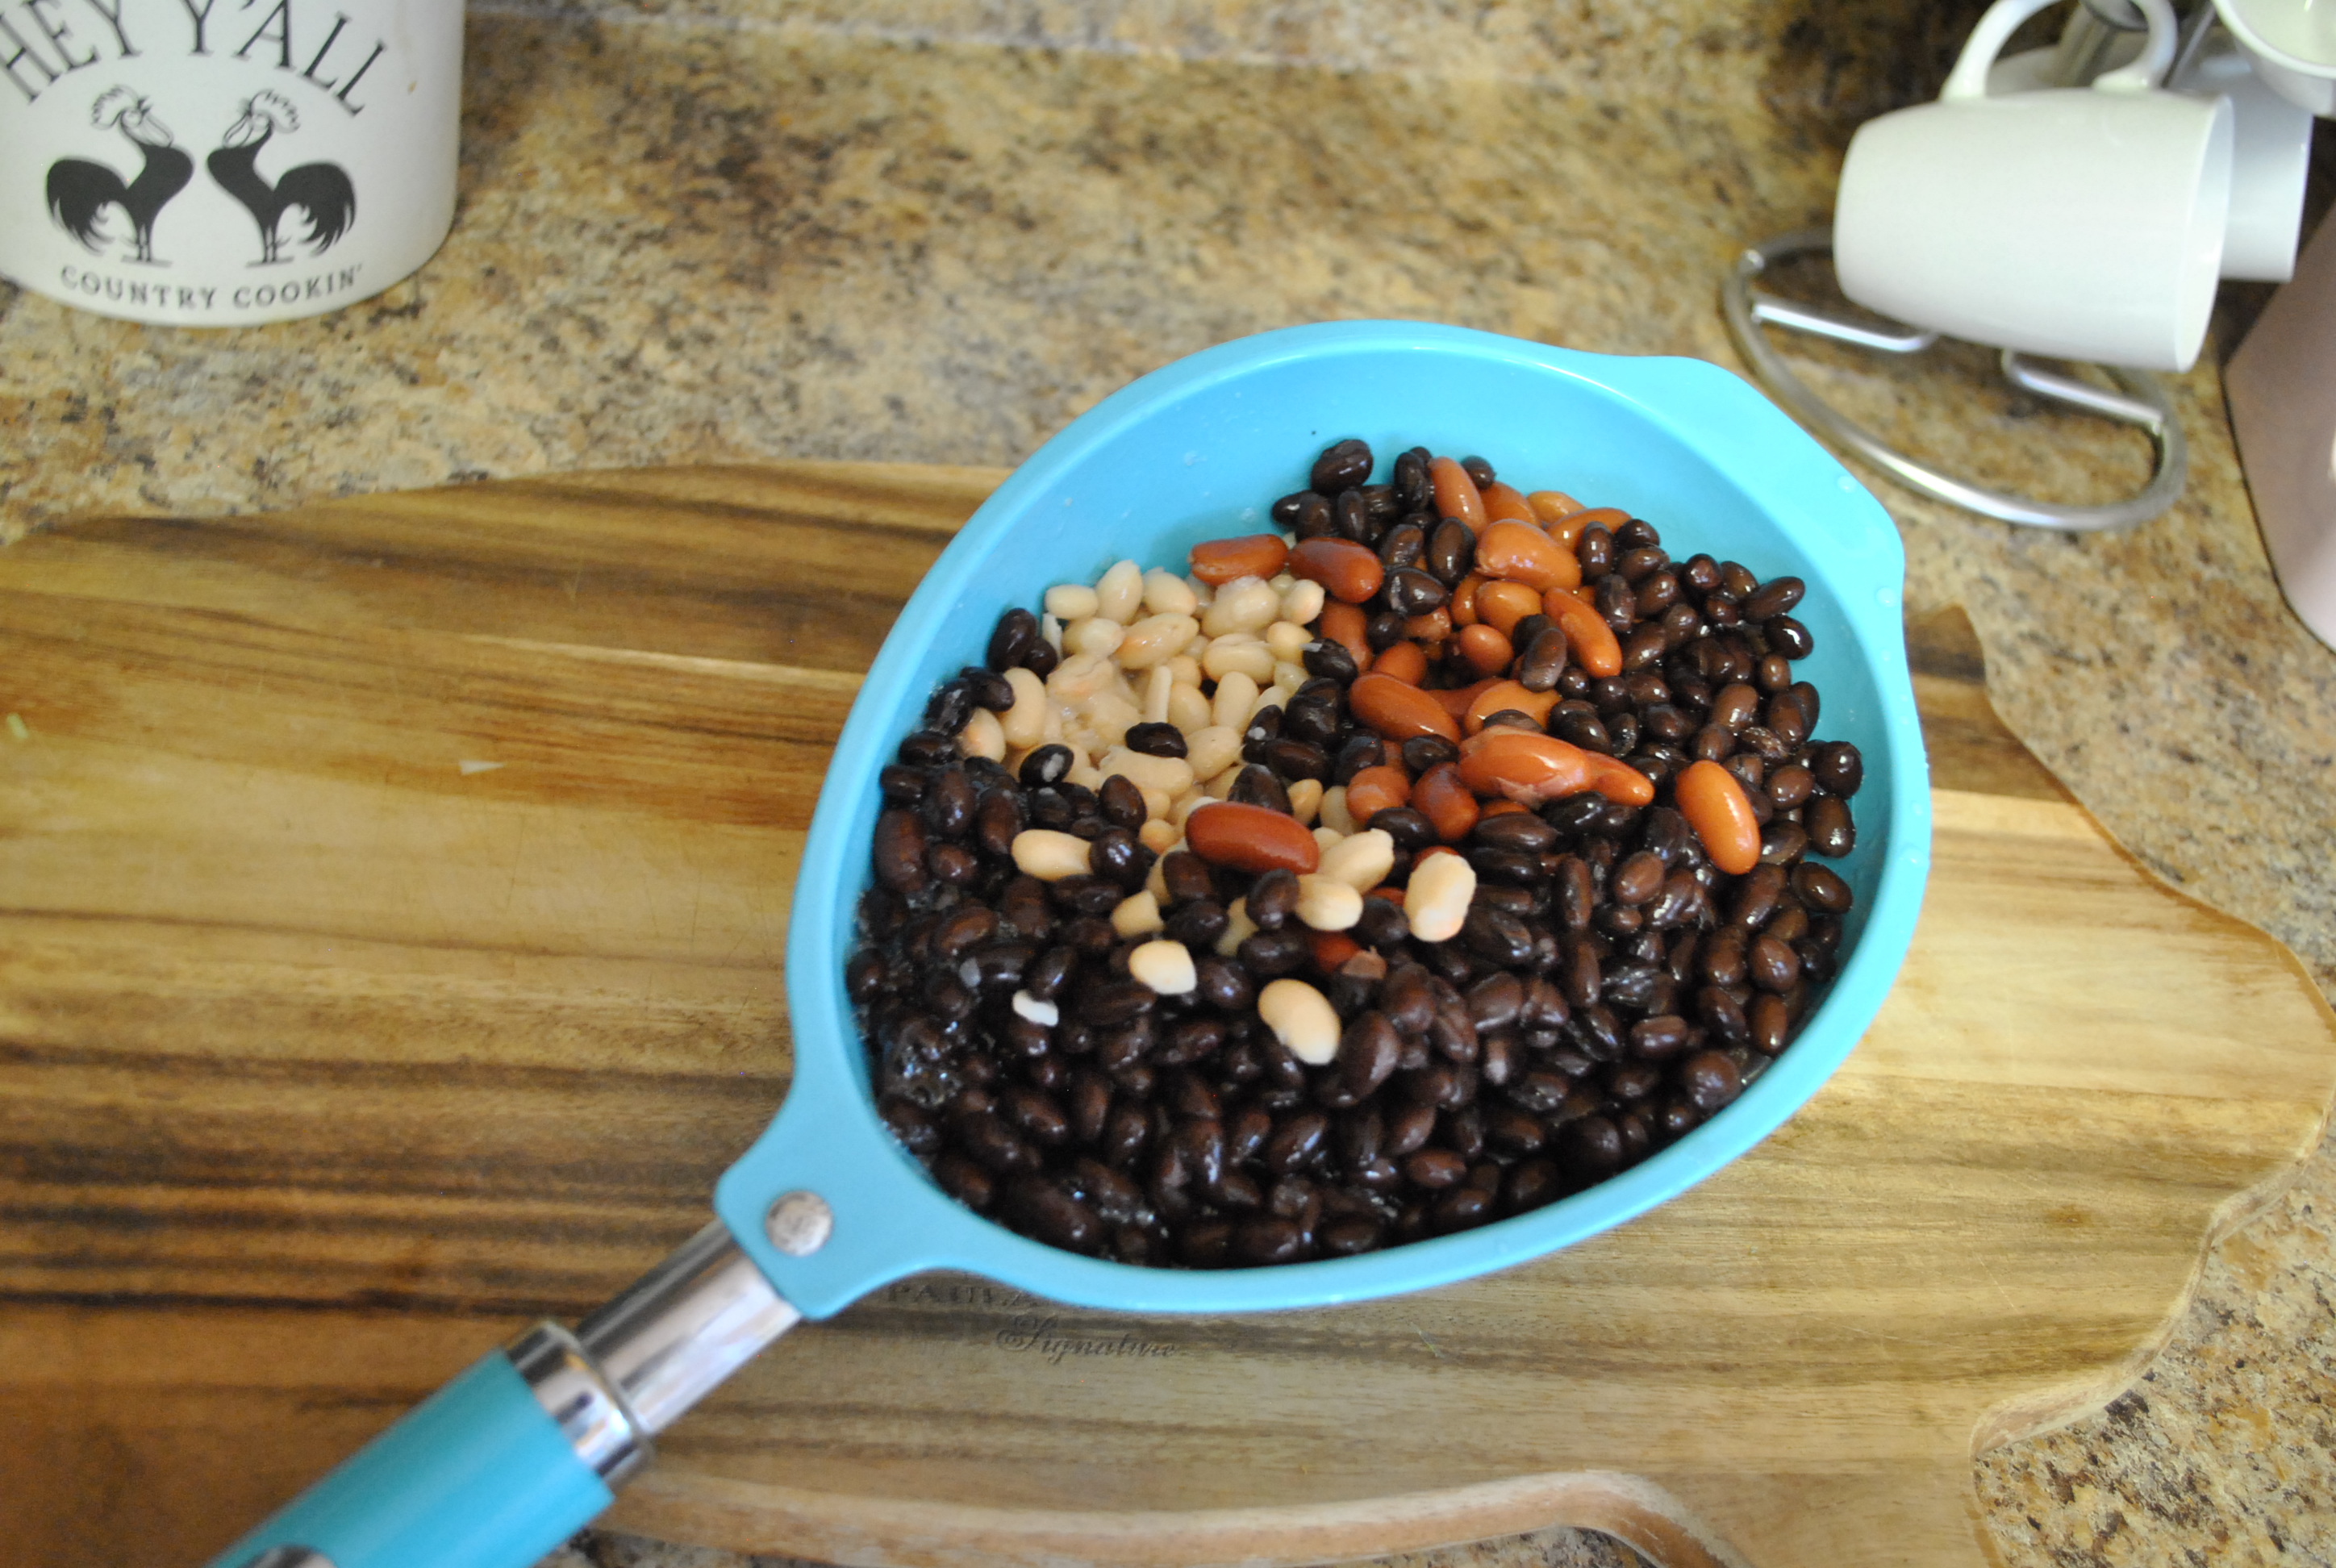
3 cans of beans- I used black, red & white (drain and rinse)
1 Large can of tomato sauce
2 cans diced tomatoes- I used one Italian and one Rotel version (don’t drain!!)
1/2 an onion
1/2 a green pepper
1/2 Cup Quinoa
1/2 tsp. cumin
1/2 tsp. chili powder
1/2 tsp. salt
1/2 tsp. pepper
1/2 tsp. sugar

DSC_0668

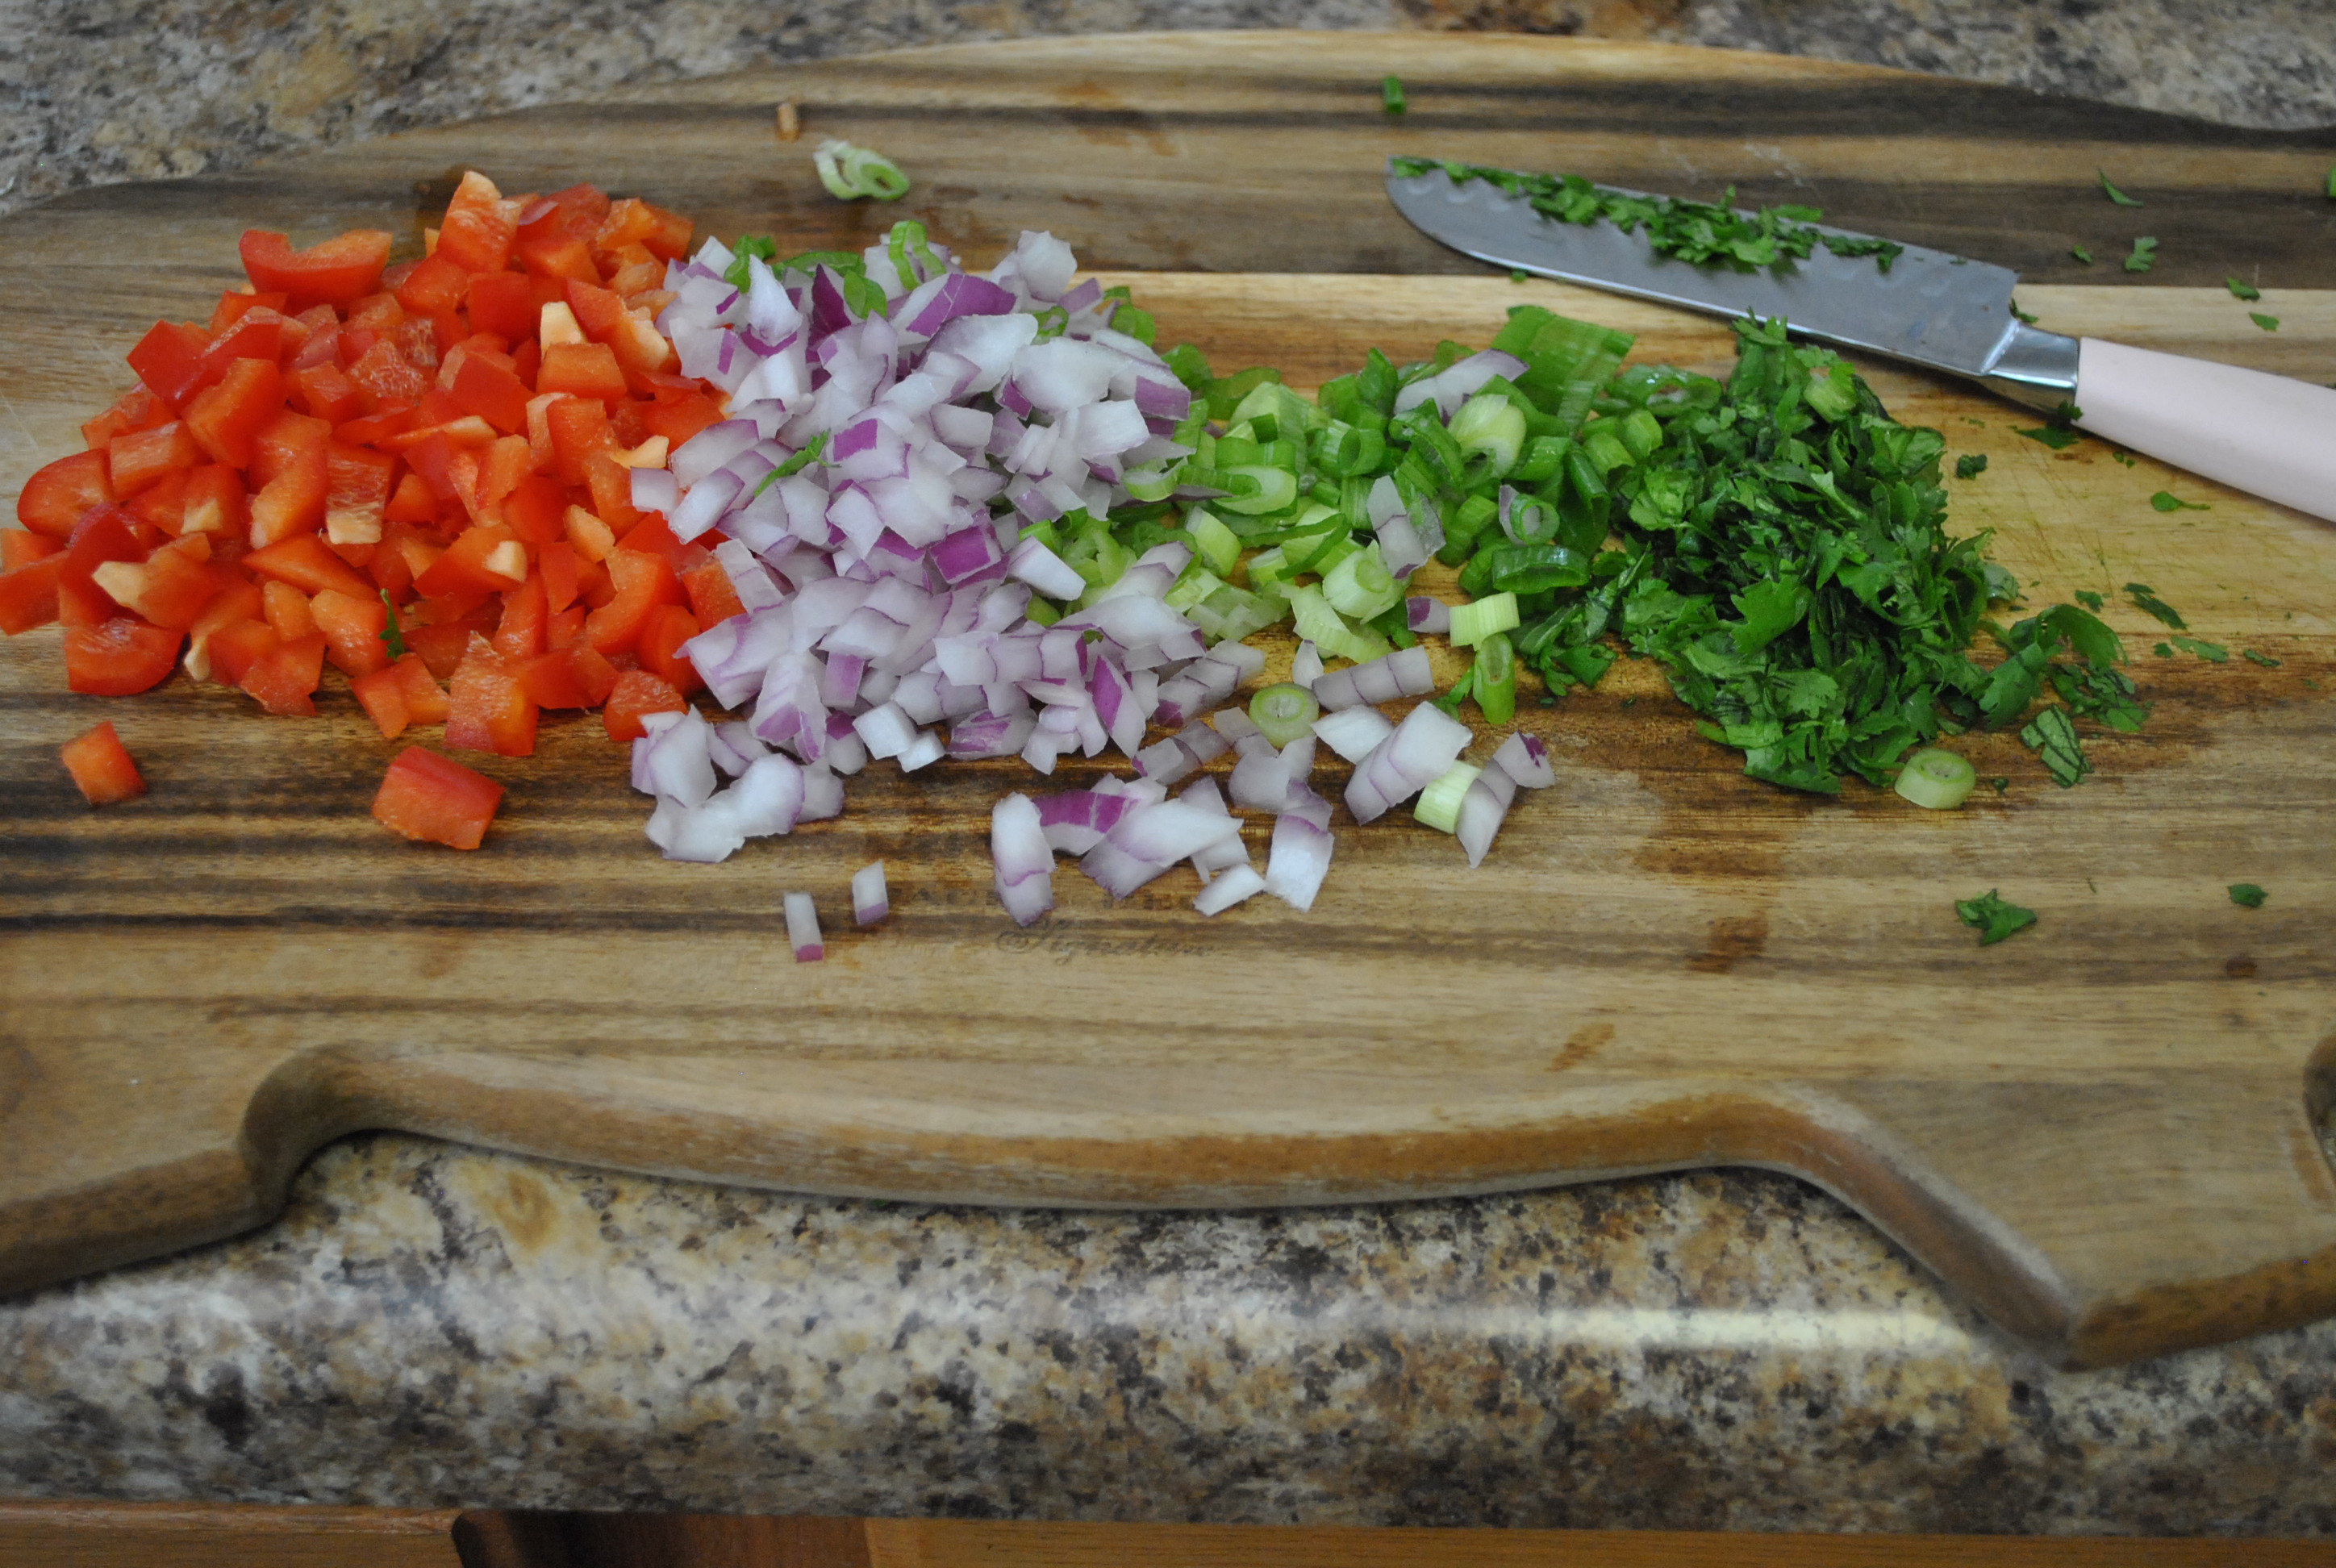
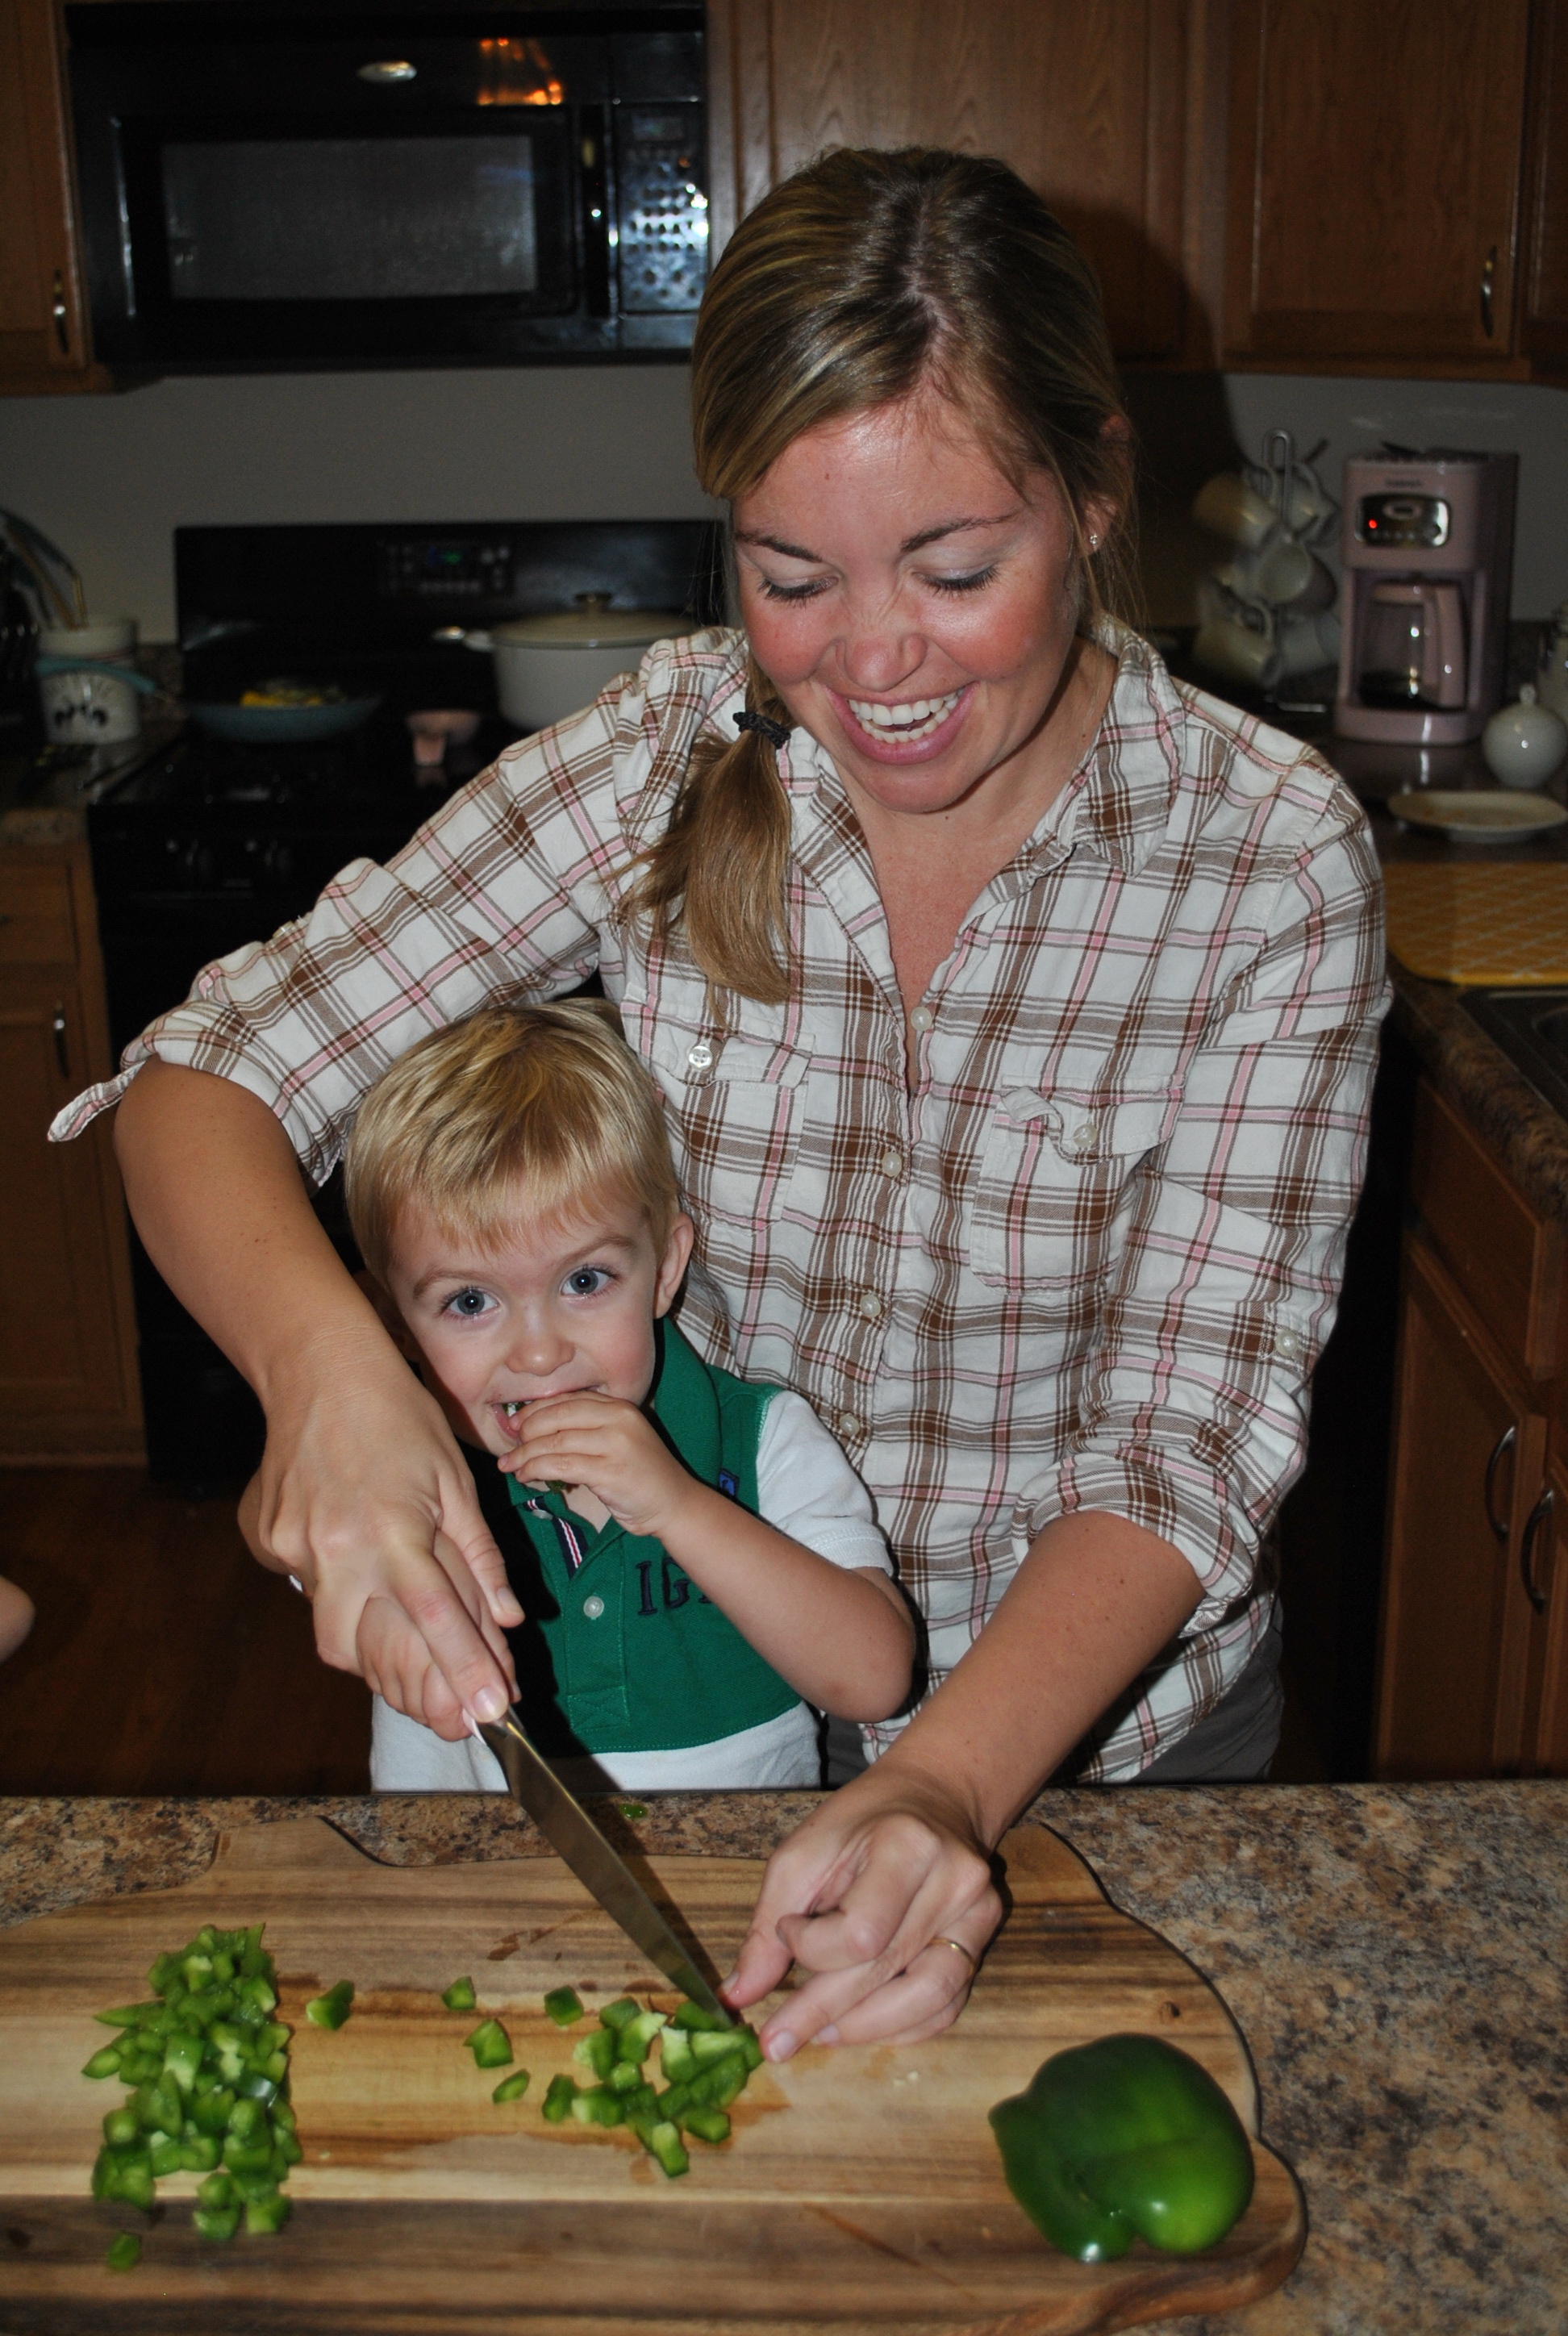
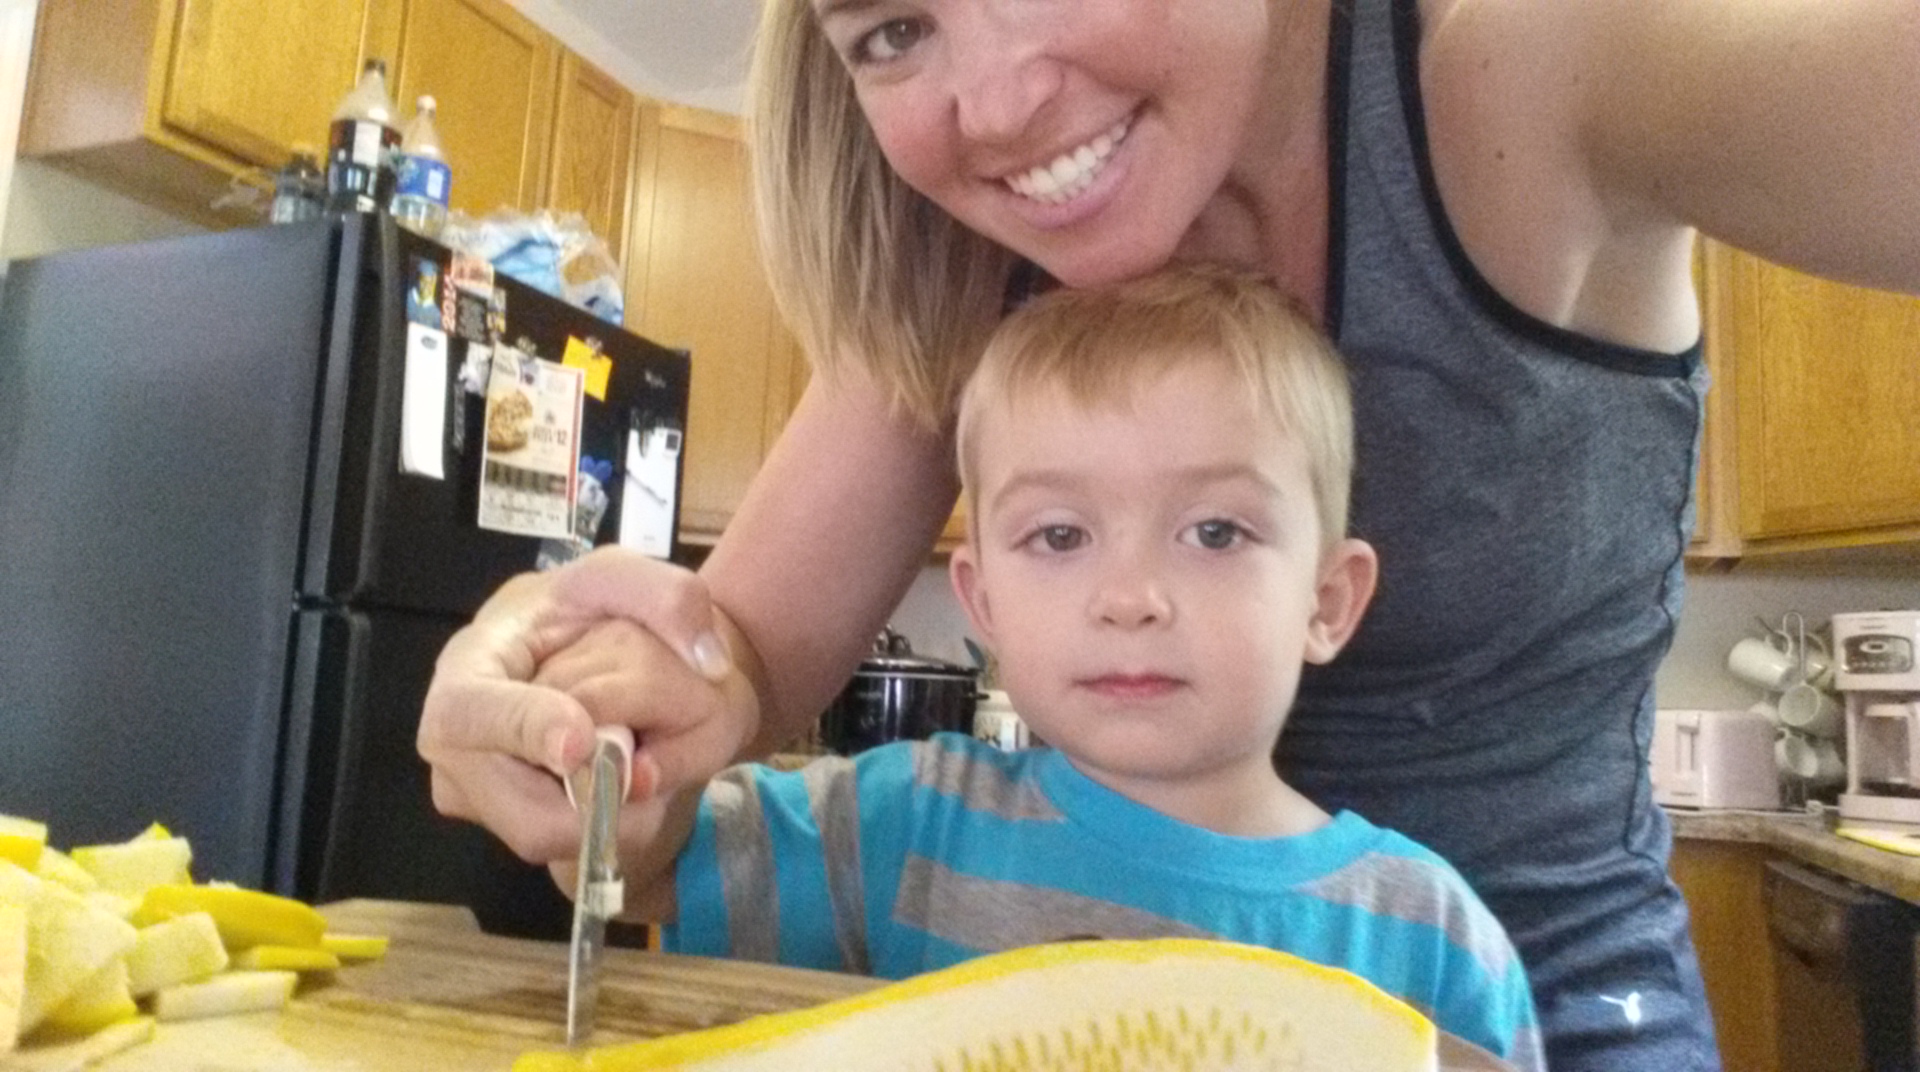
Brady is super into helping me chop up veggies so we started by dicing up our half onion and half green pepper. He ate a lot of the green pepper though…

DSC_0671

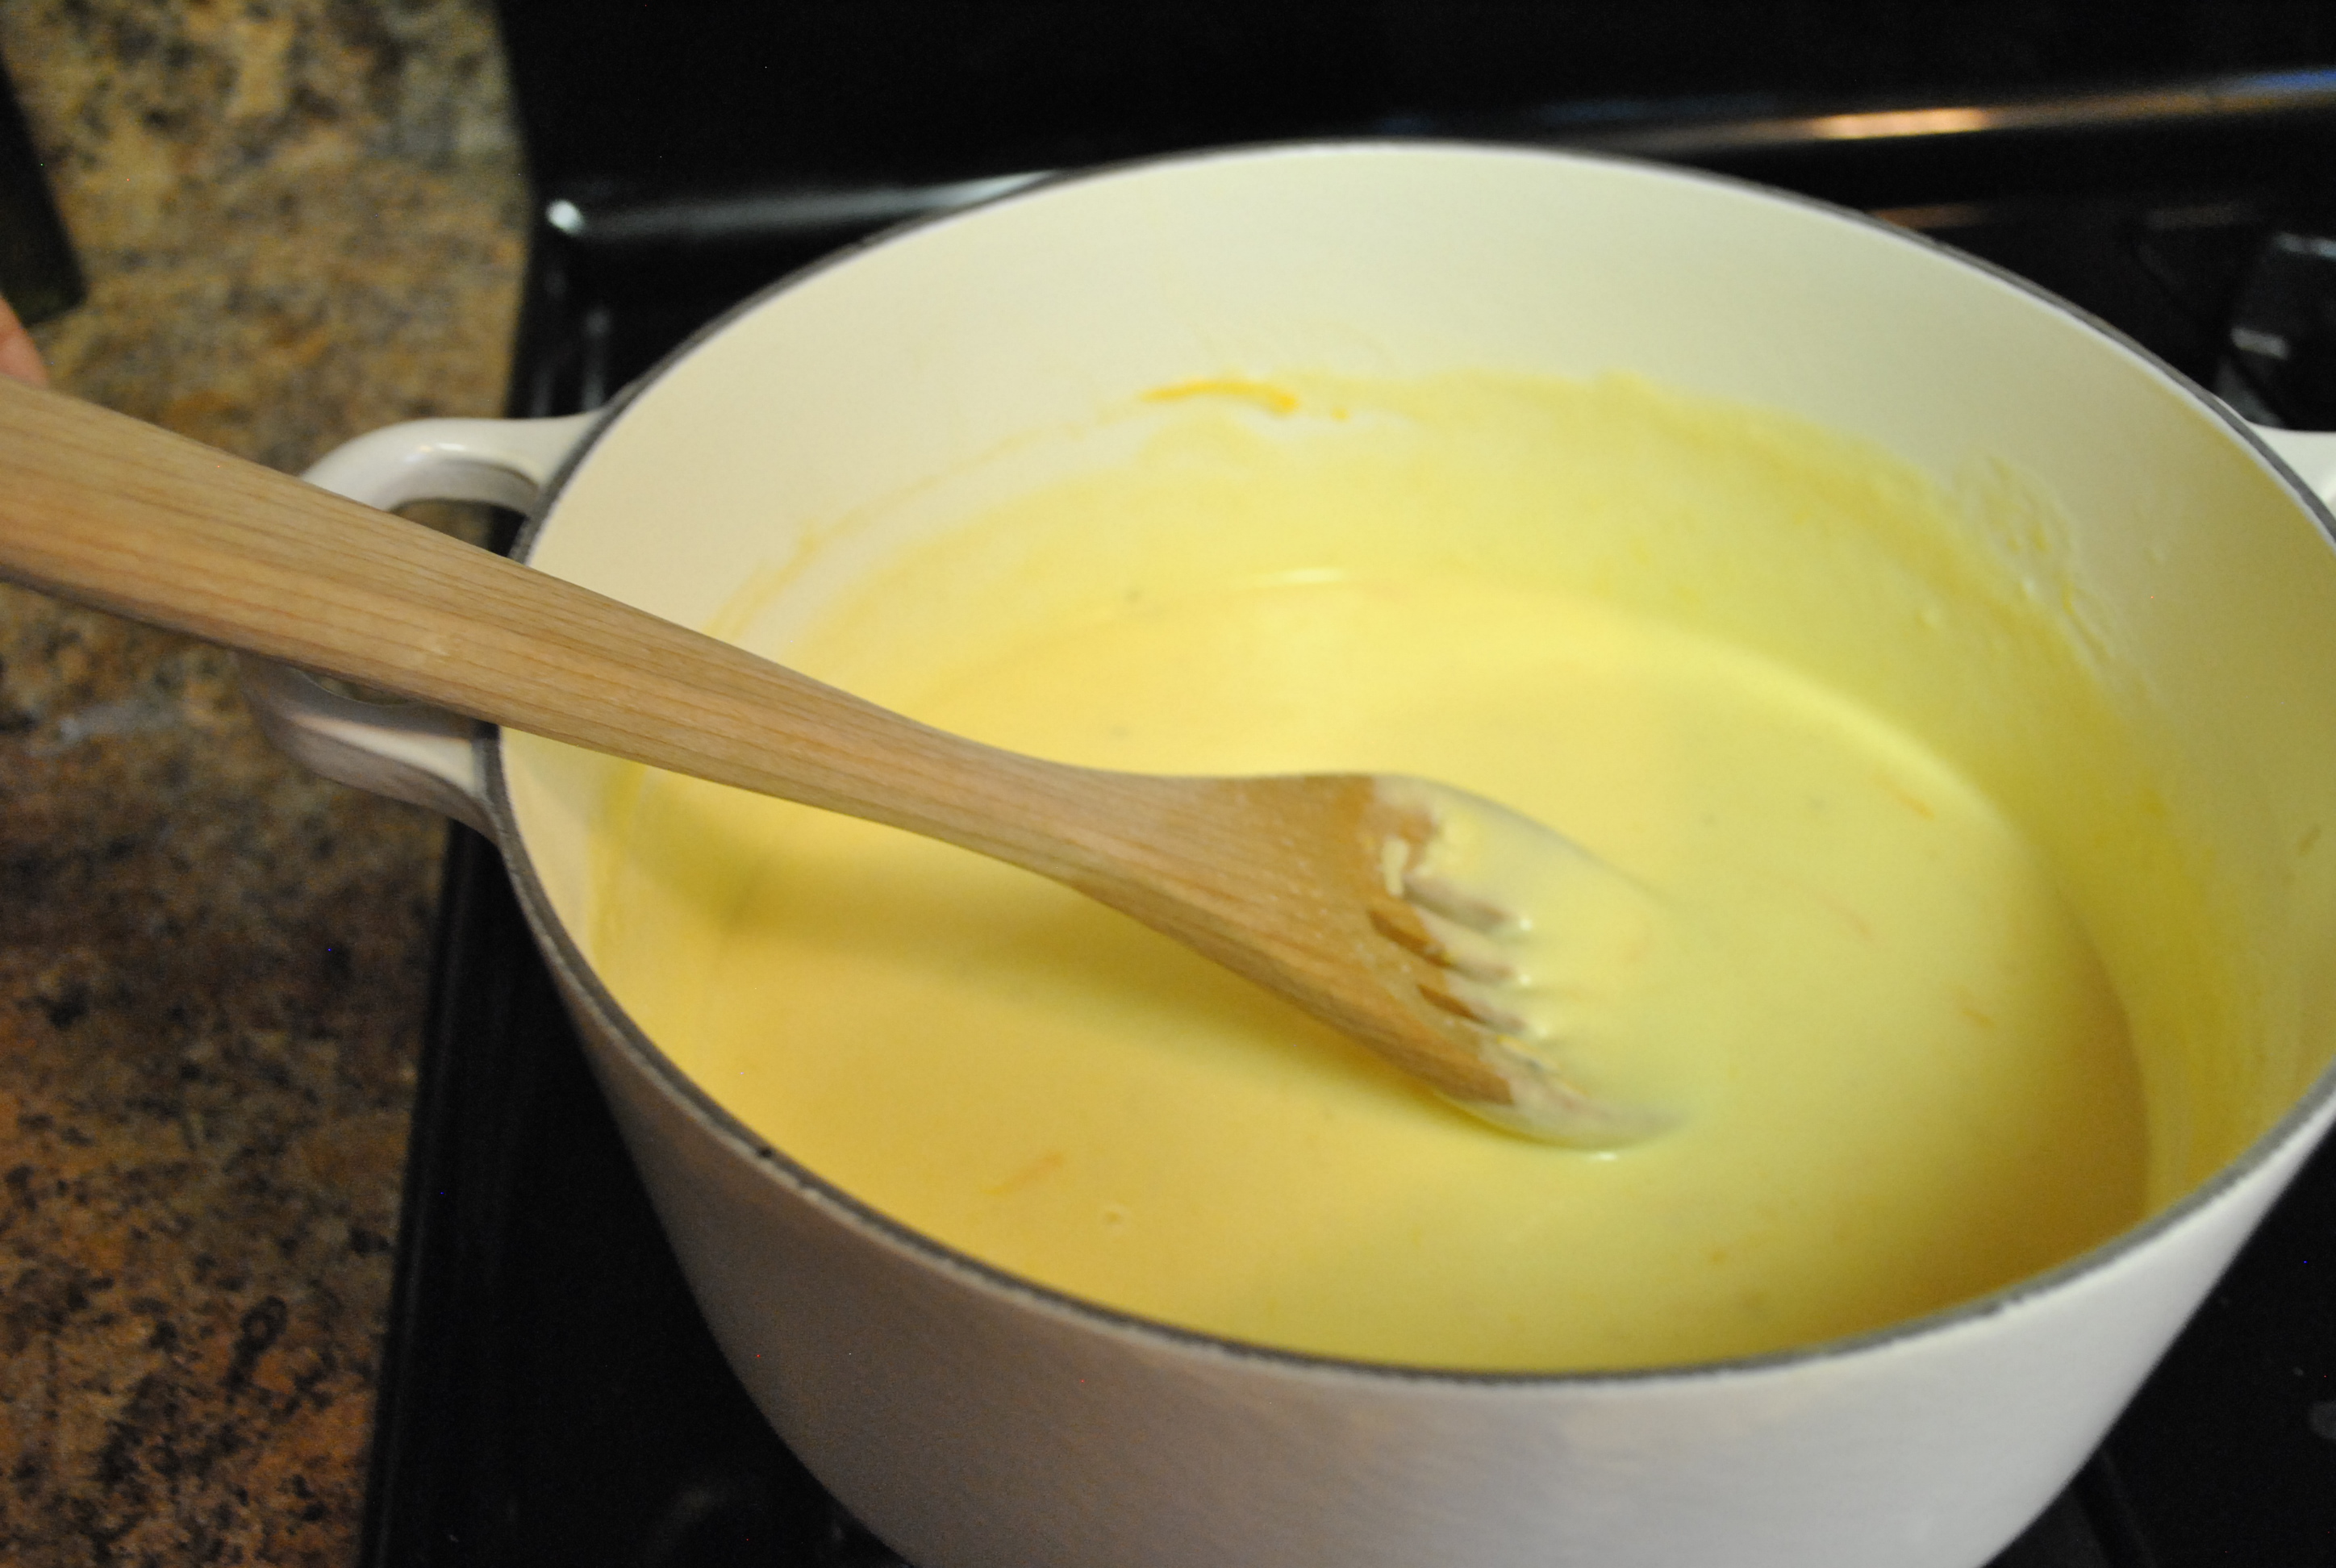
We got our veggies cooking up in a big pot with a little EVOO and S&P.

DSC_0675

Once the veggies were tender we added the tomato sauce to the pot. (Another good job for your little helper!)

DSC_0674

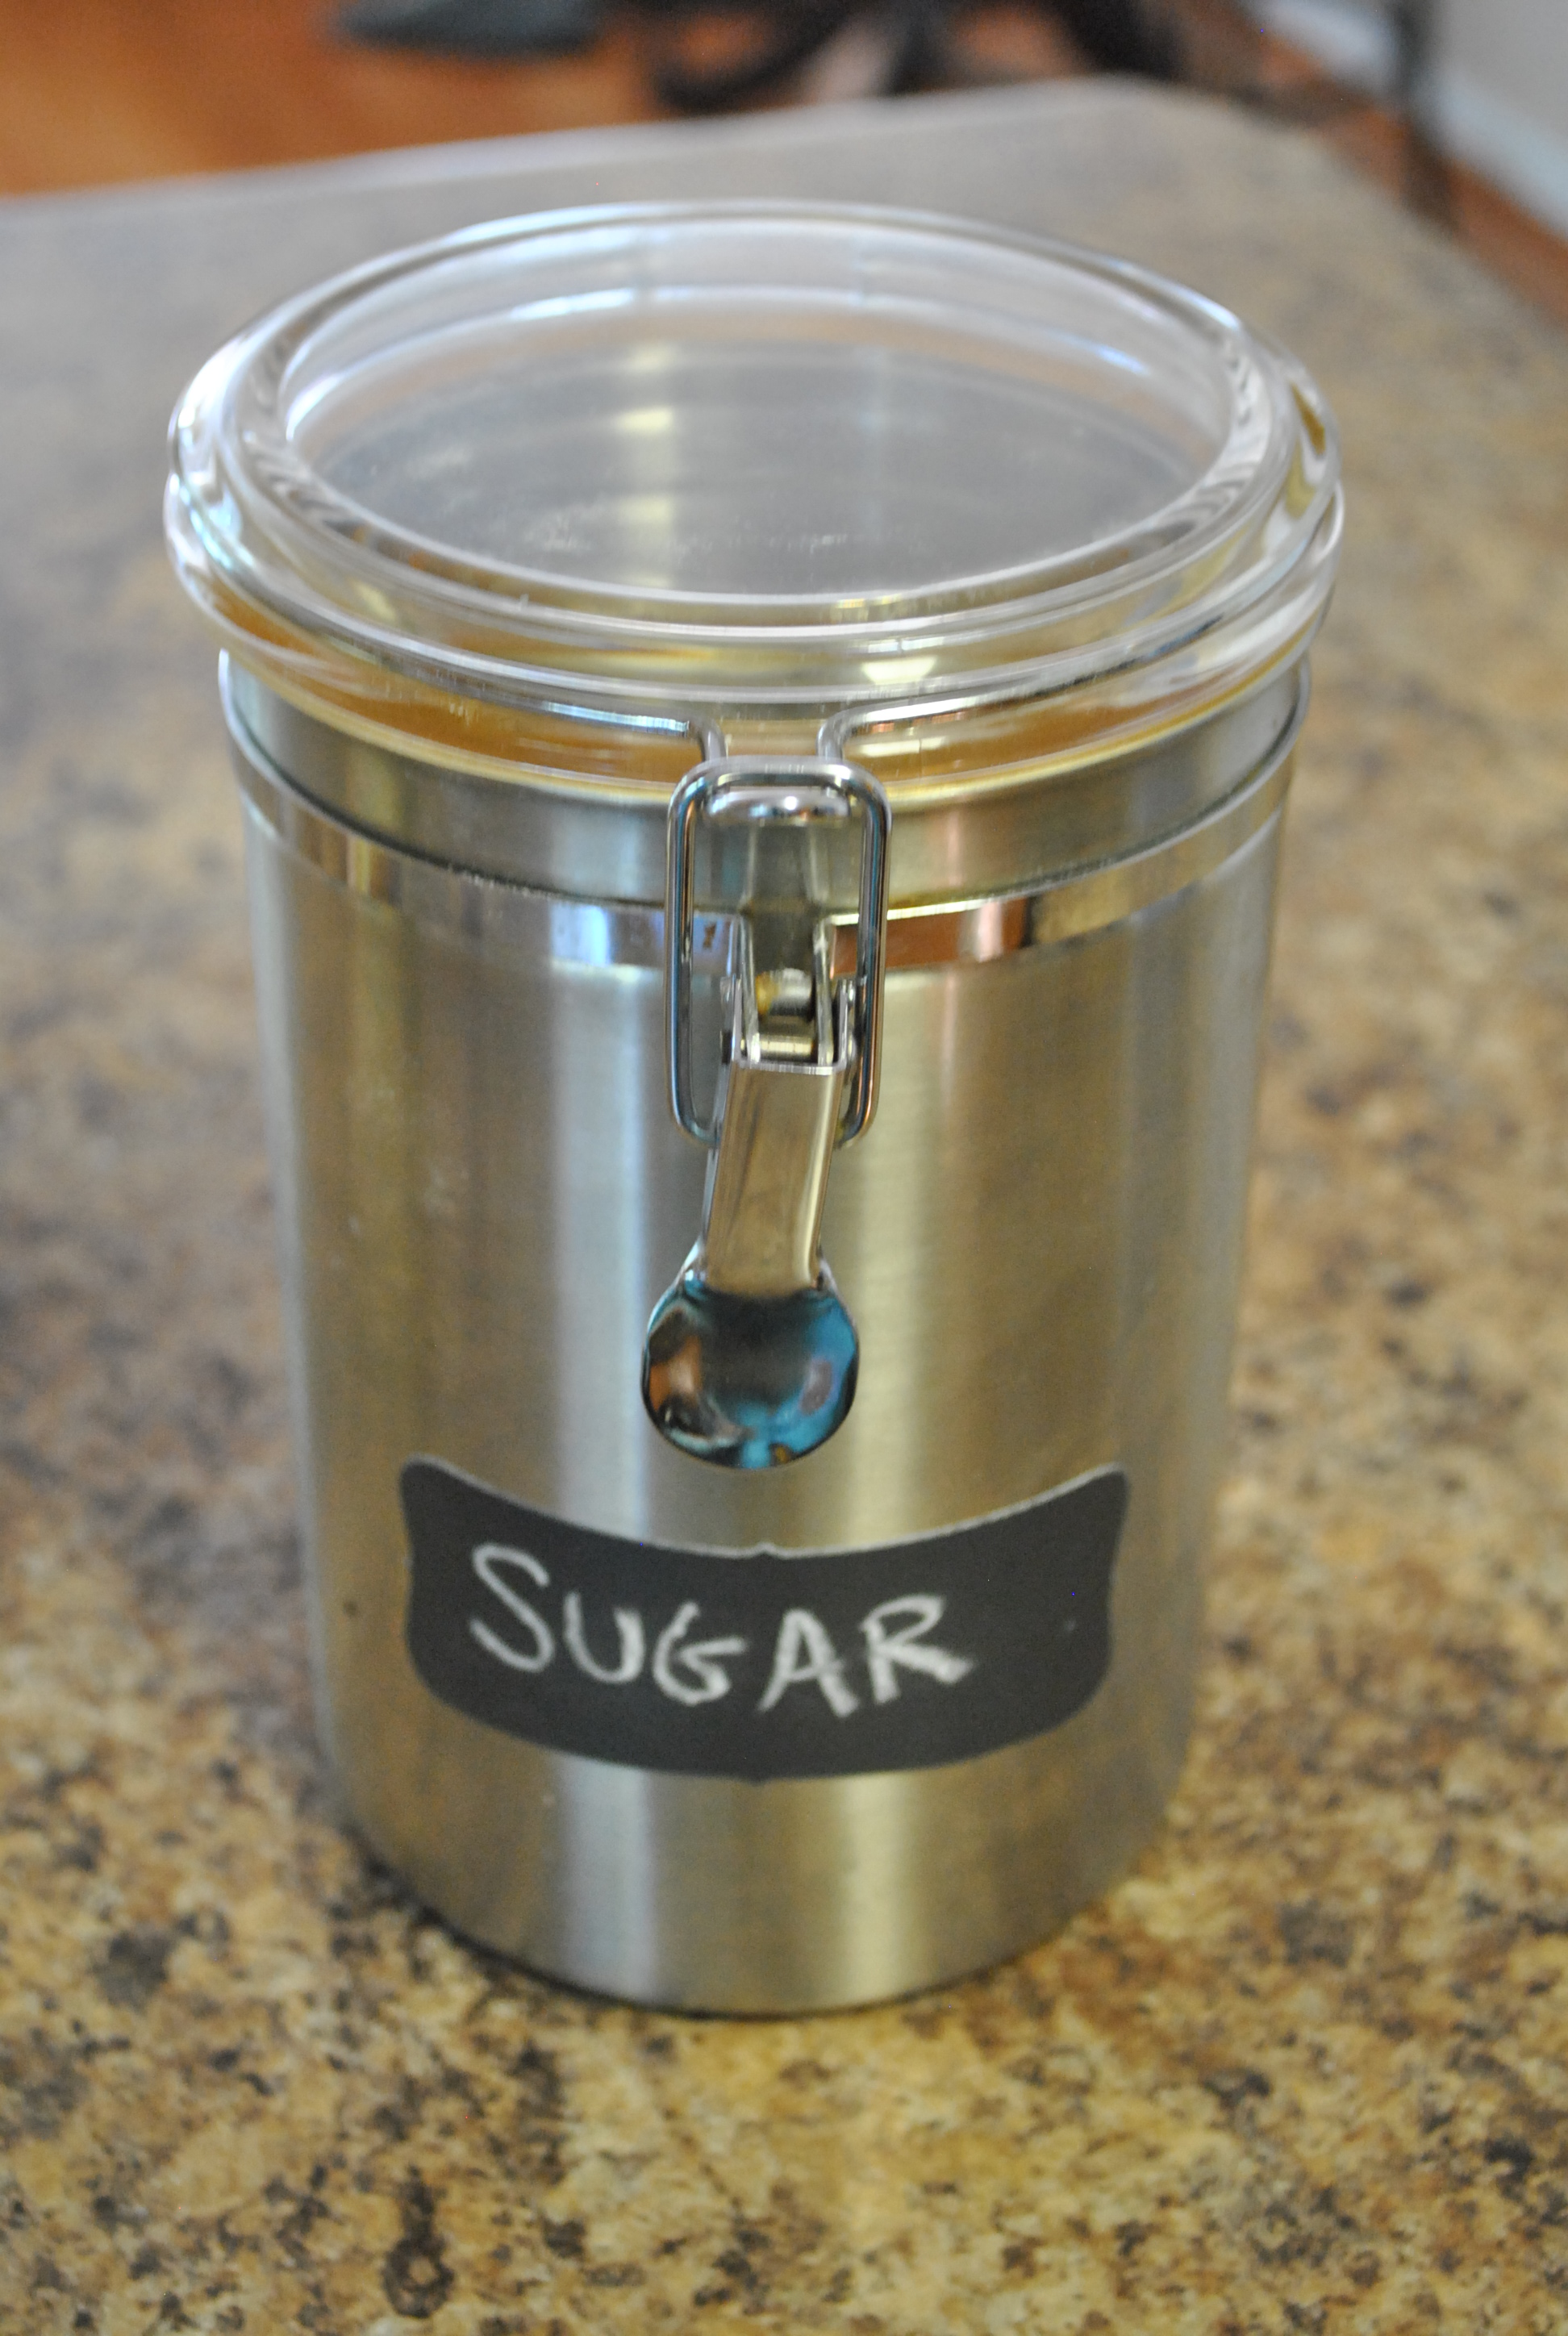
At this point we measured out and added our seasonings- salt, pepper, cumin, chili powder, and sugar. Sidenote: is anyone else just obsessing over chalkboard labels?!

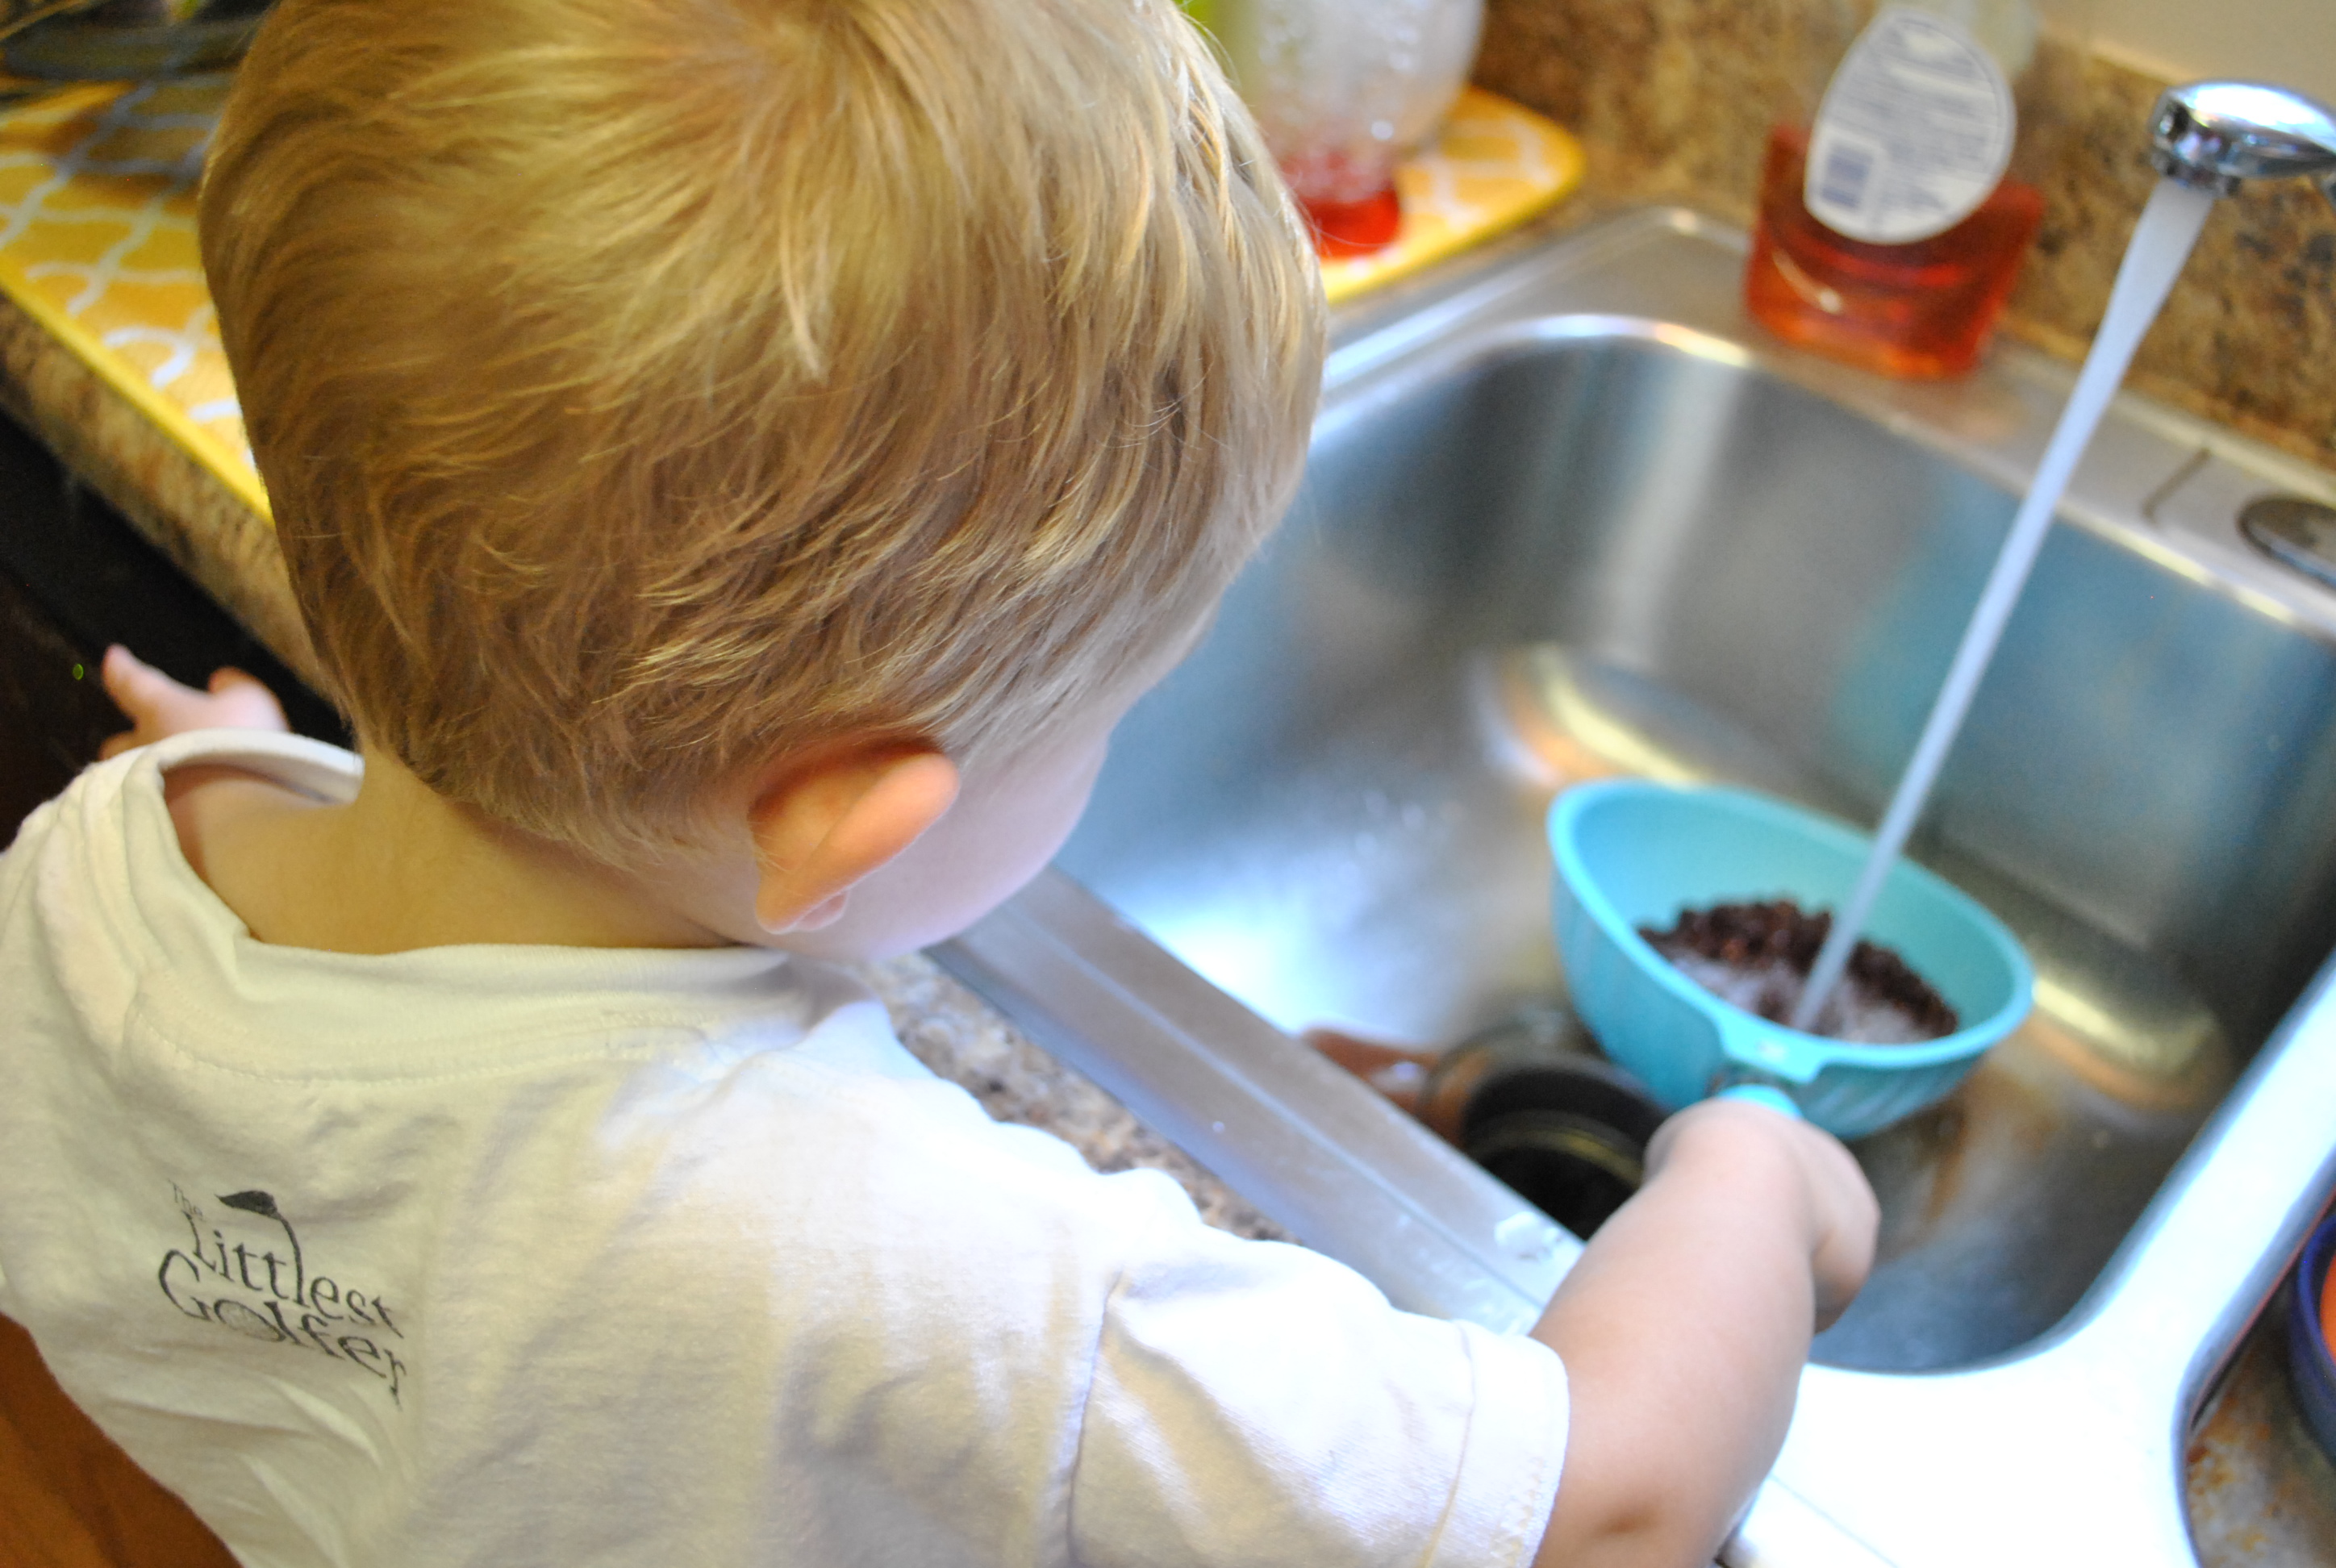
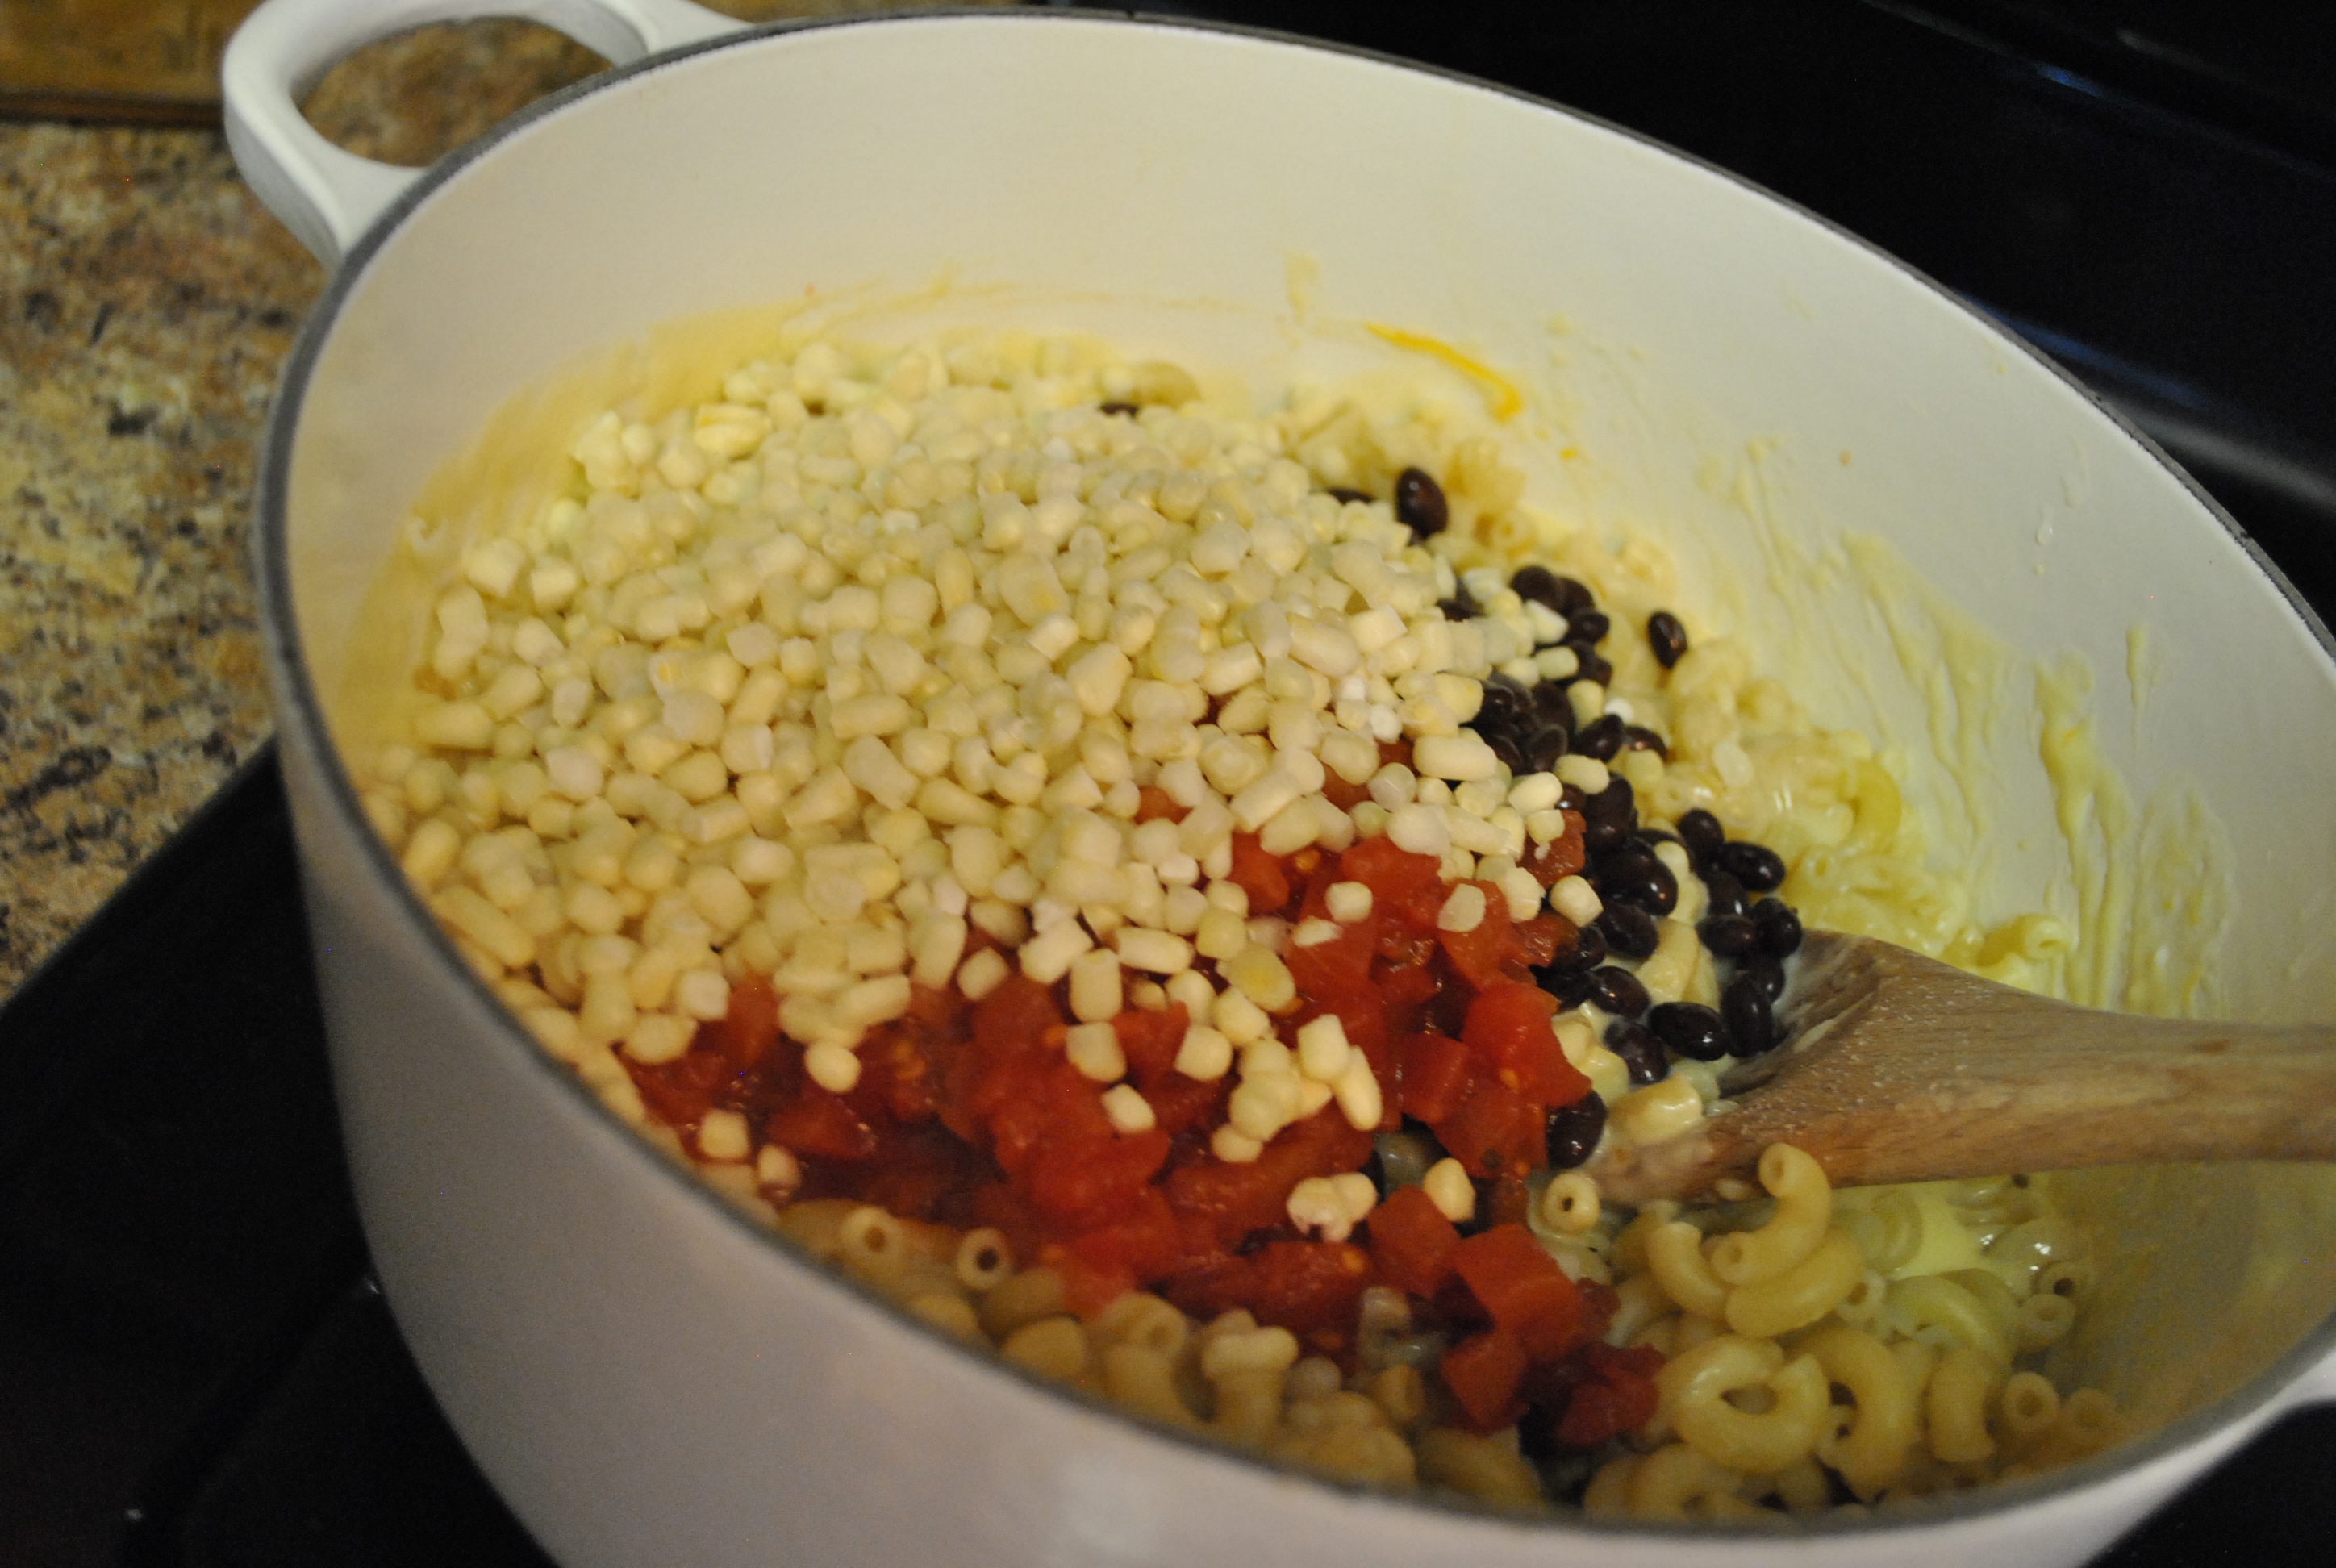
Then we drained and rinsed all 3 cans of beans and added them to the pot. We also threw in the 2 cans of tomatoes with all the juices- don’t drain them! That extra liquid helps cook up the quinoa.

DSC_0672   DSC_0676

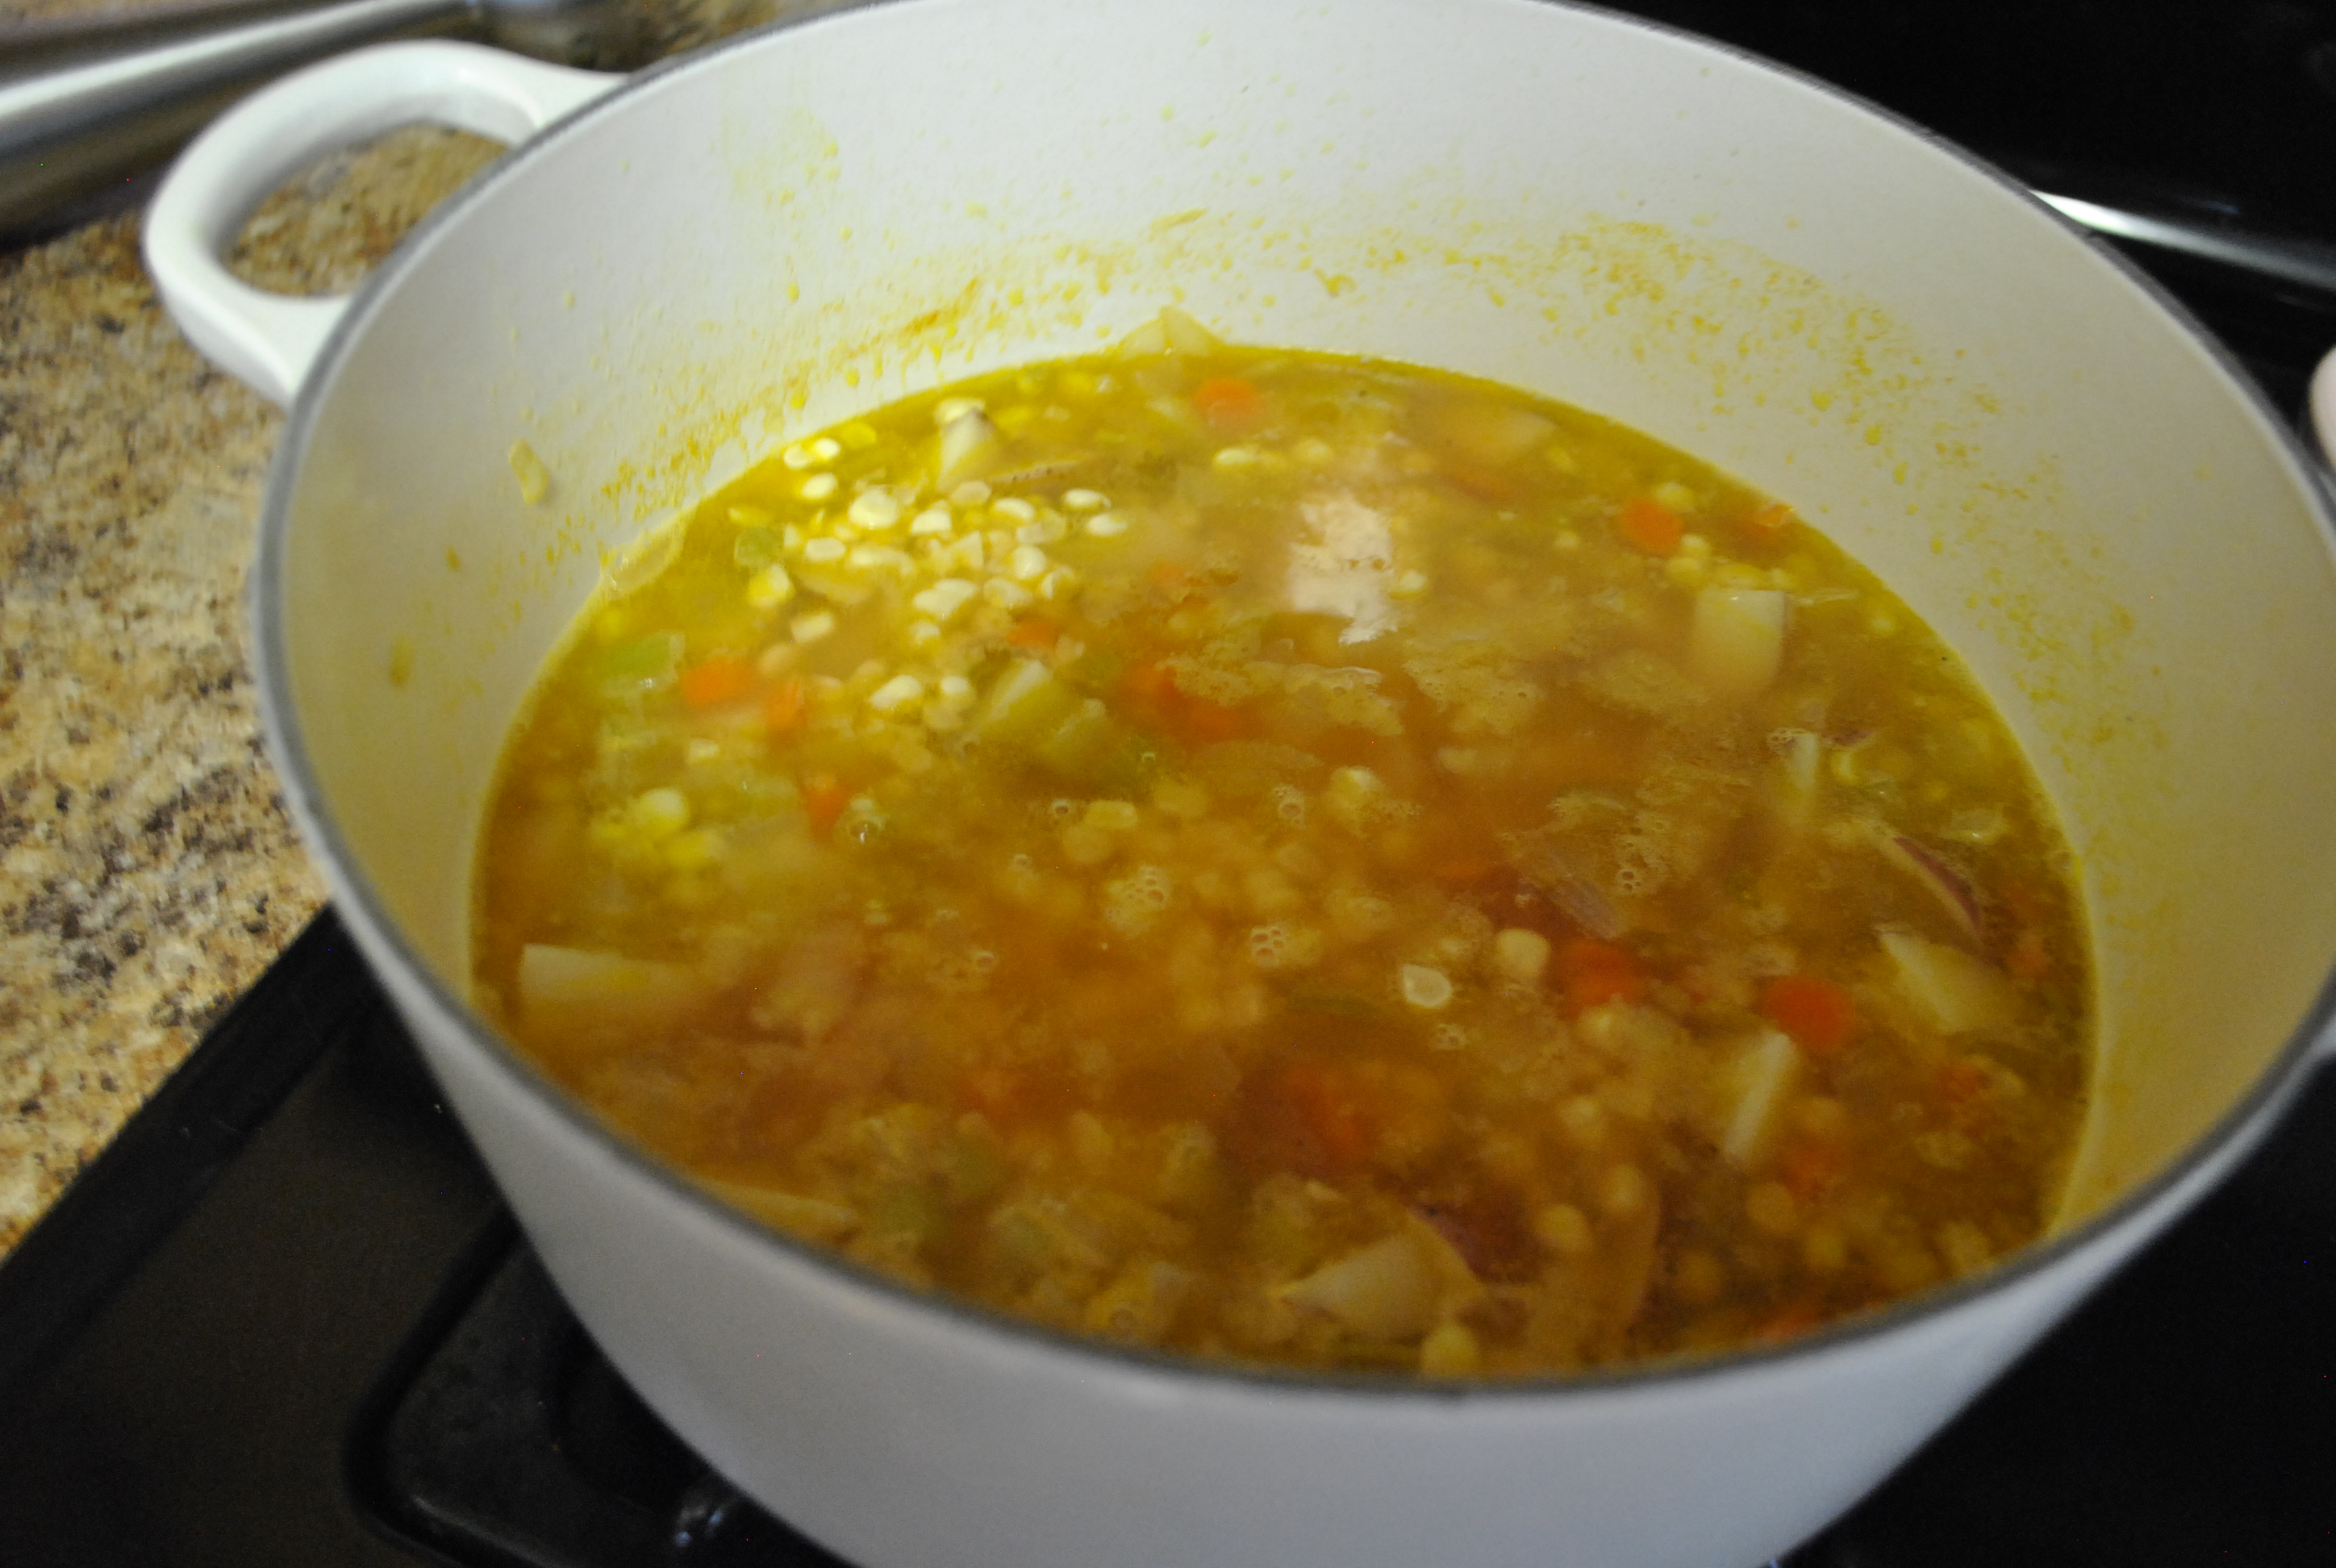
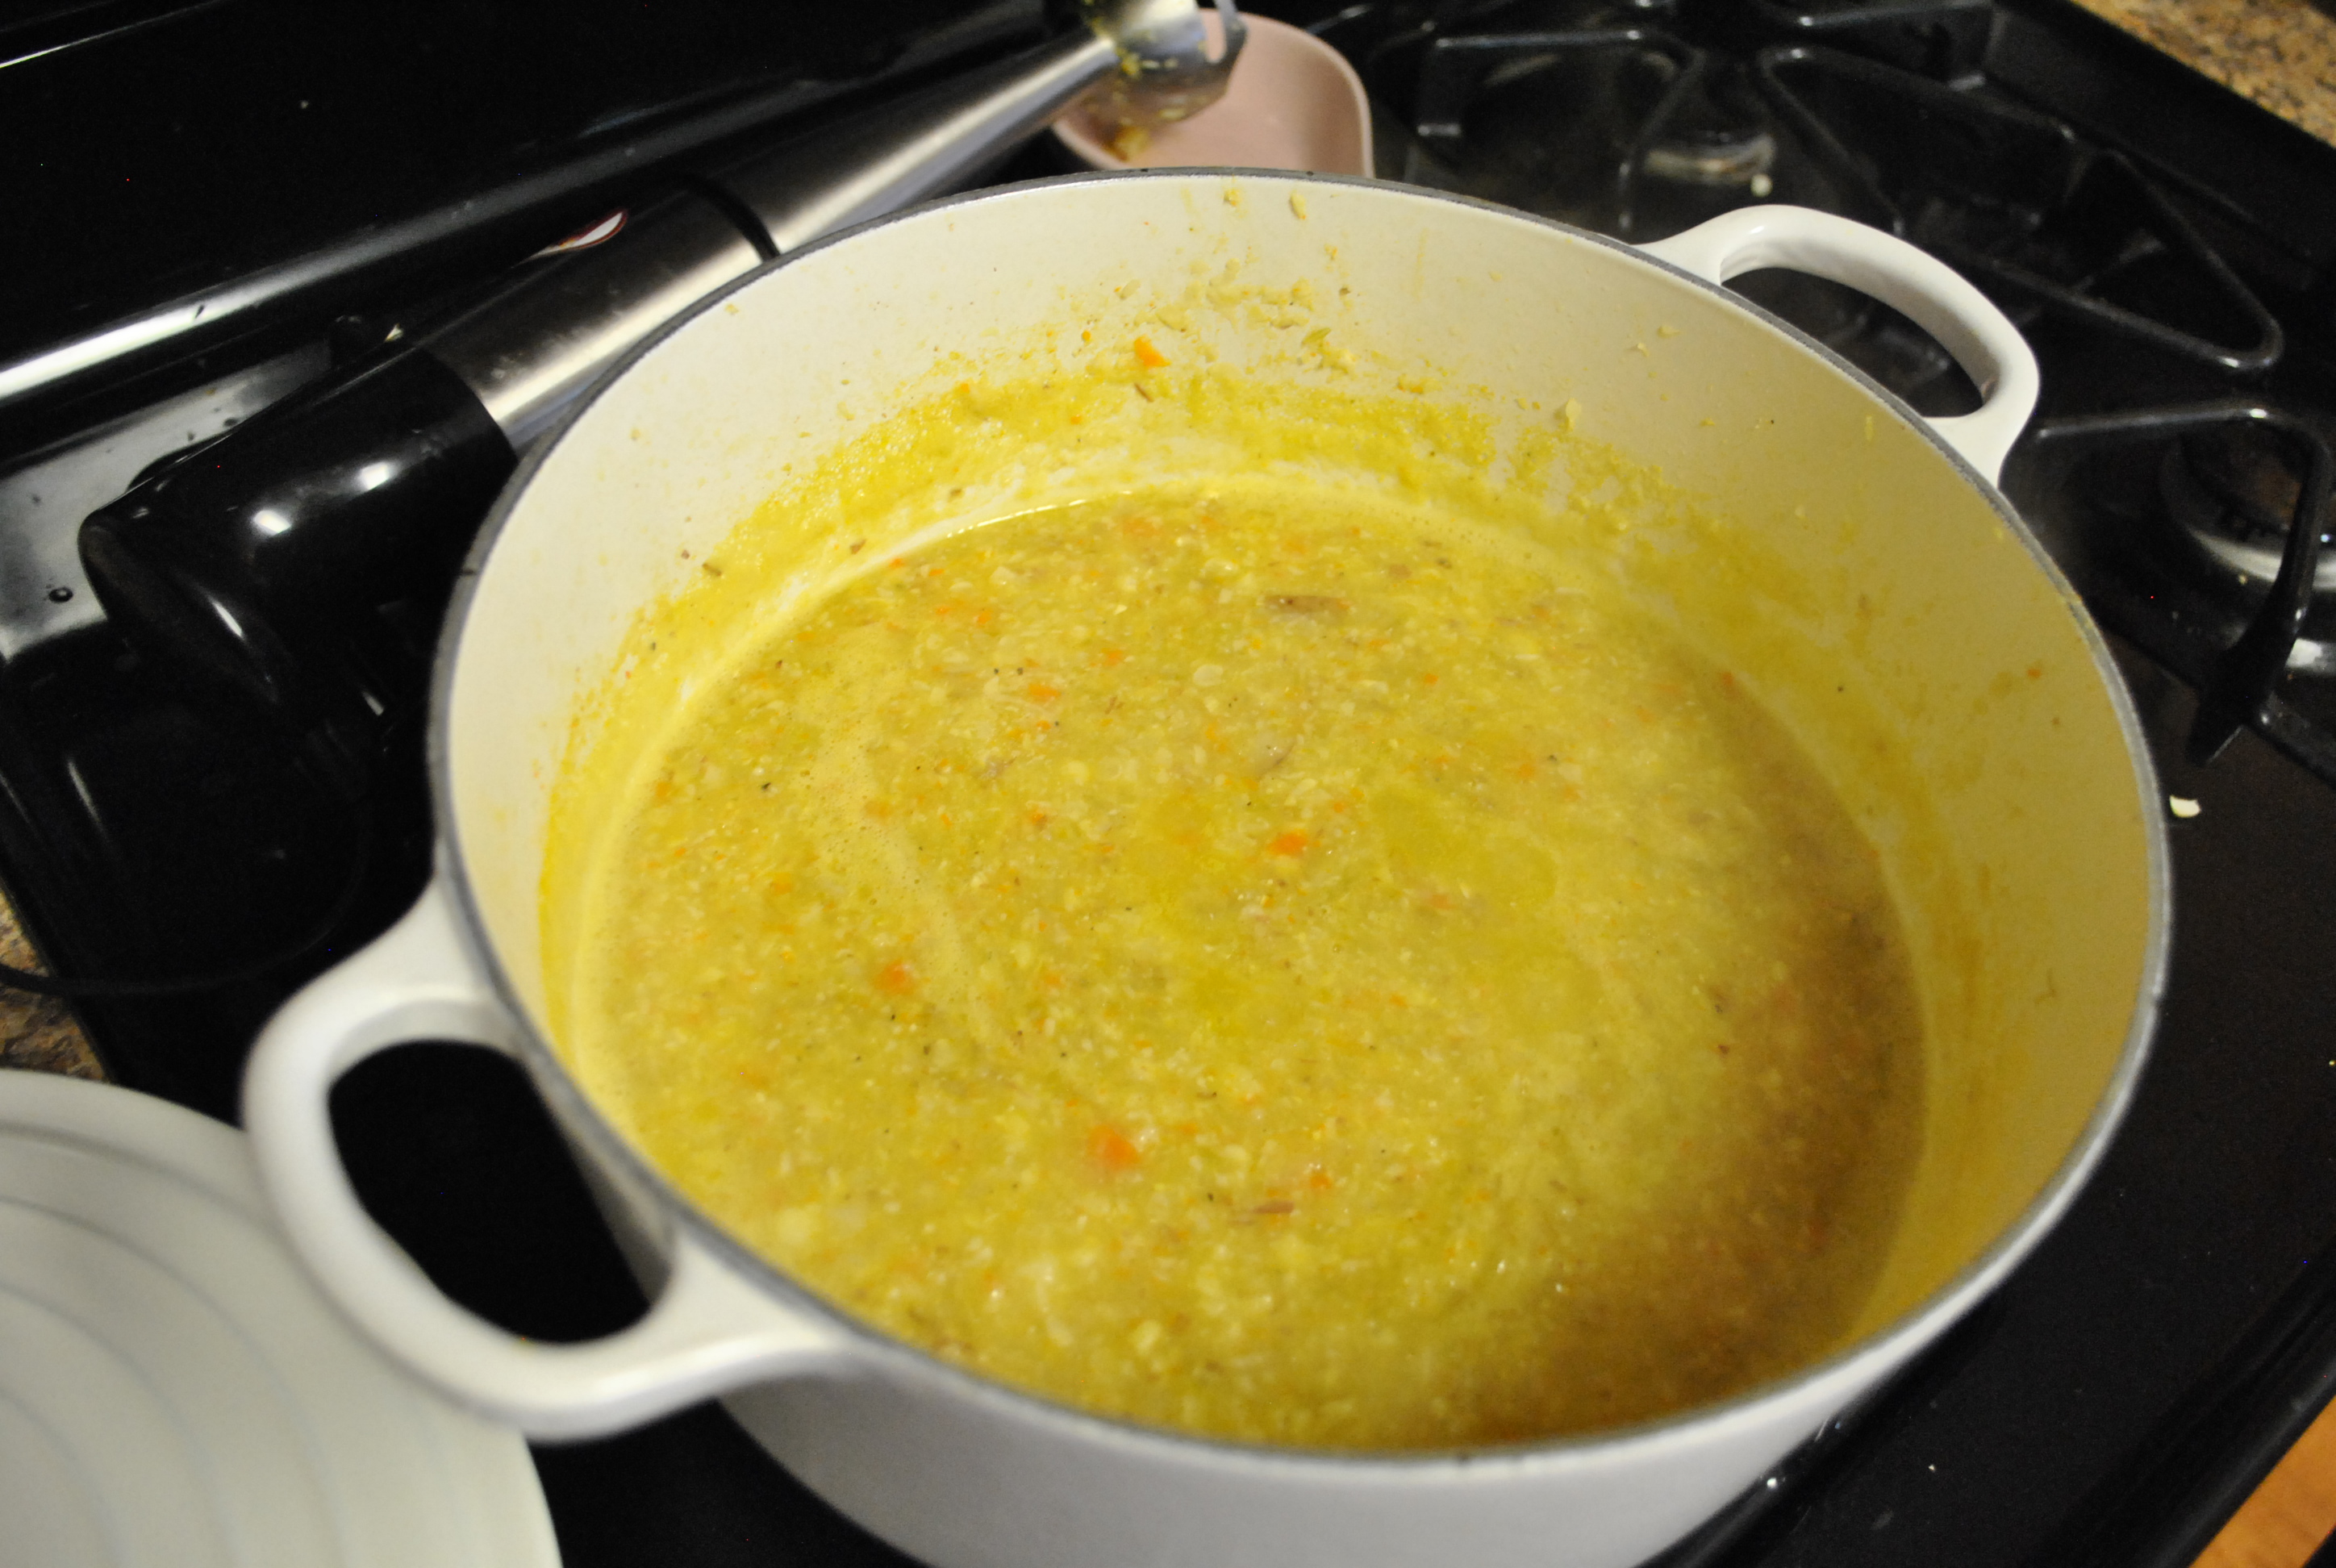
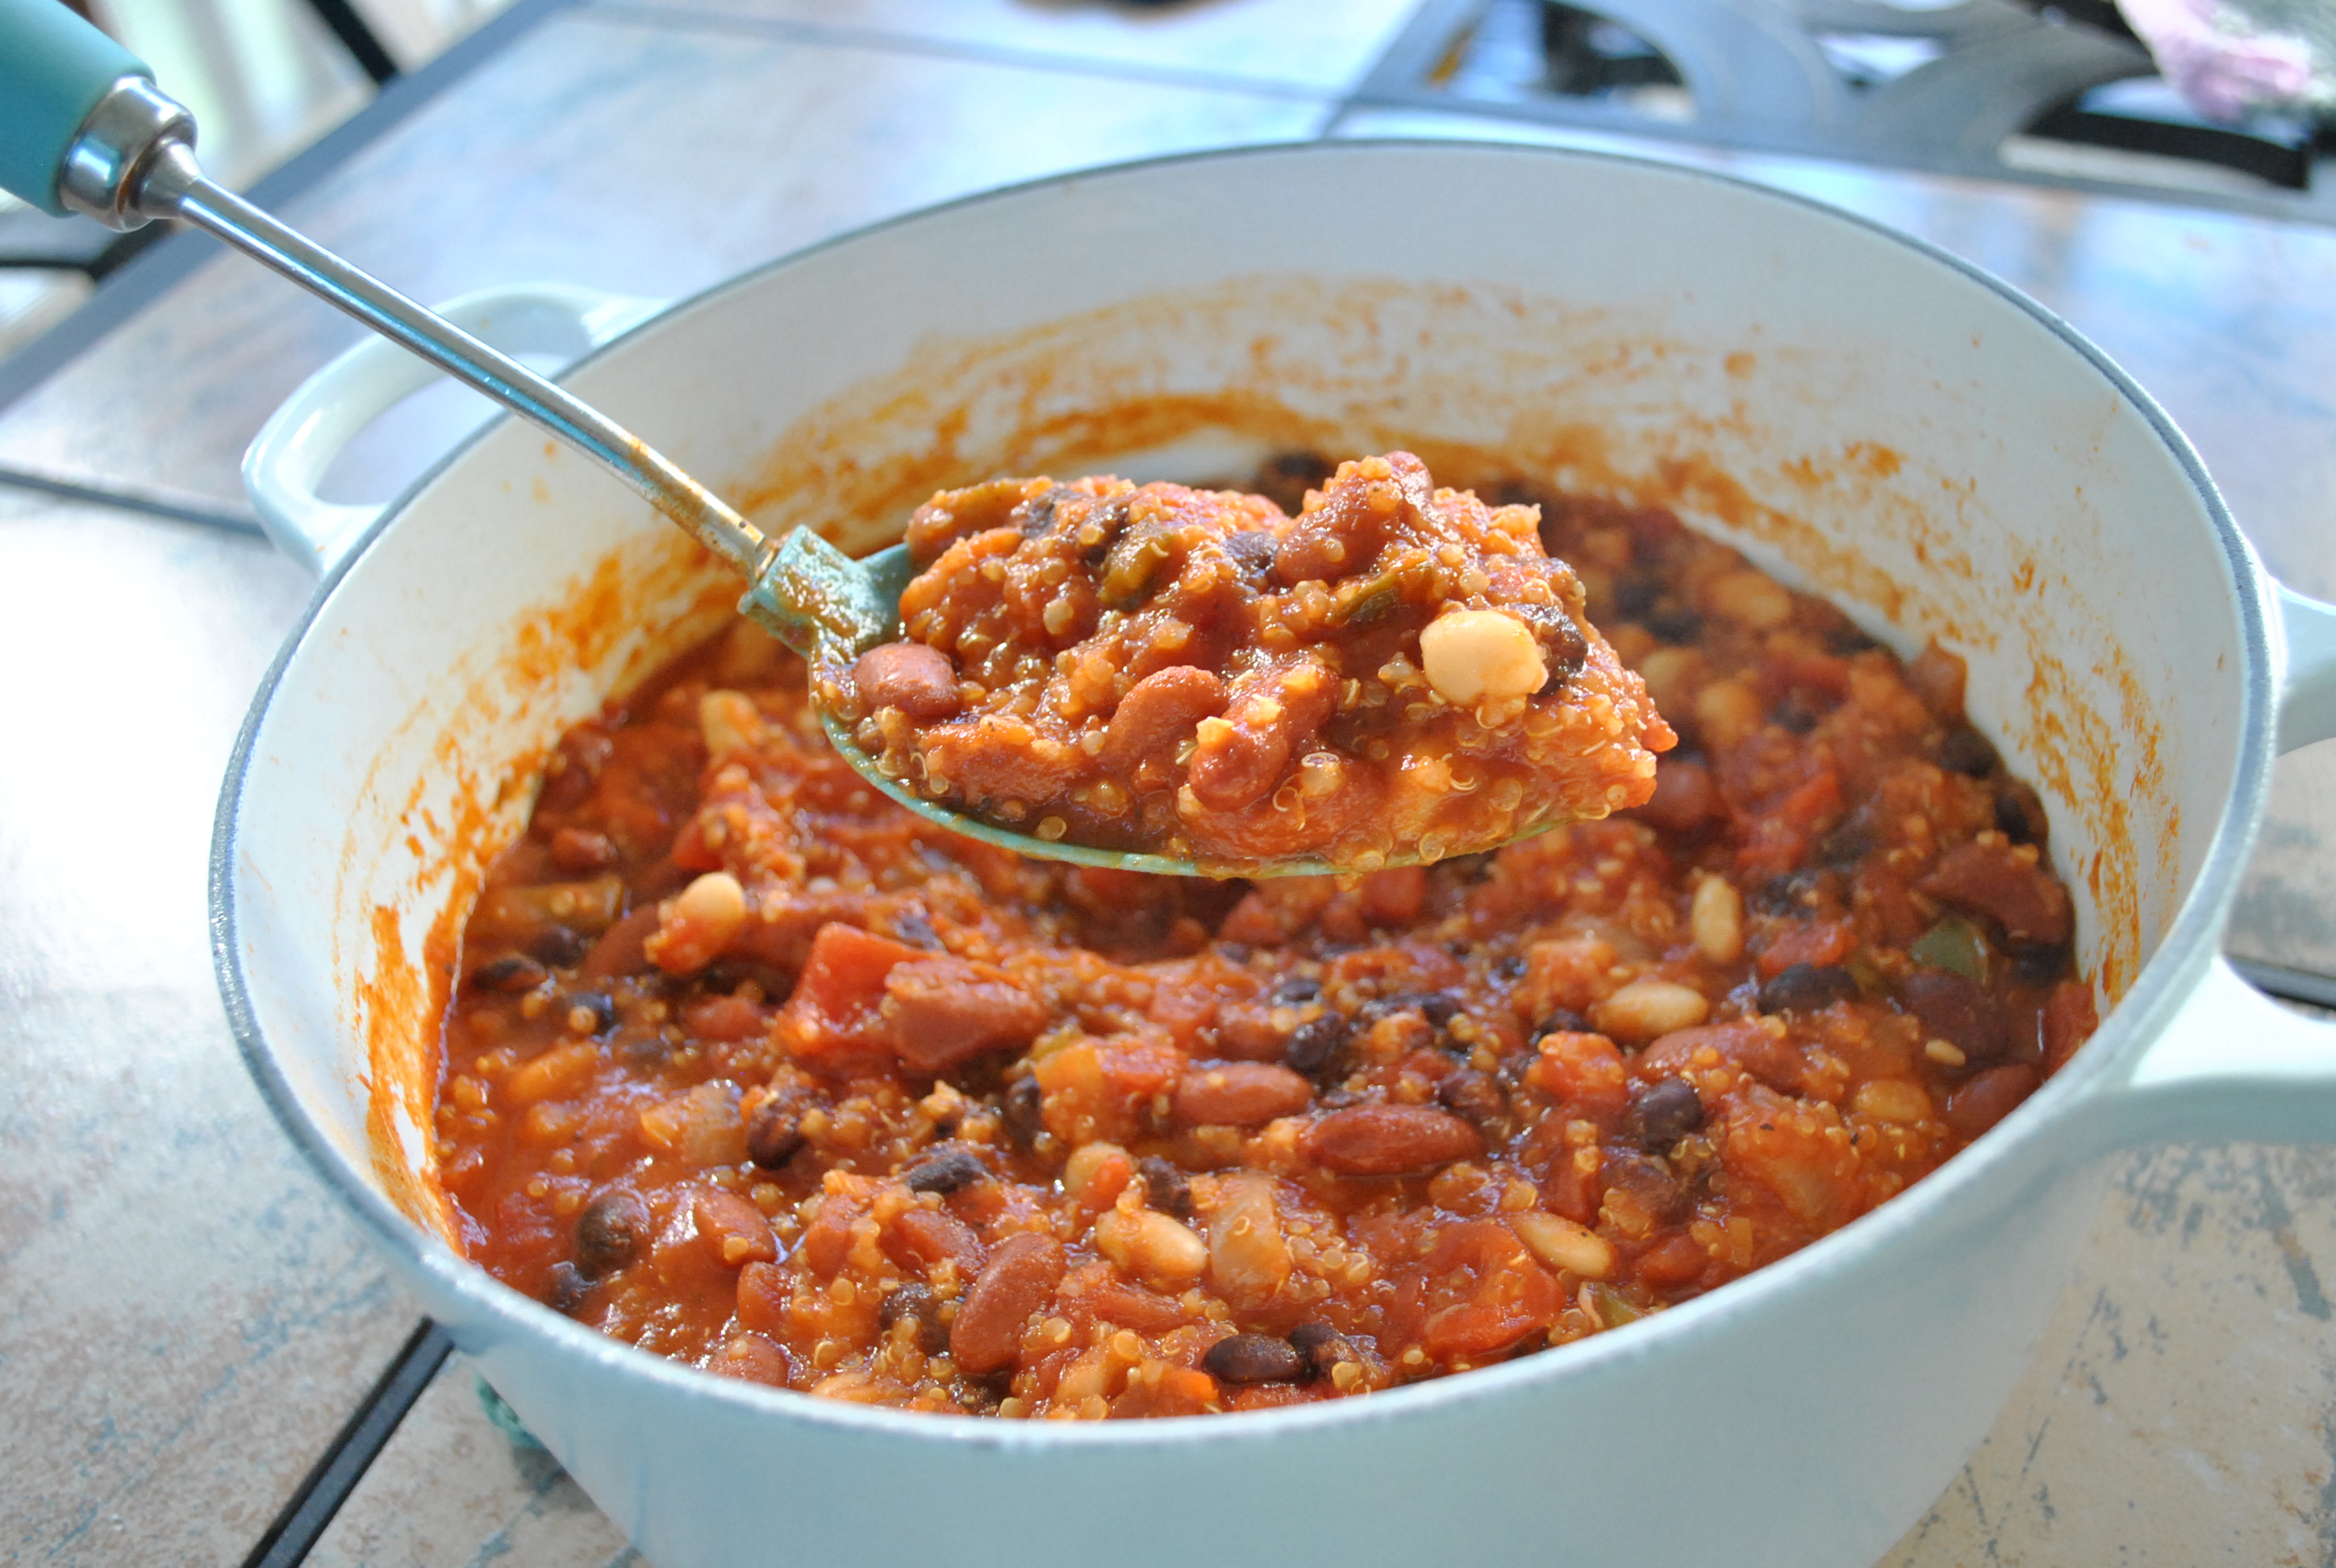
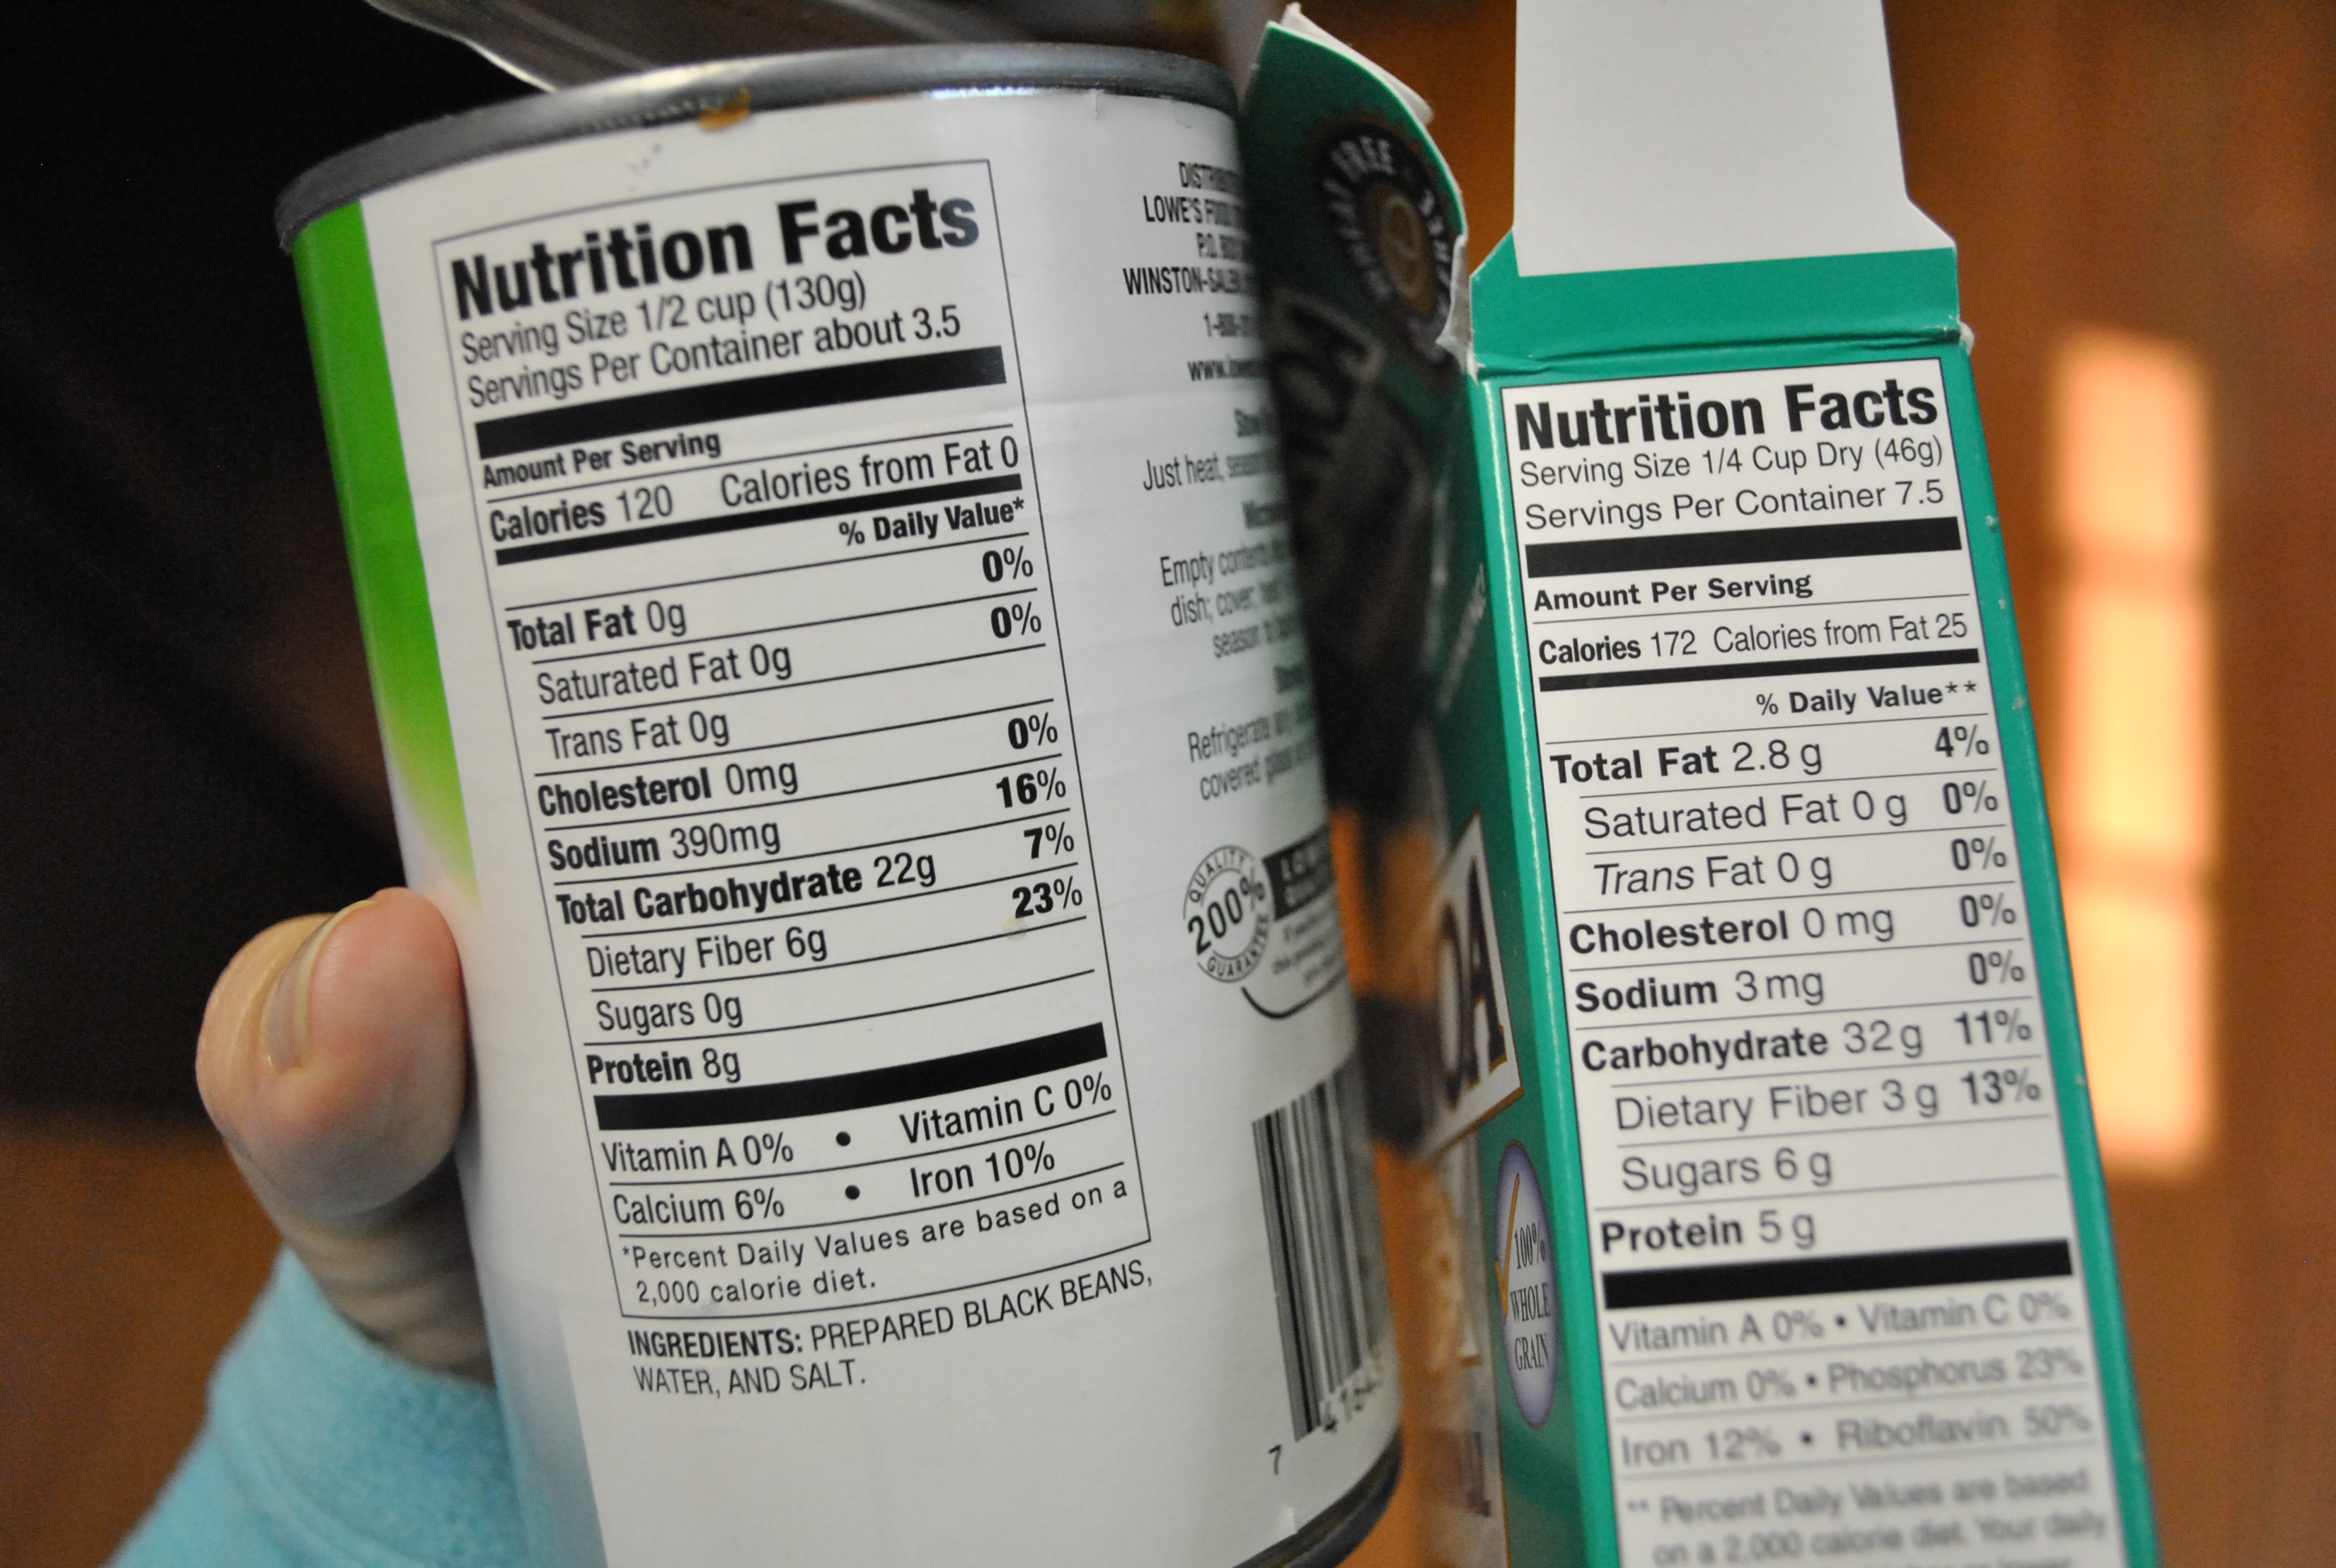
Next, we added our 1/2 cup of quinoa. Check out the label of the black beans and quinoa. Holy protein! (Who needs meat?!) At this point we put a lid on the pot and let it simmer for about 20 minutes. The quinoa starts out very visible, but once it cooks it becomes more transparent and the chili thickens up.

DSC_0678 DSC_0680 DSC_0681

DSC_0689

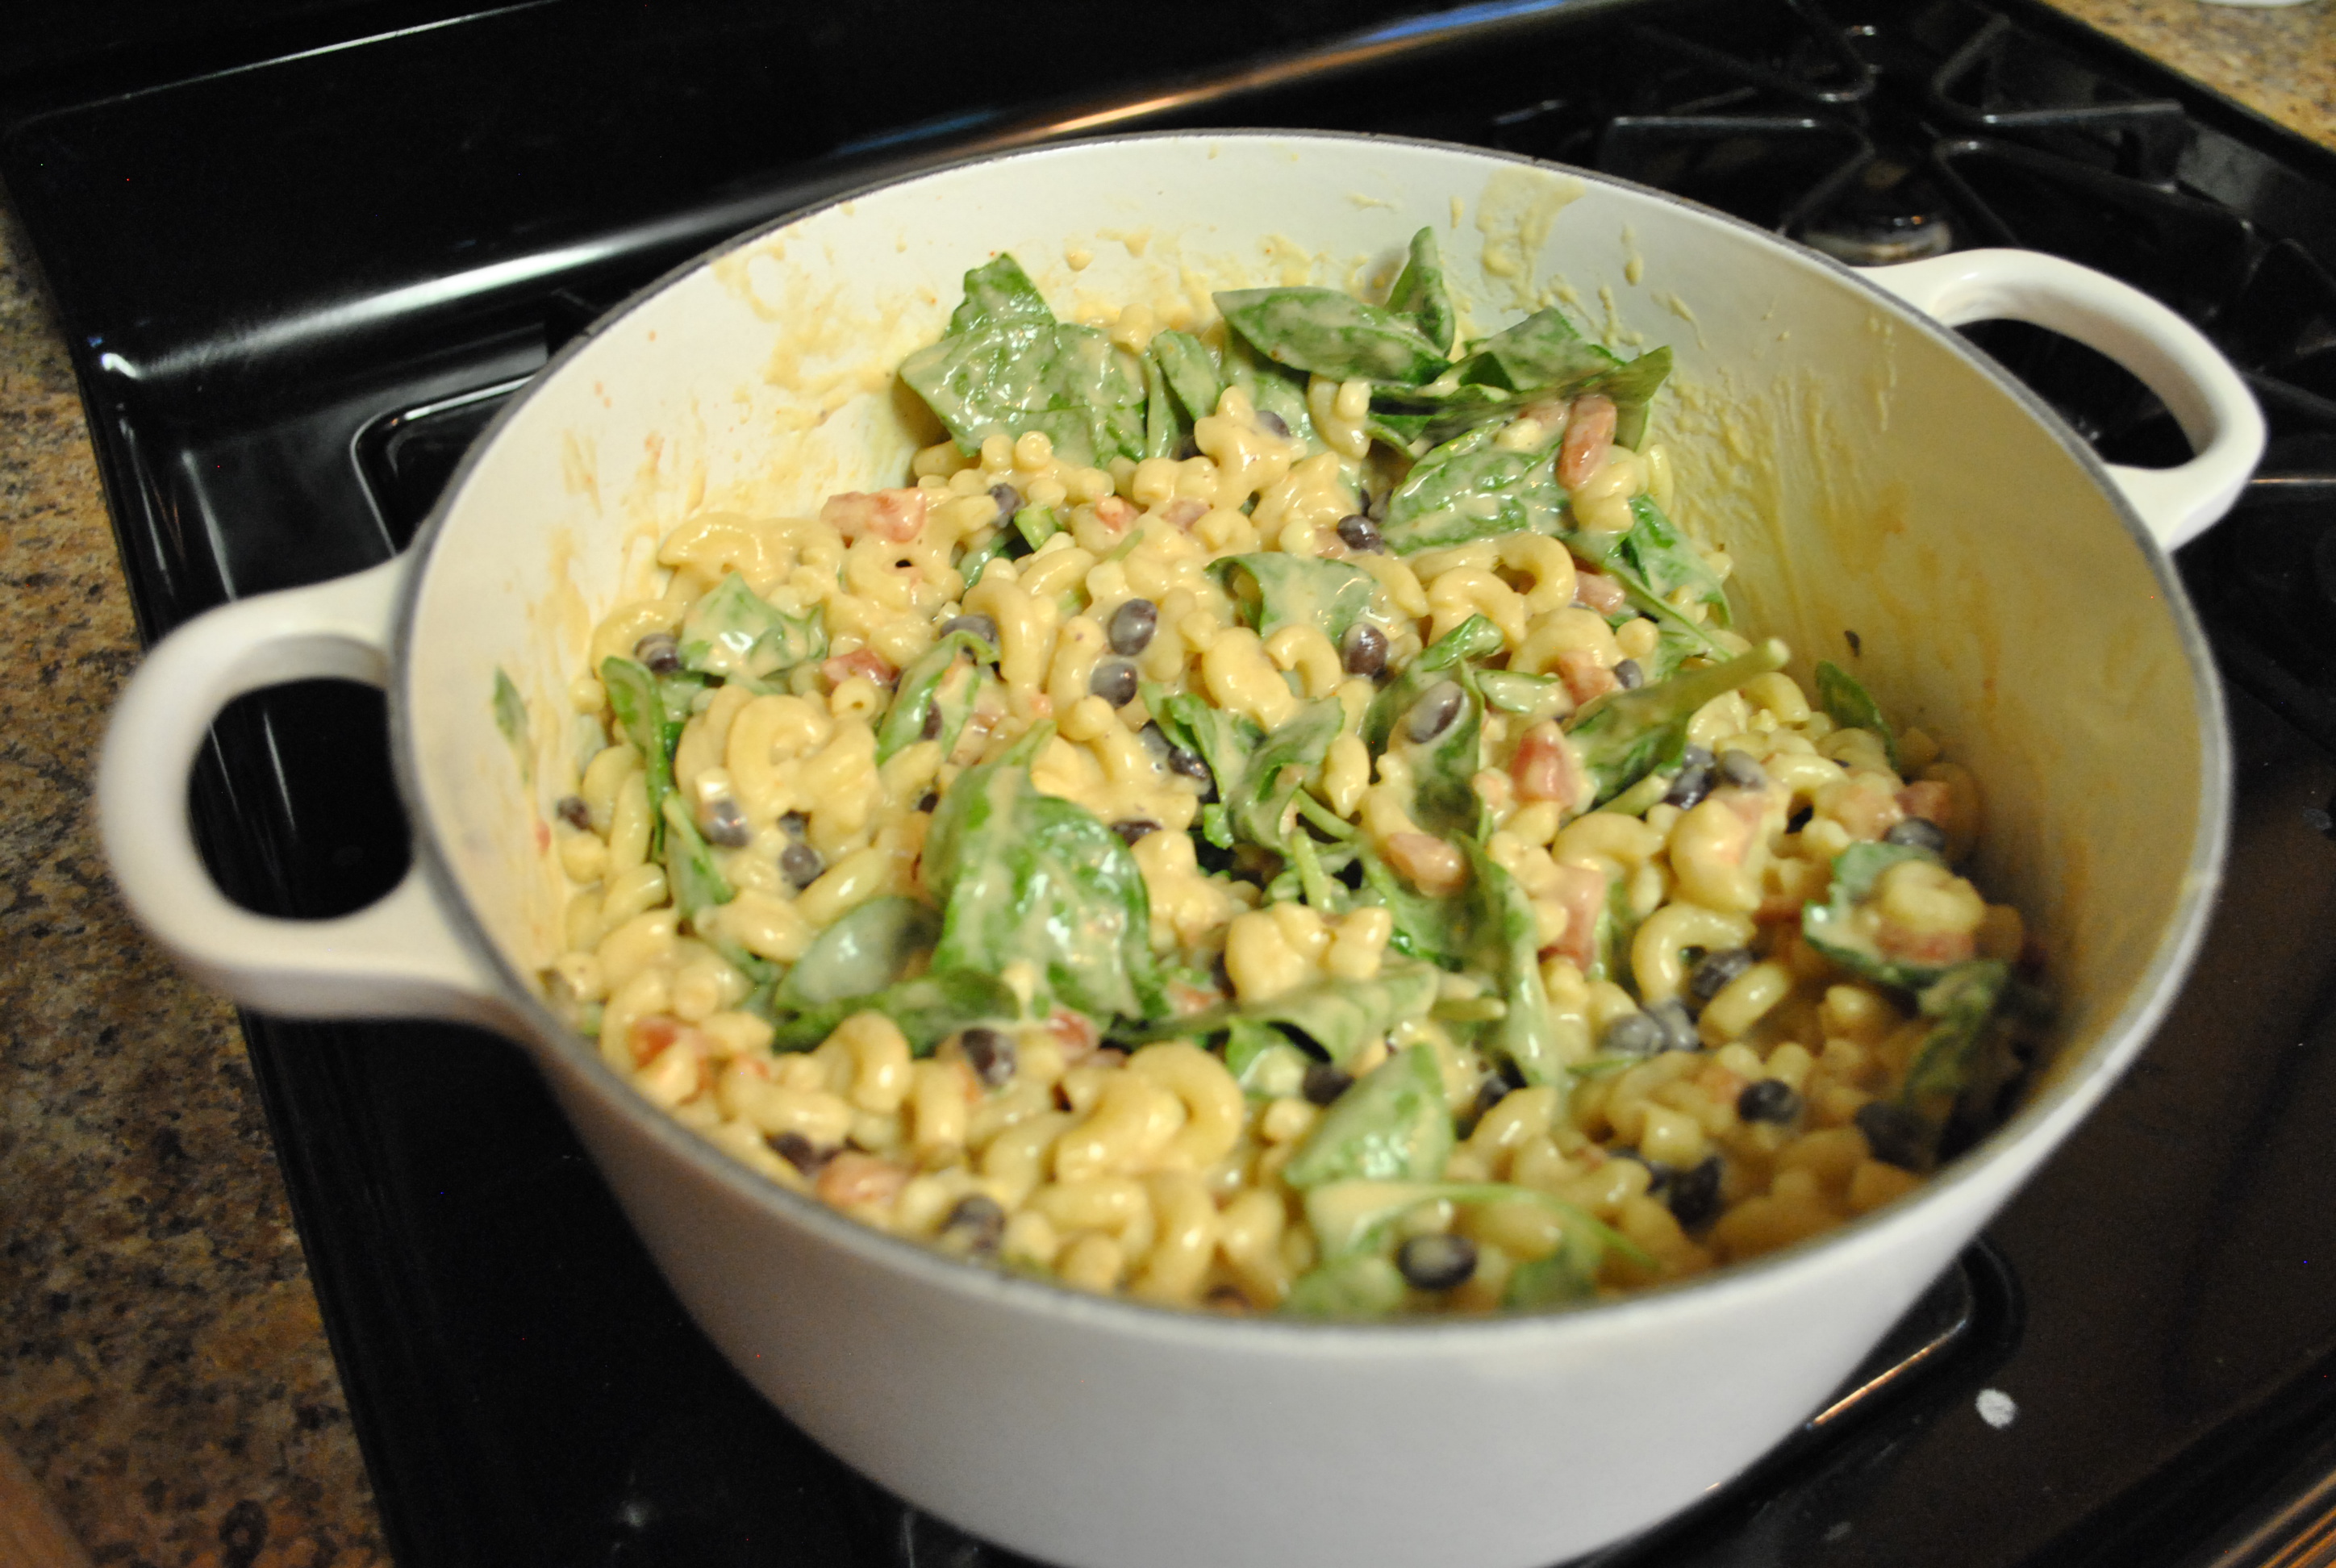
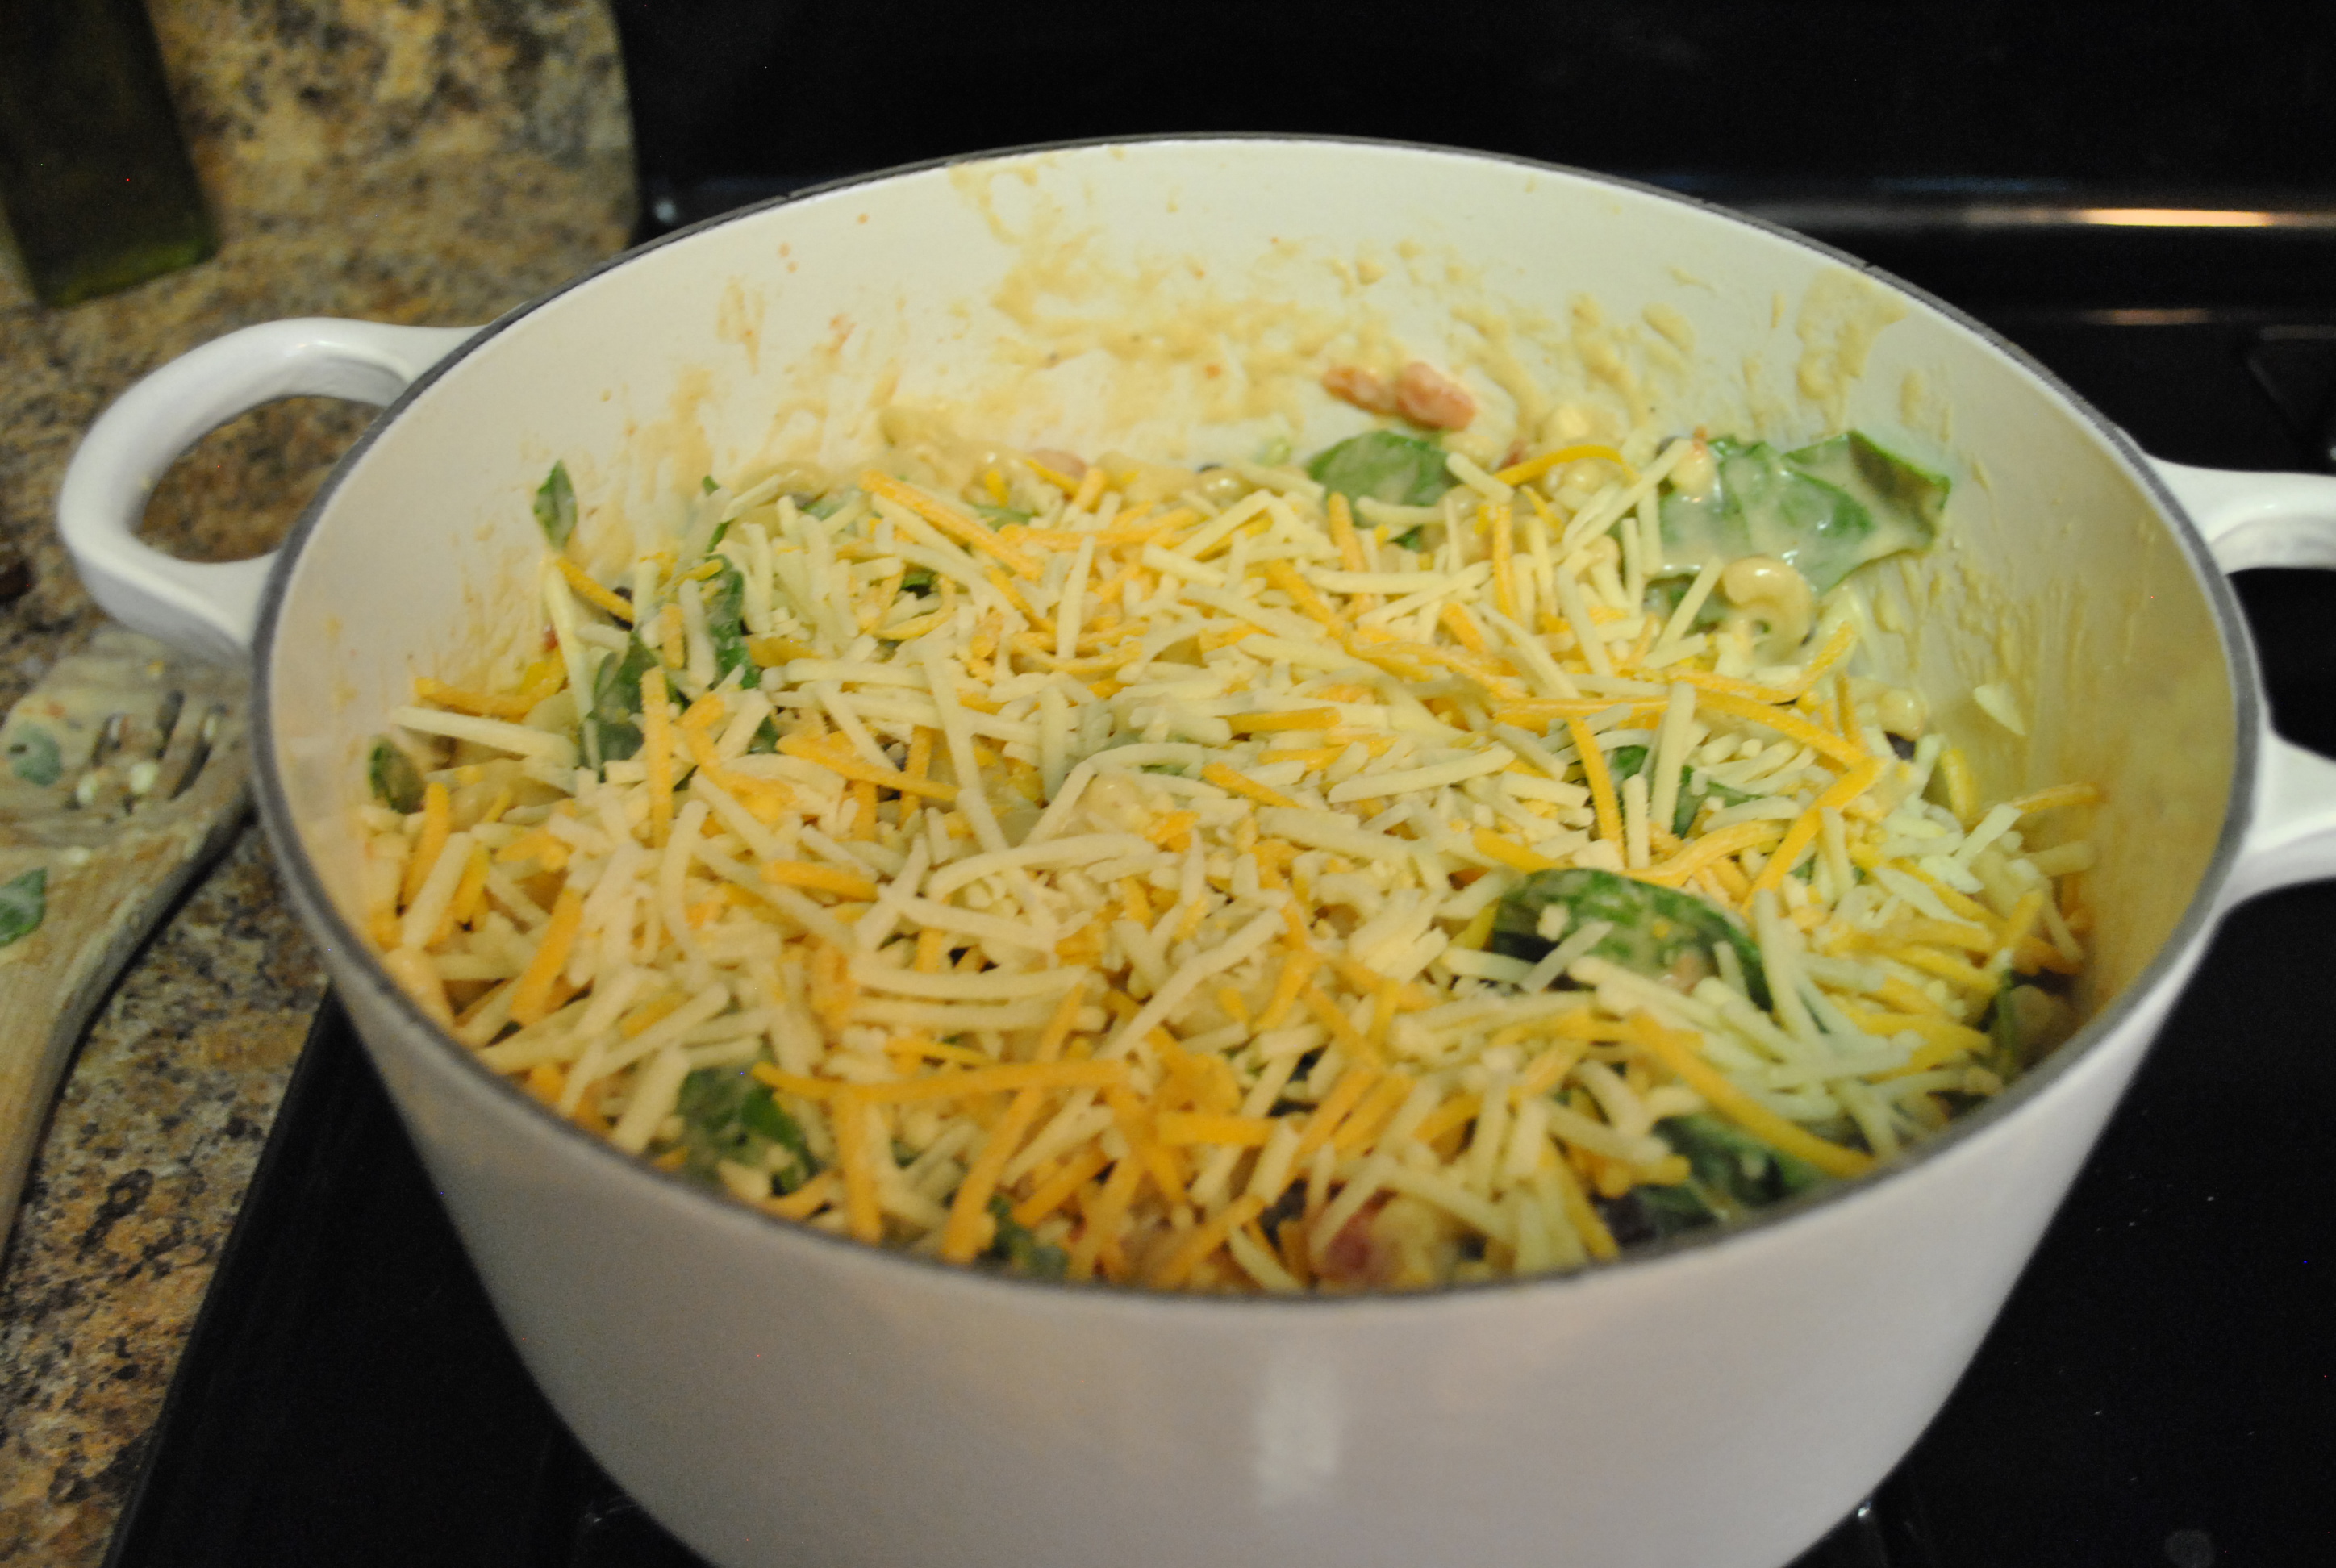
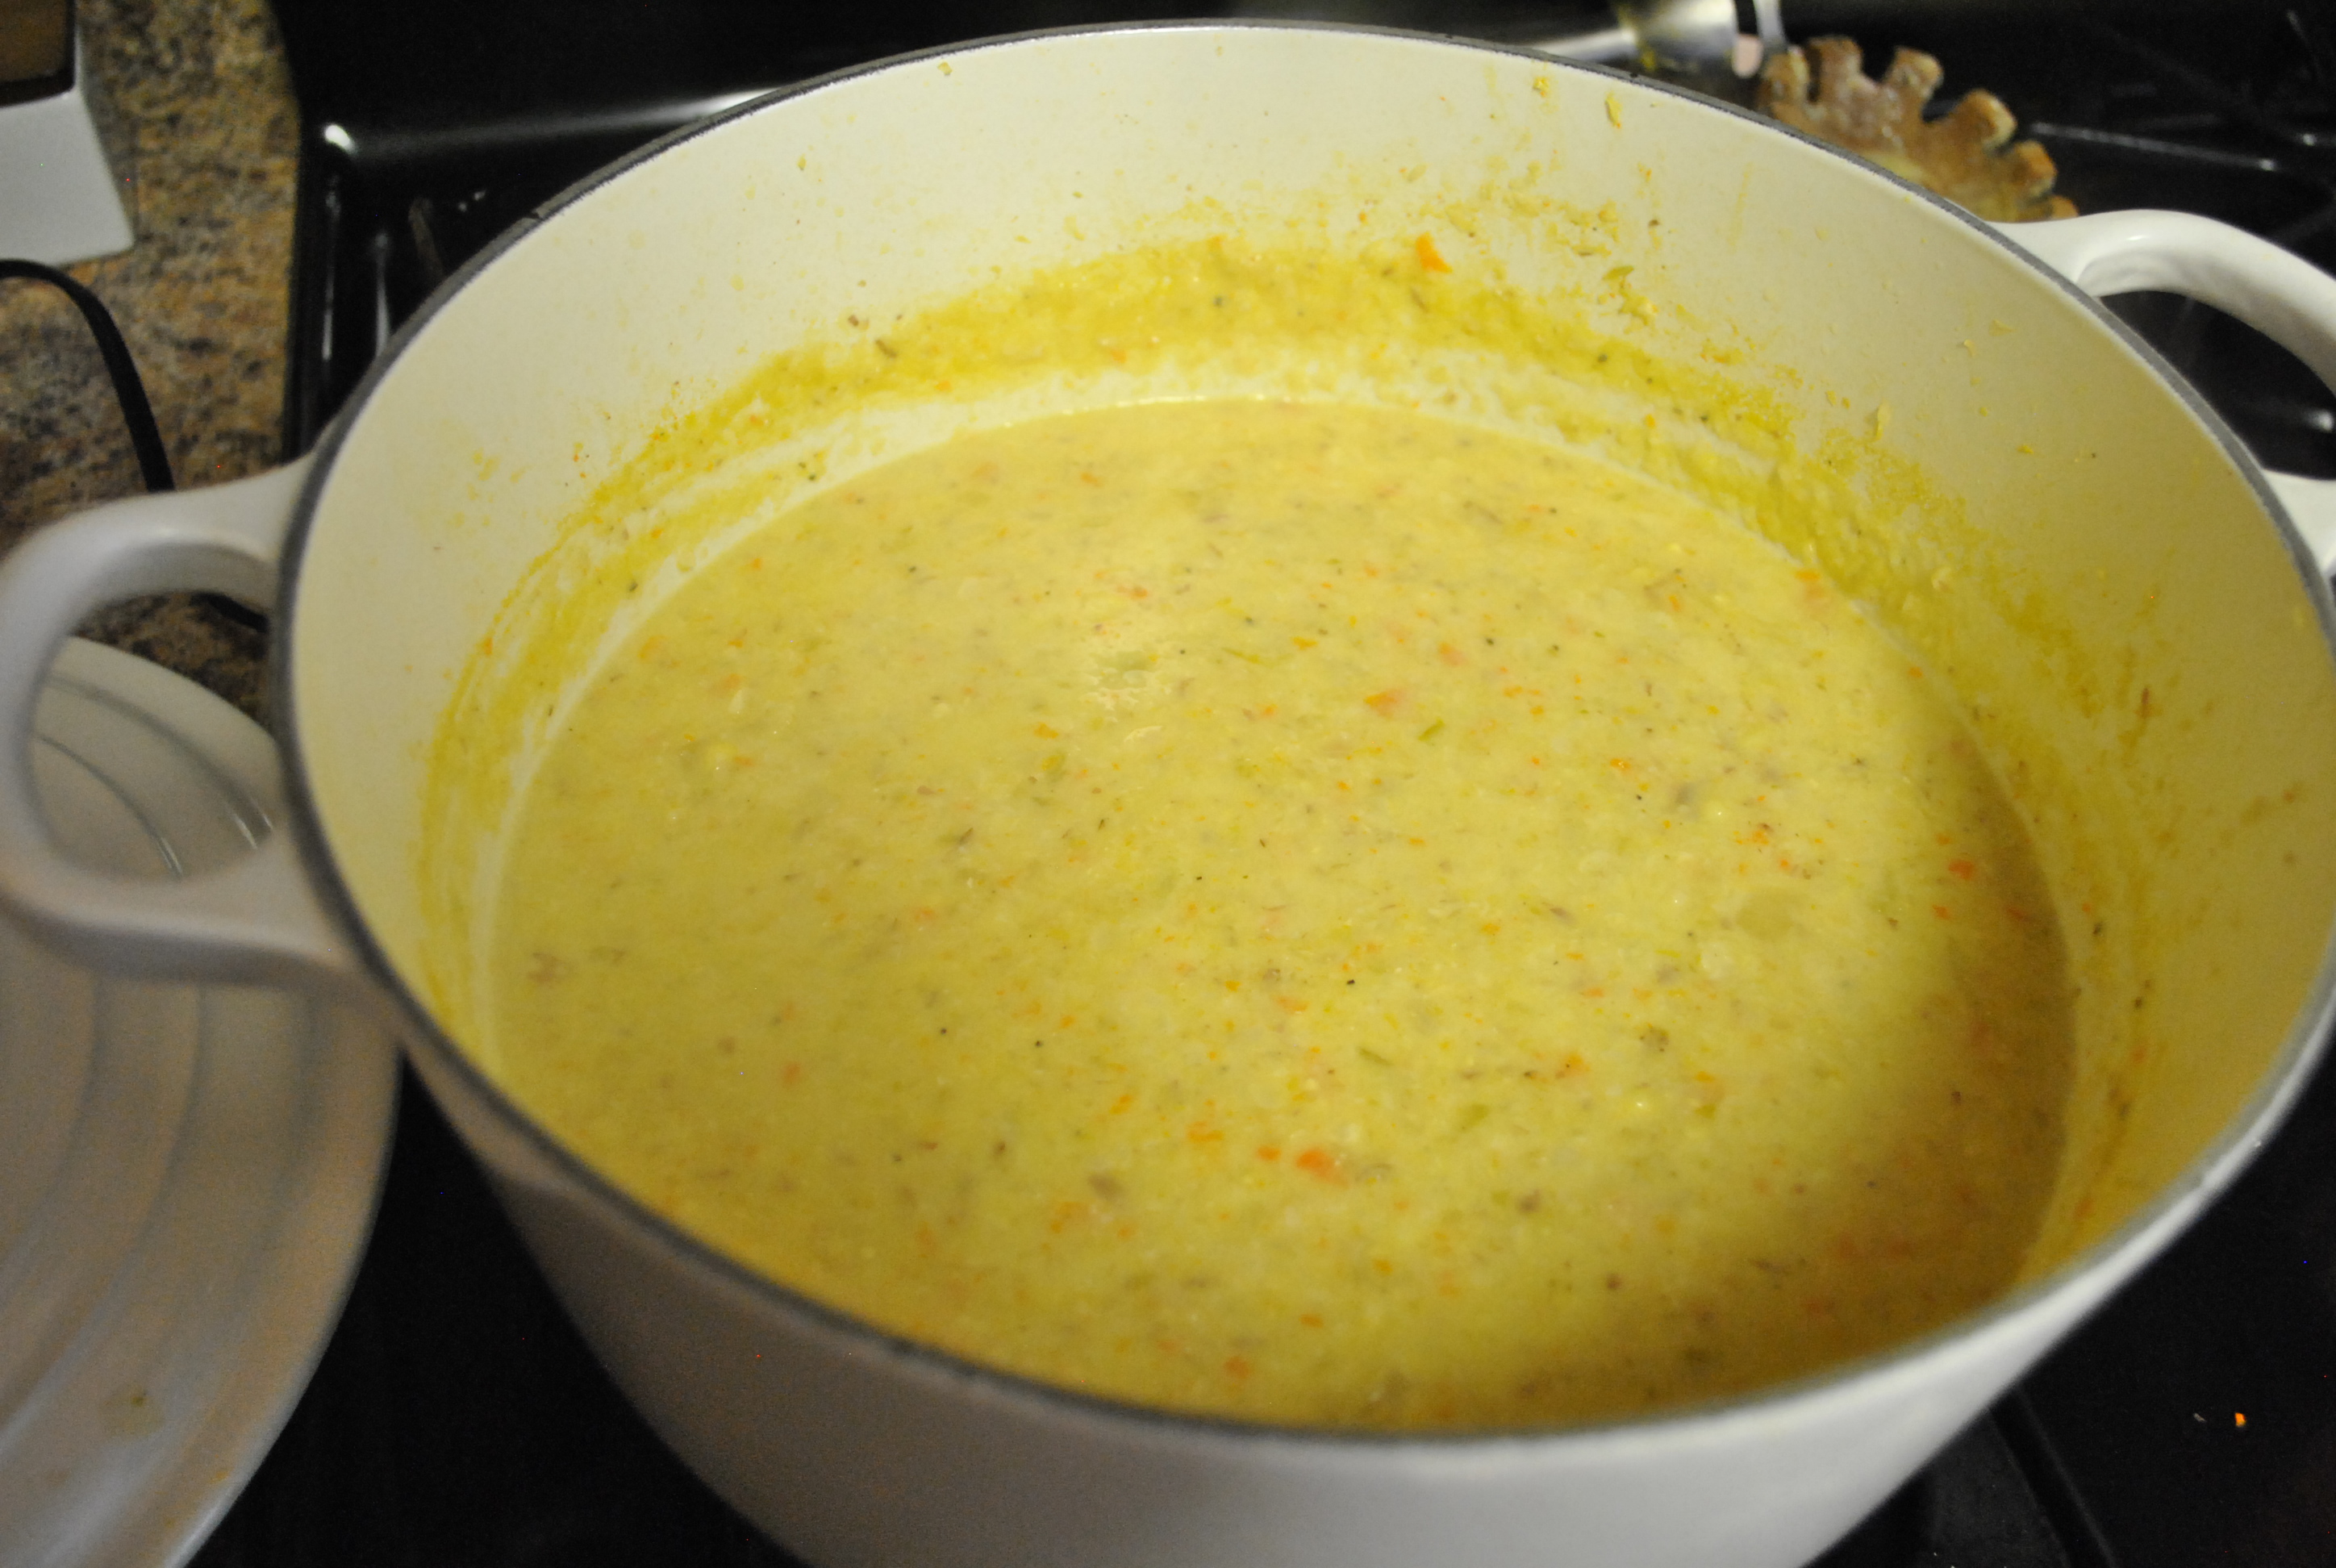
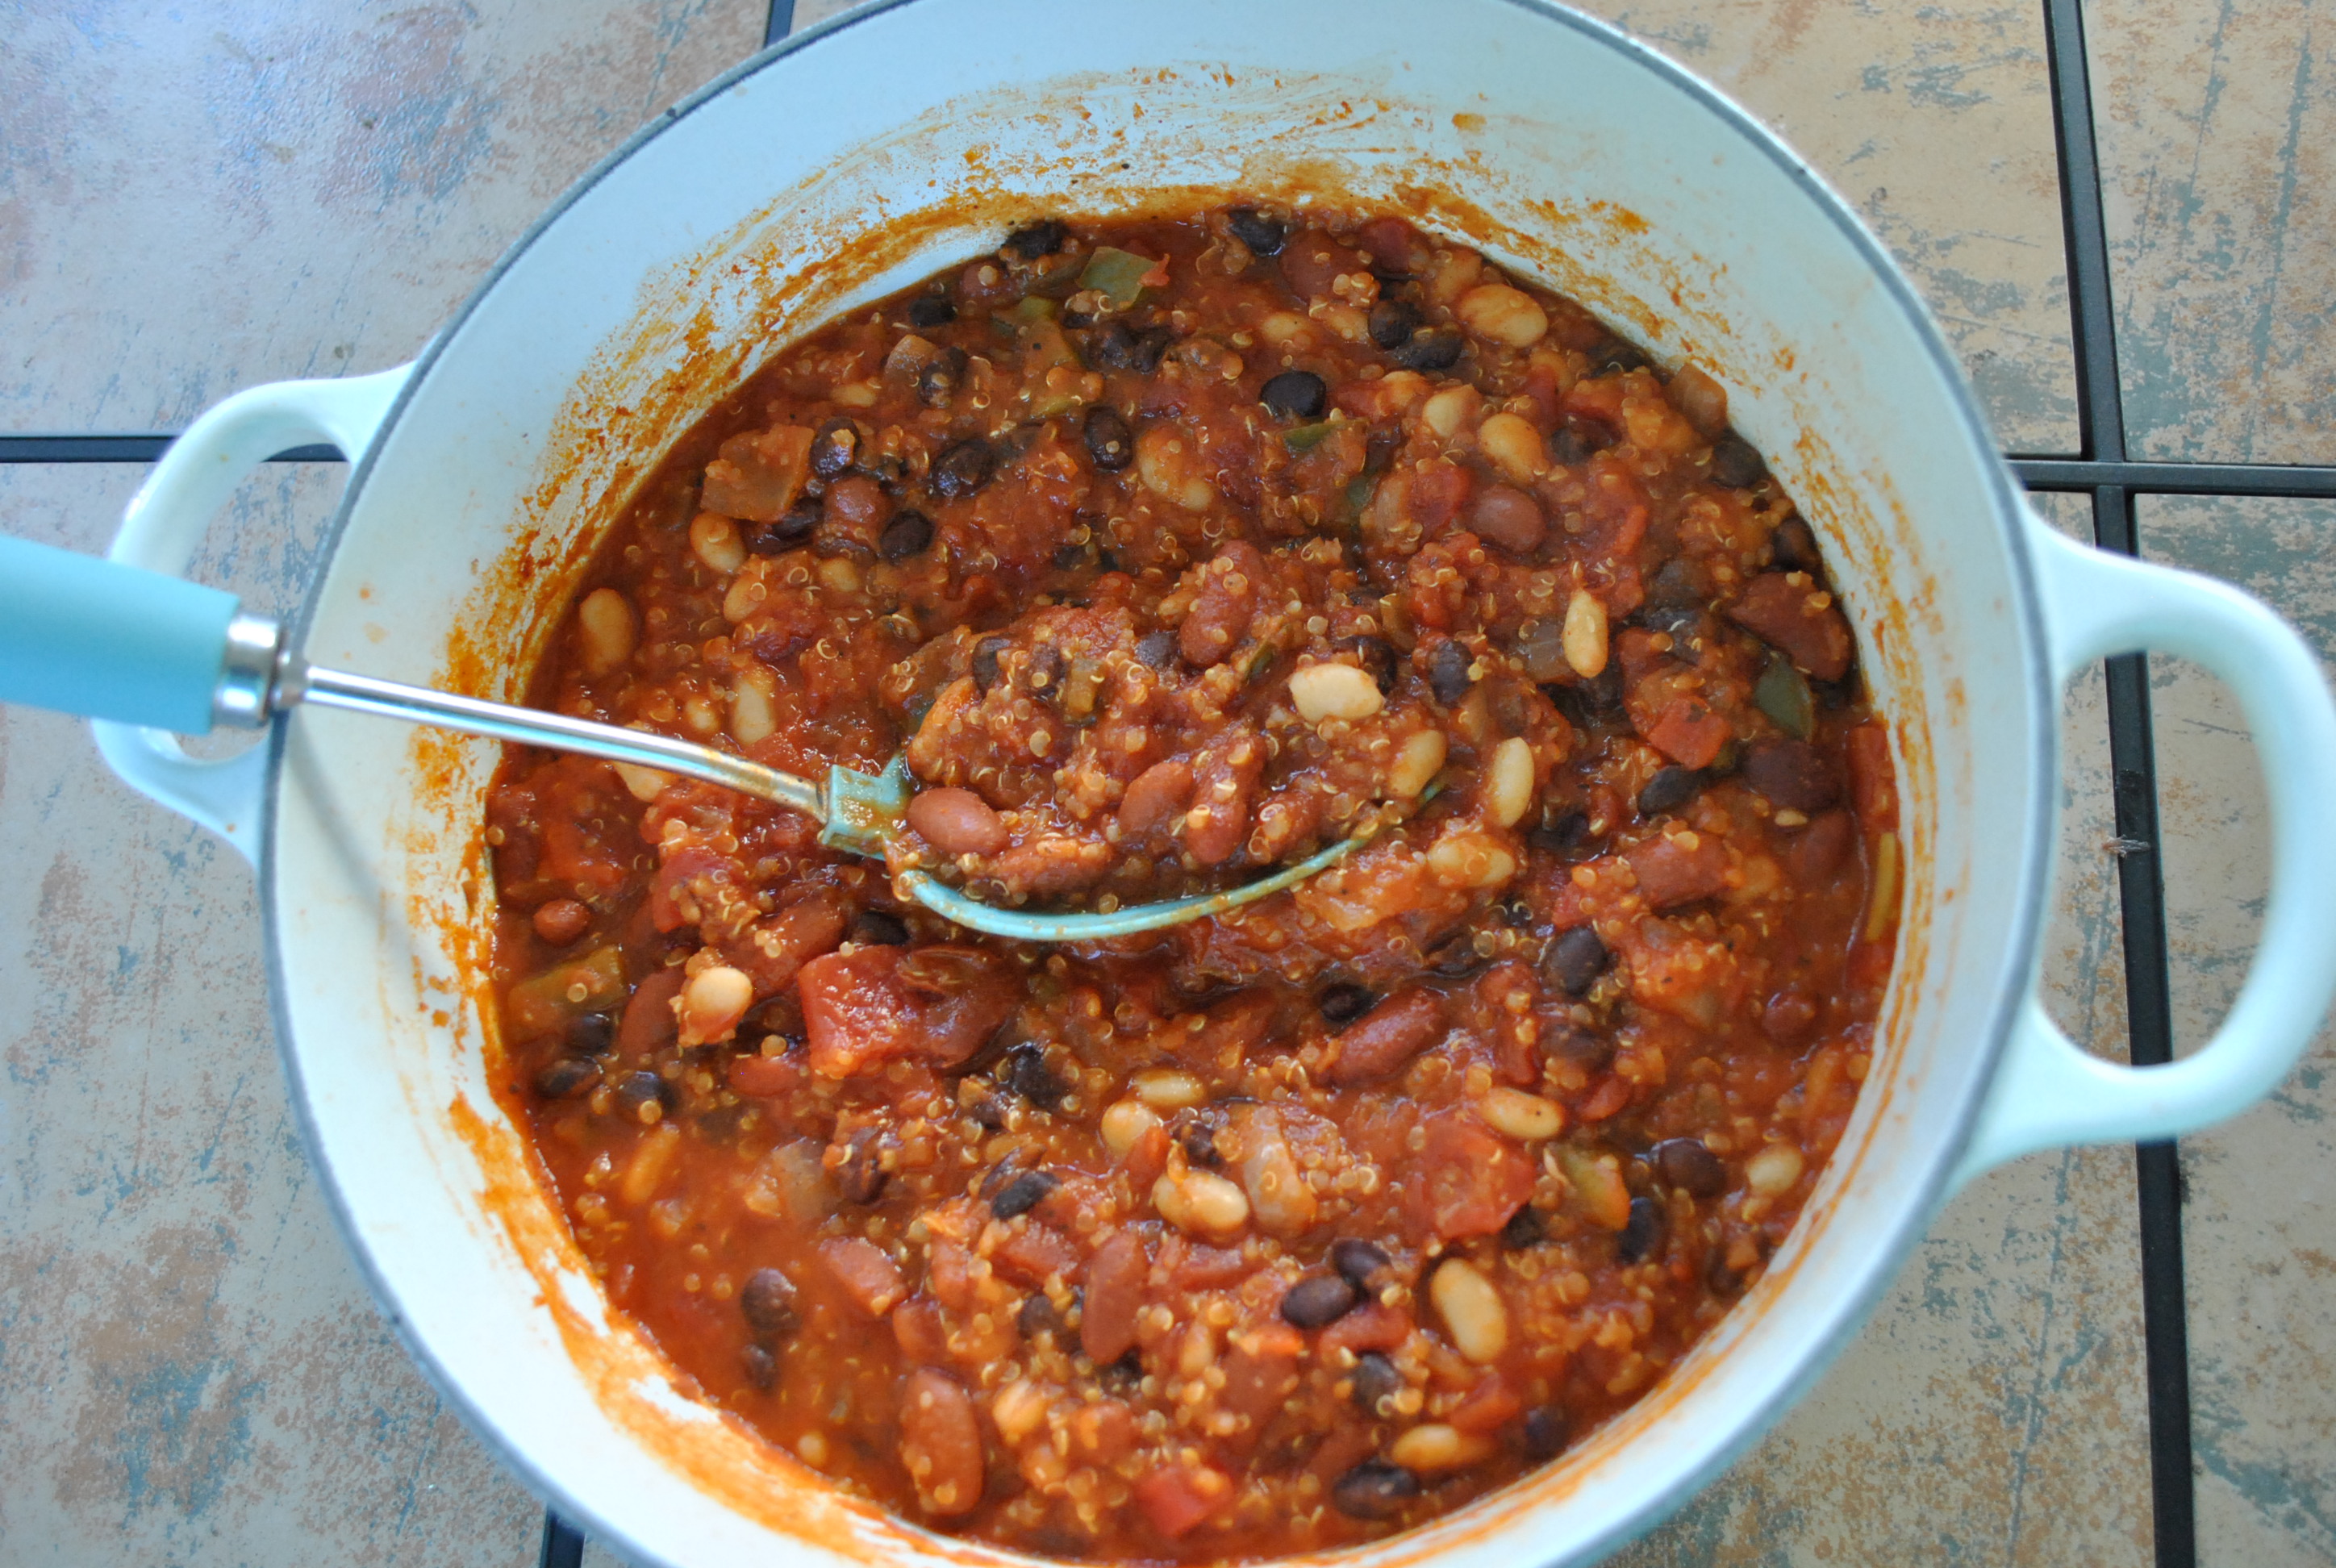
Here’s a glimpse at what the big ol’ pot of chili looks like once the quinoa has absorbed all the liquid and is nice and tender.

The great thing about chili is you can just let it keep doing it’s thing for a while before you’re ready to eat and it keeps getting better. We kept ours on the stove, on low, for about an hour or so until we were ready to eat.

DSC_0693

DSC_0707

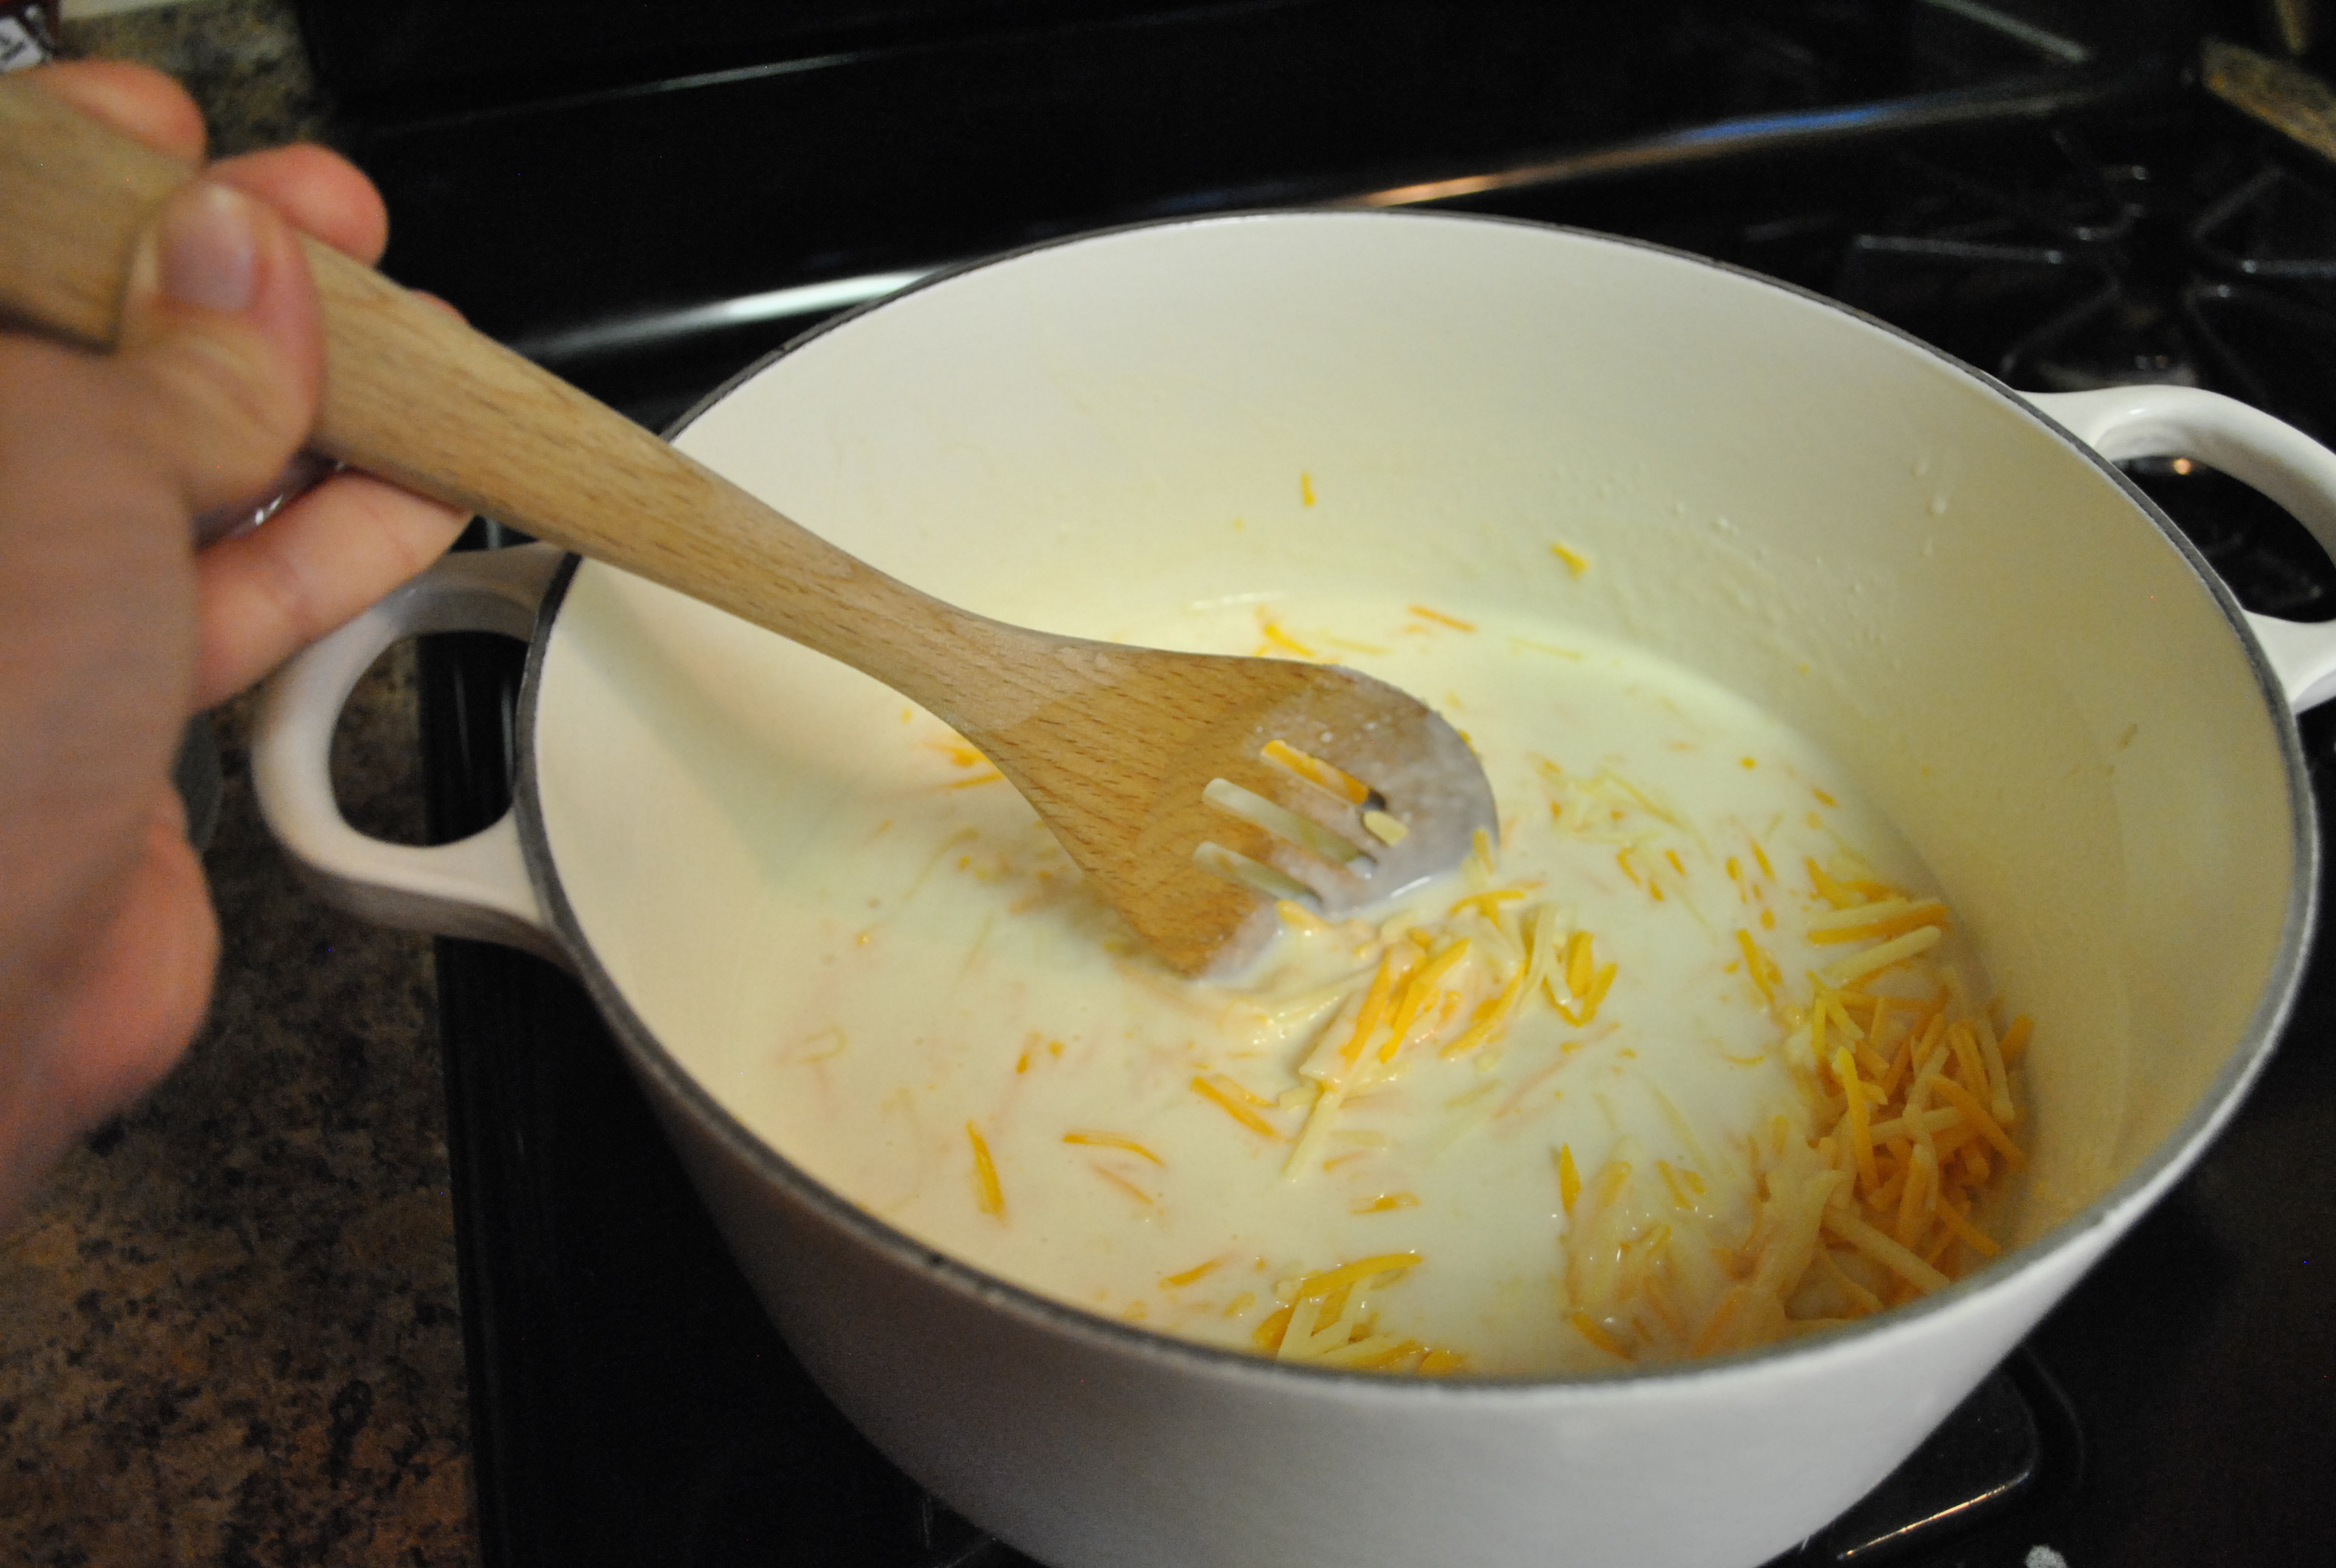
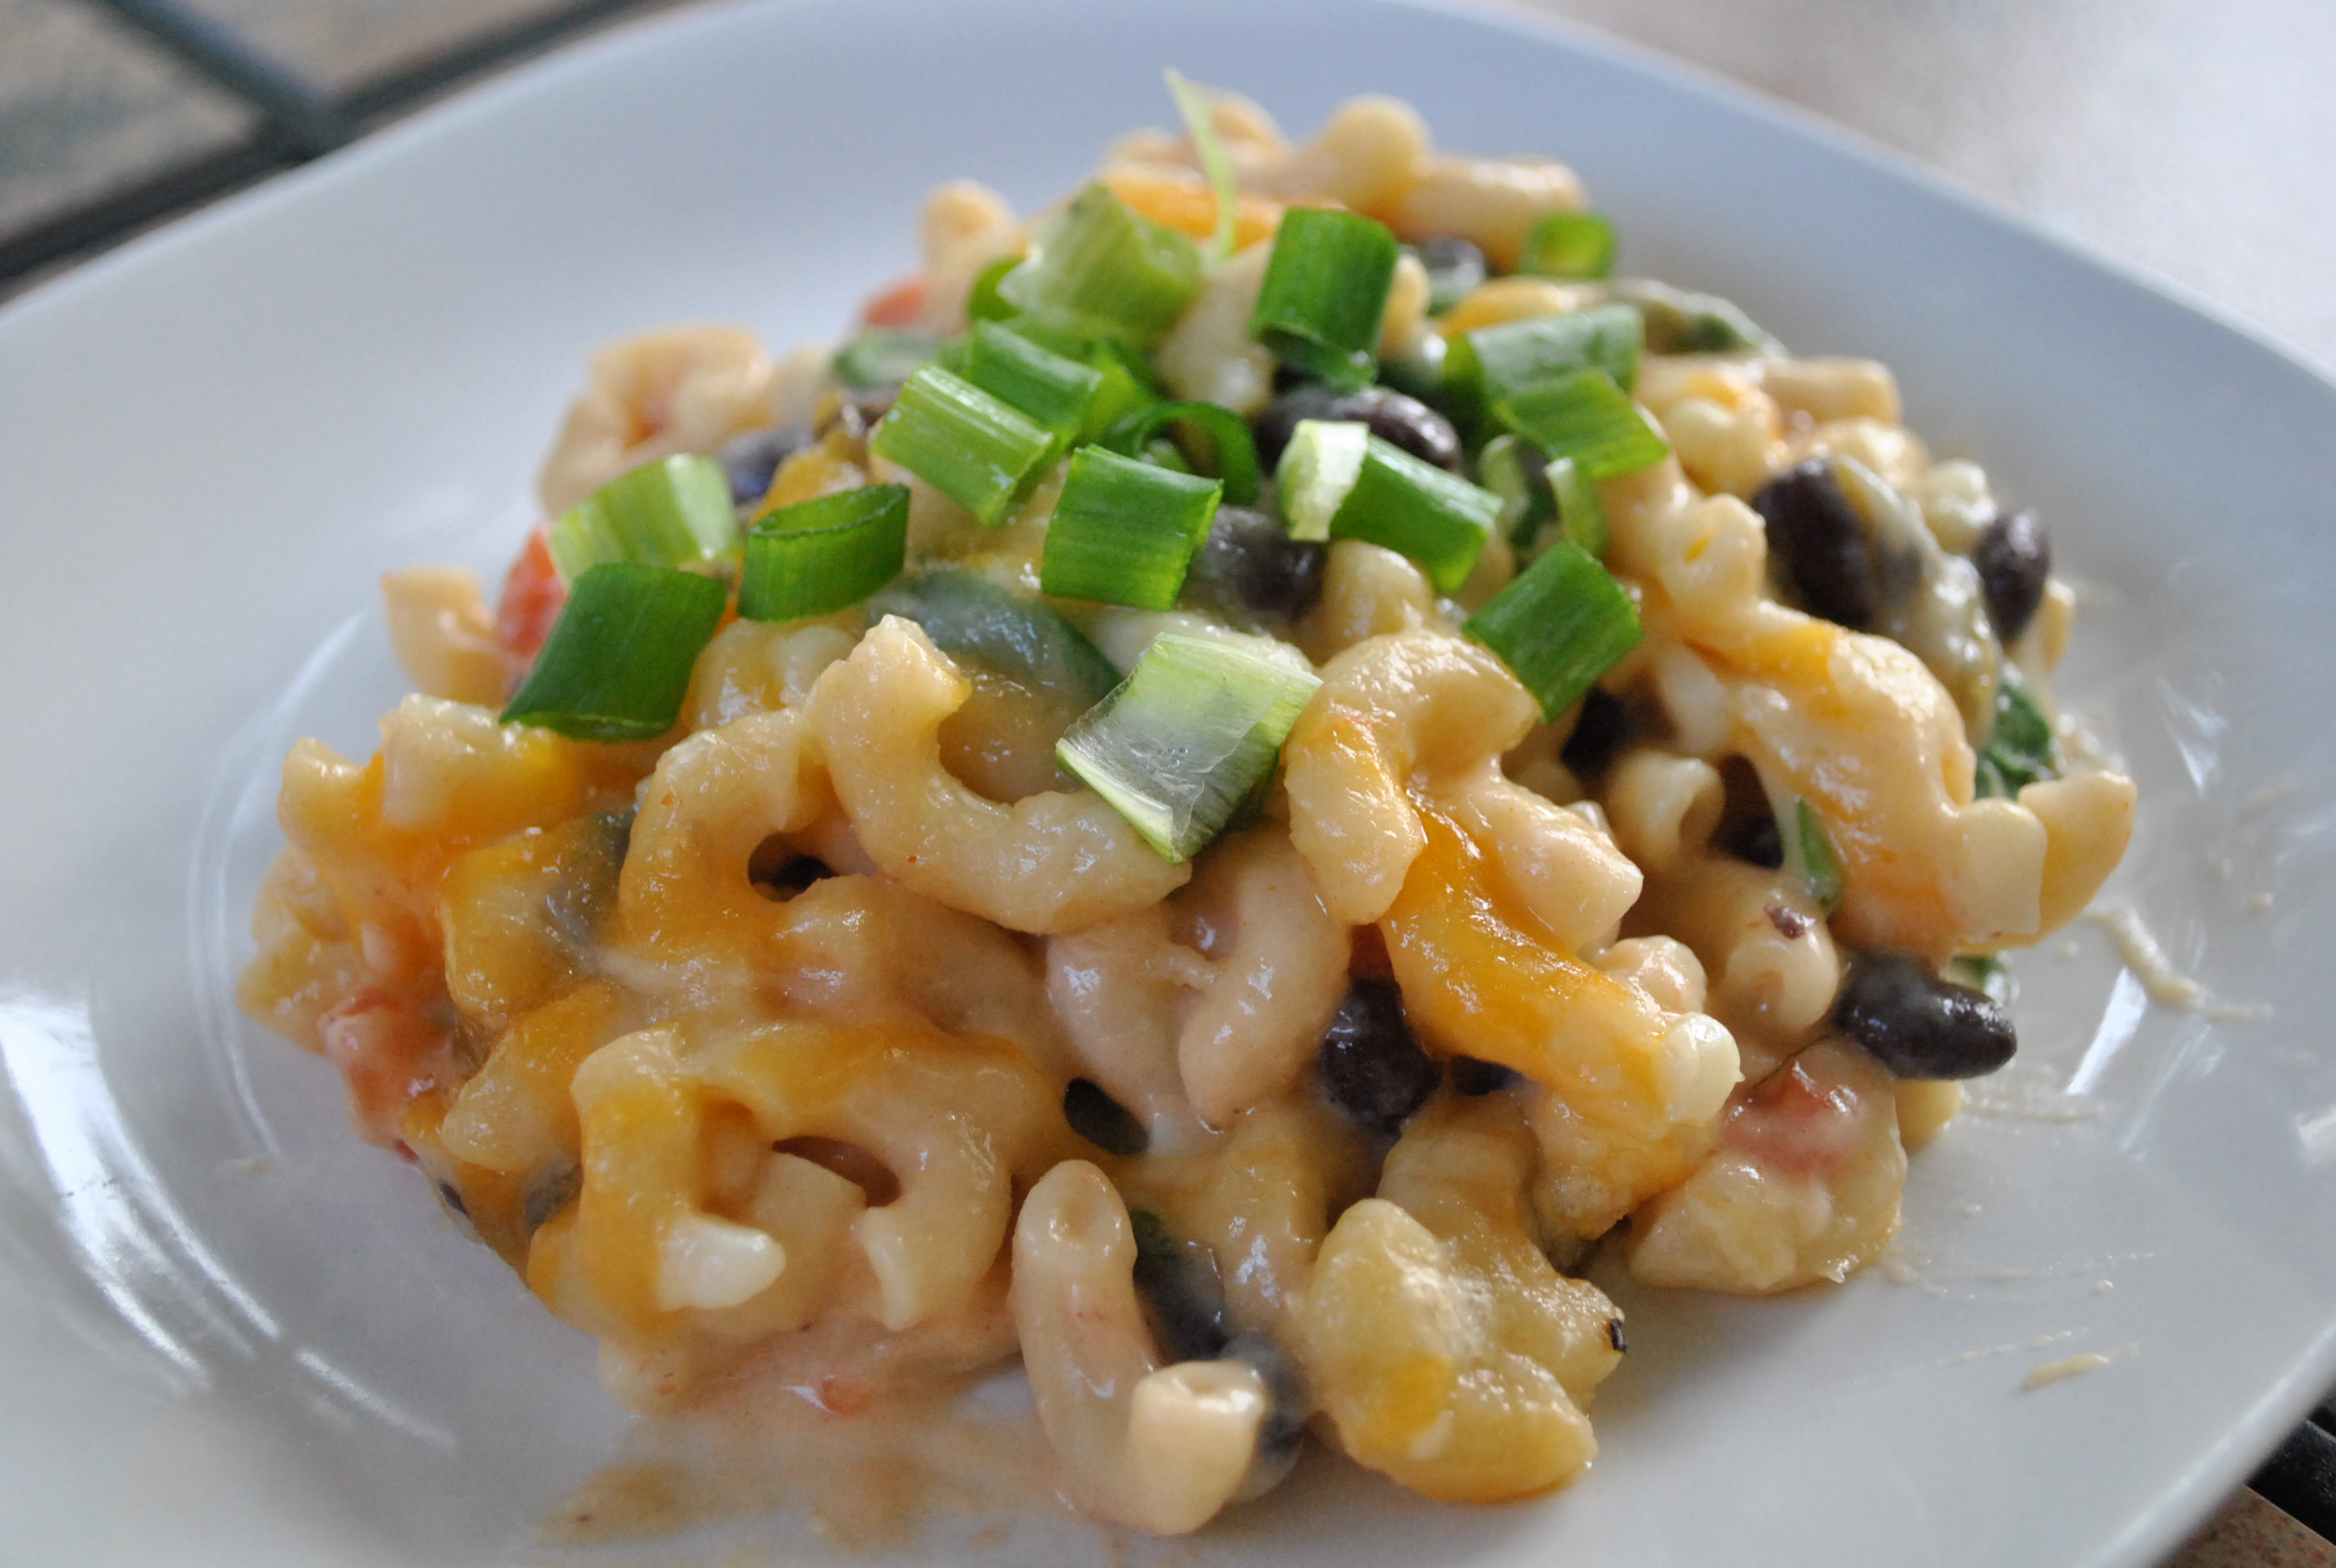
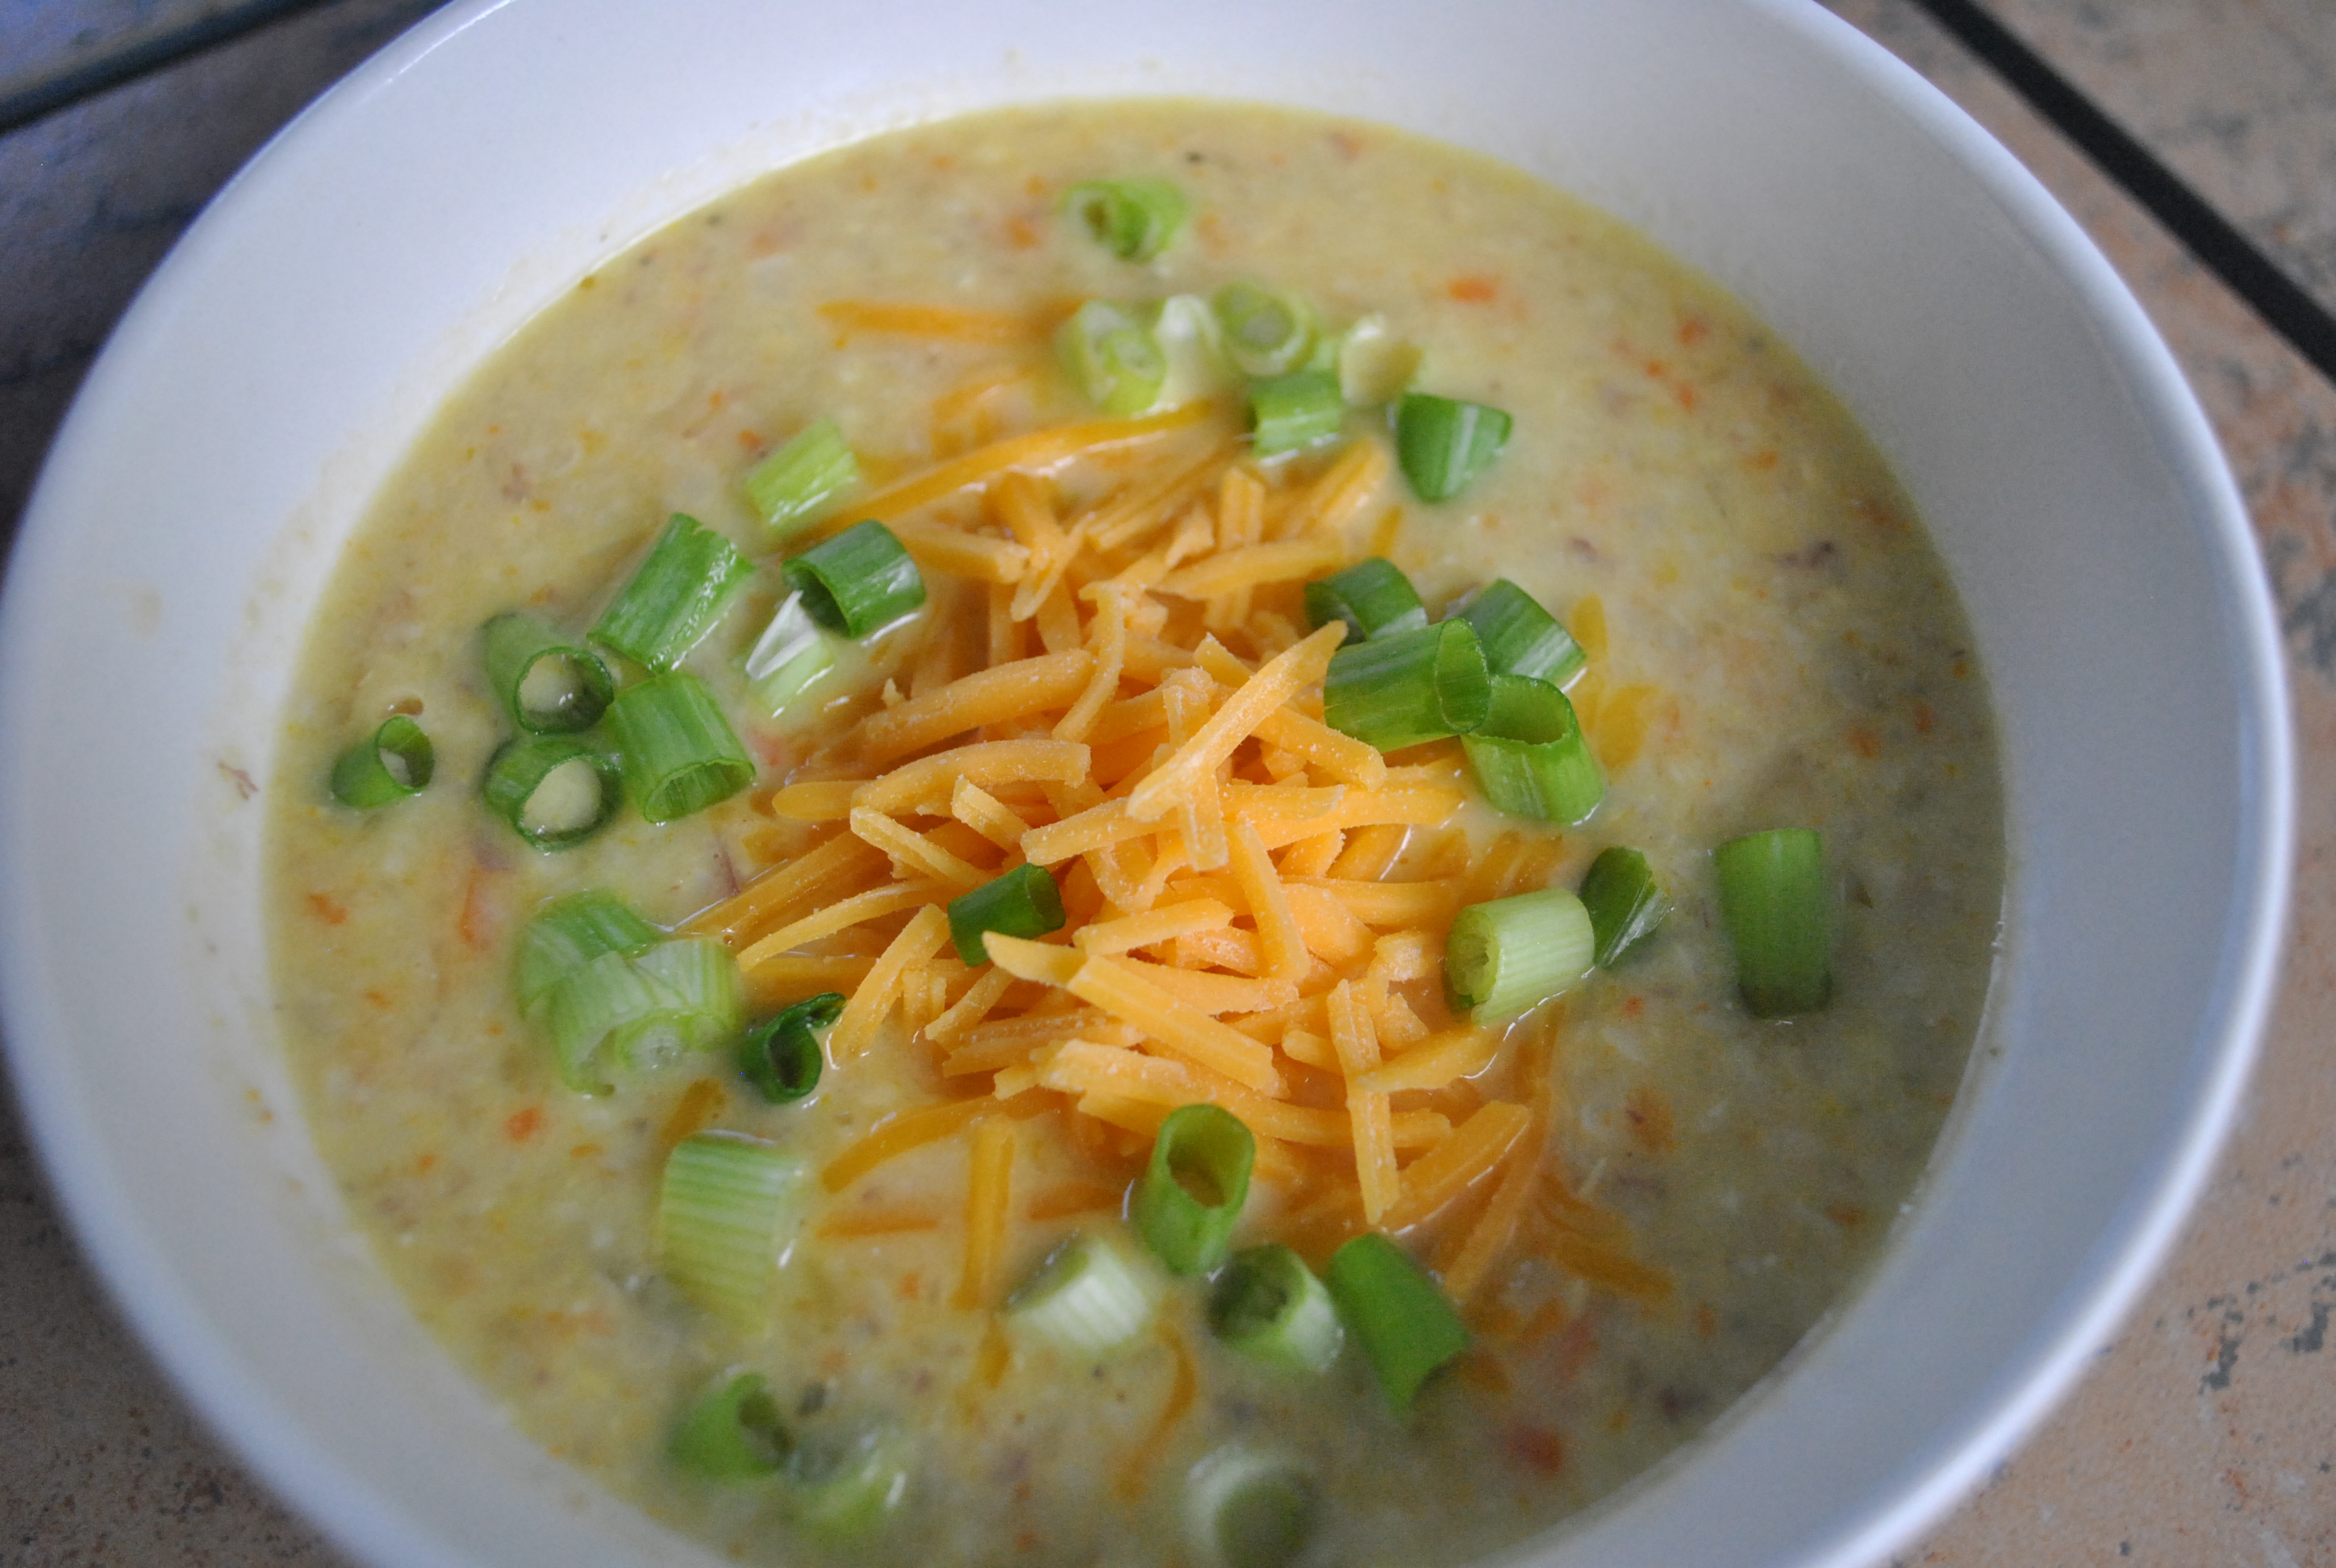
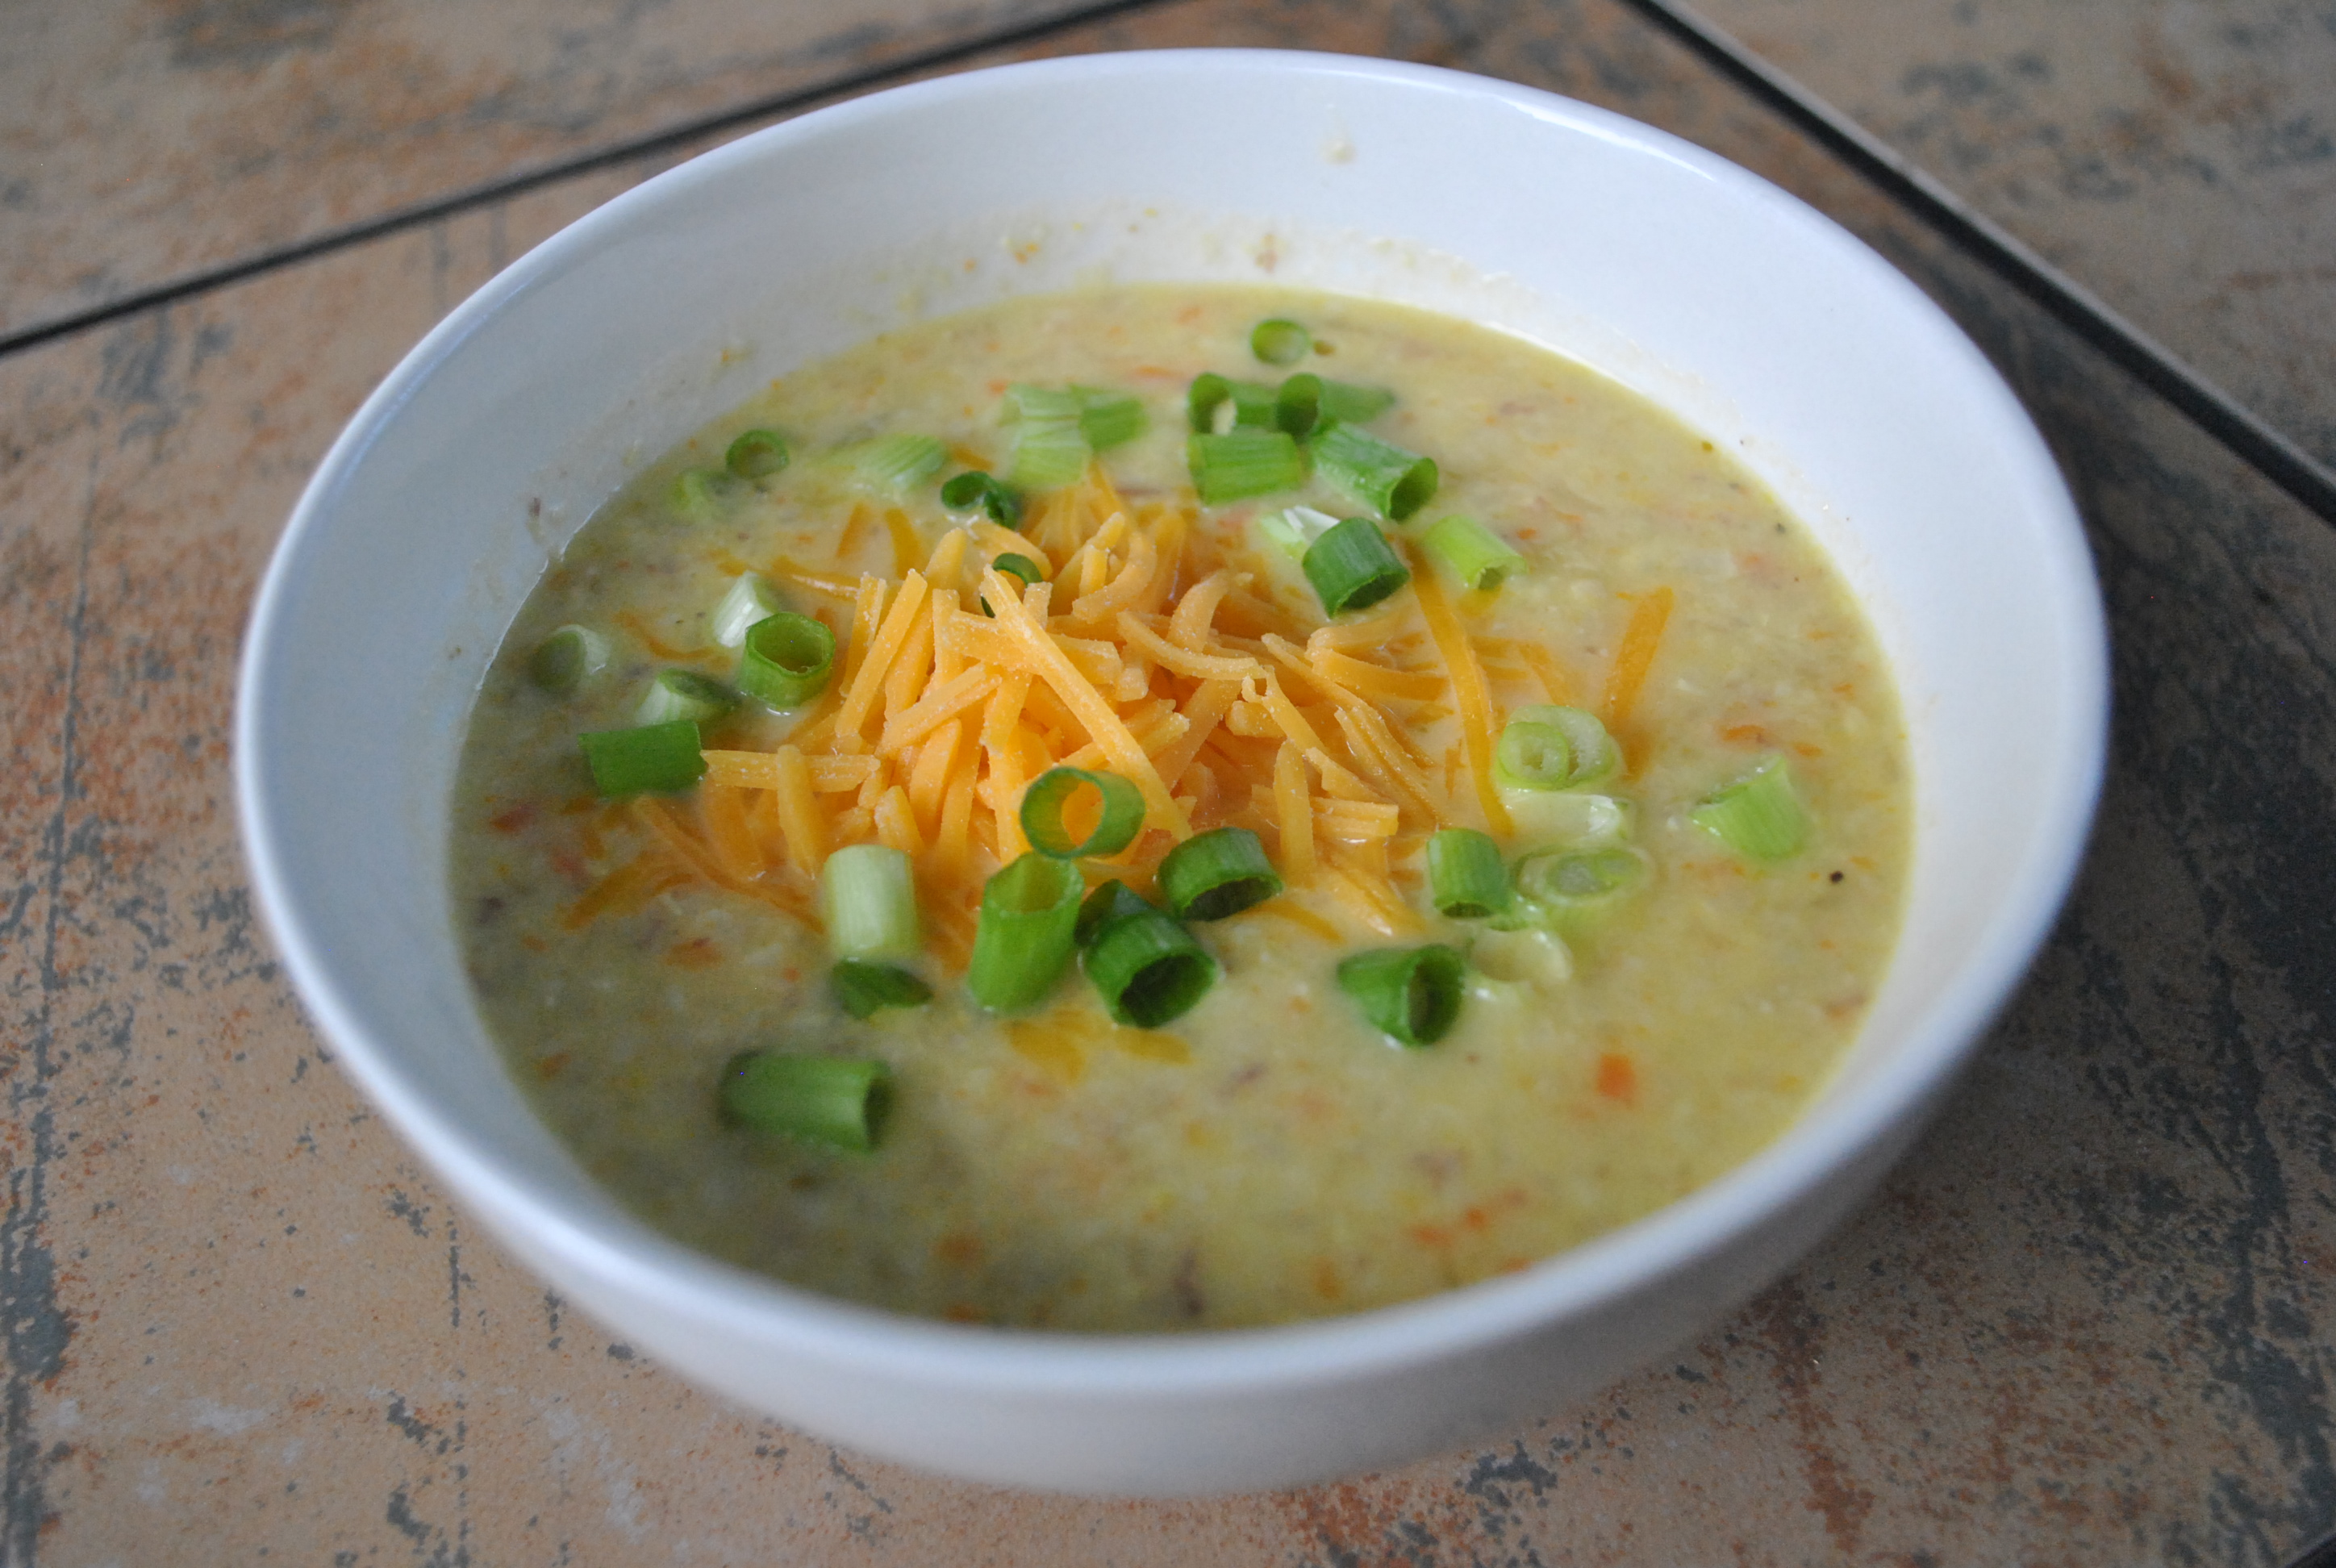
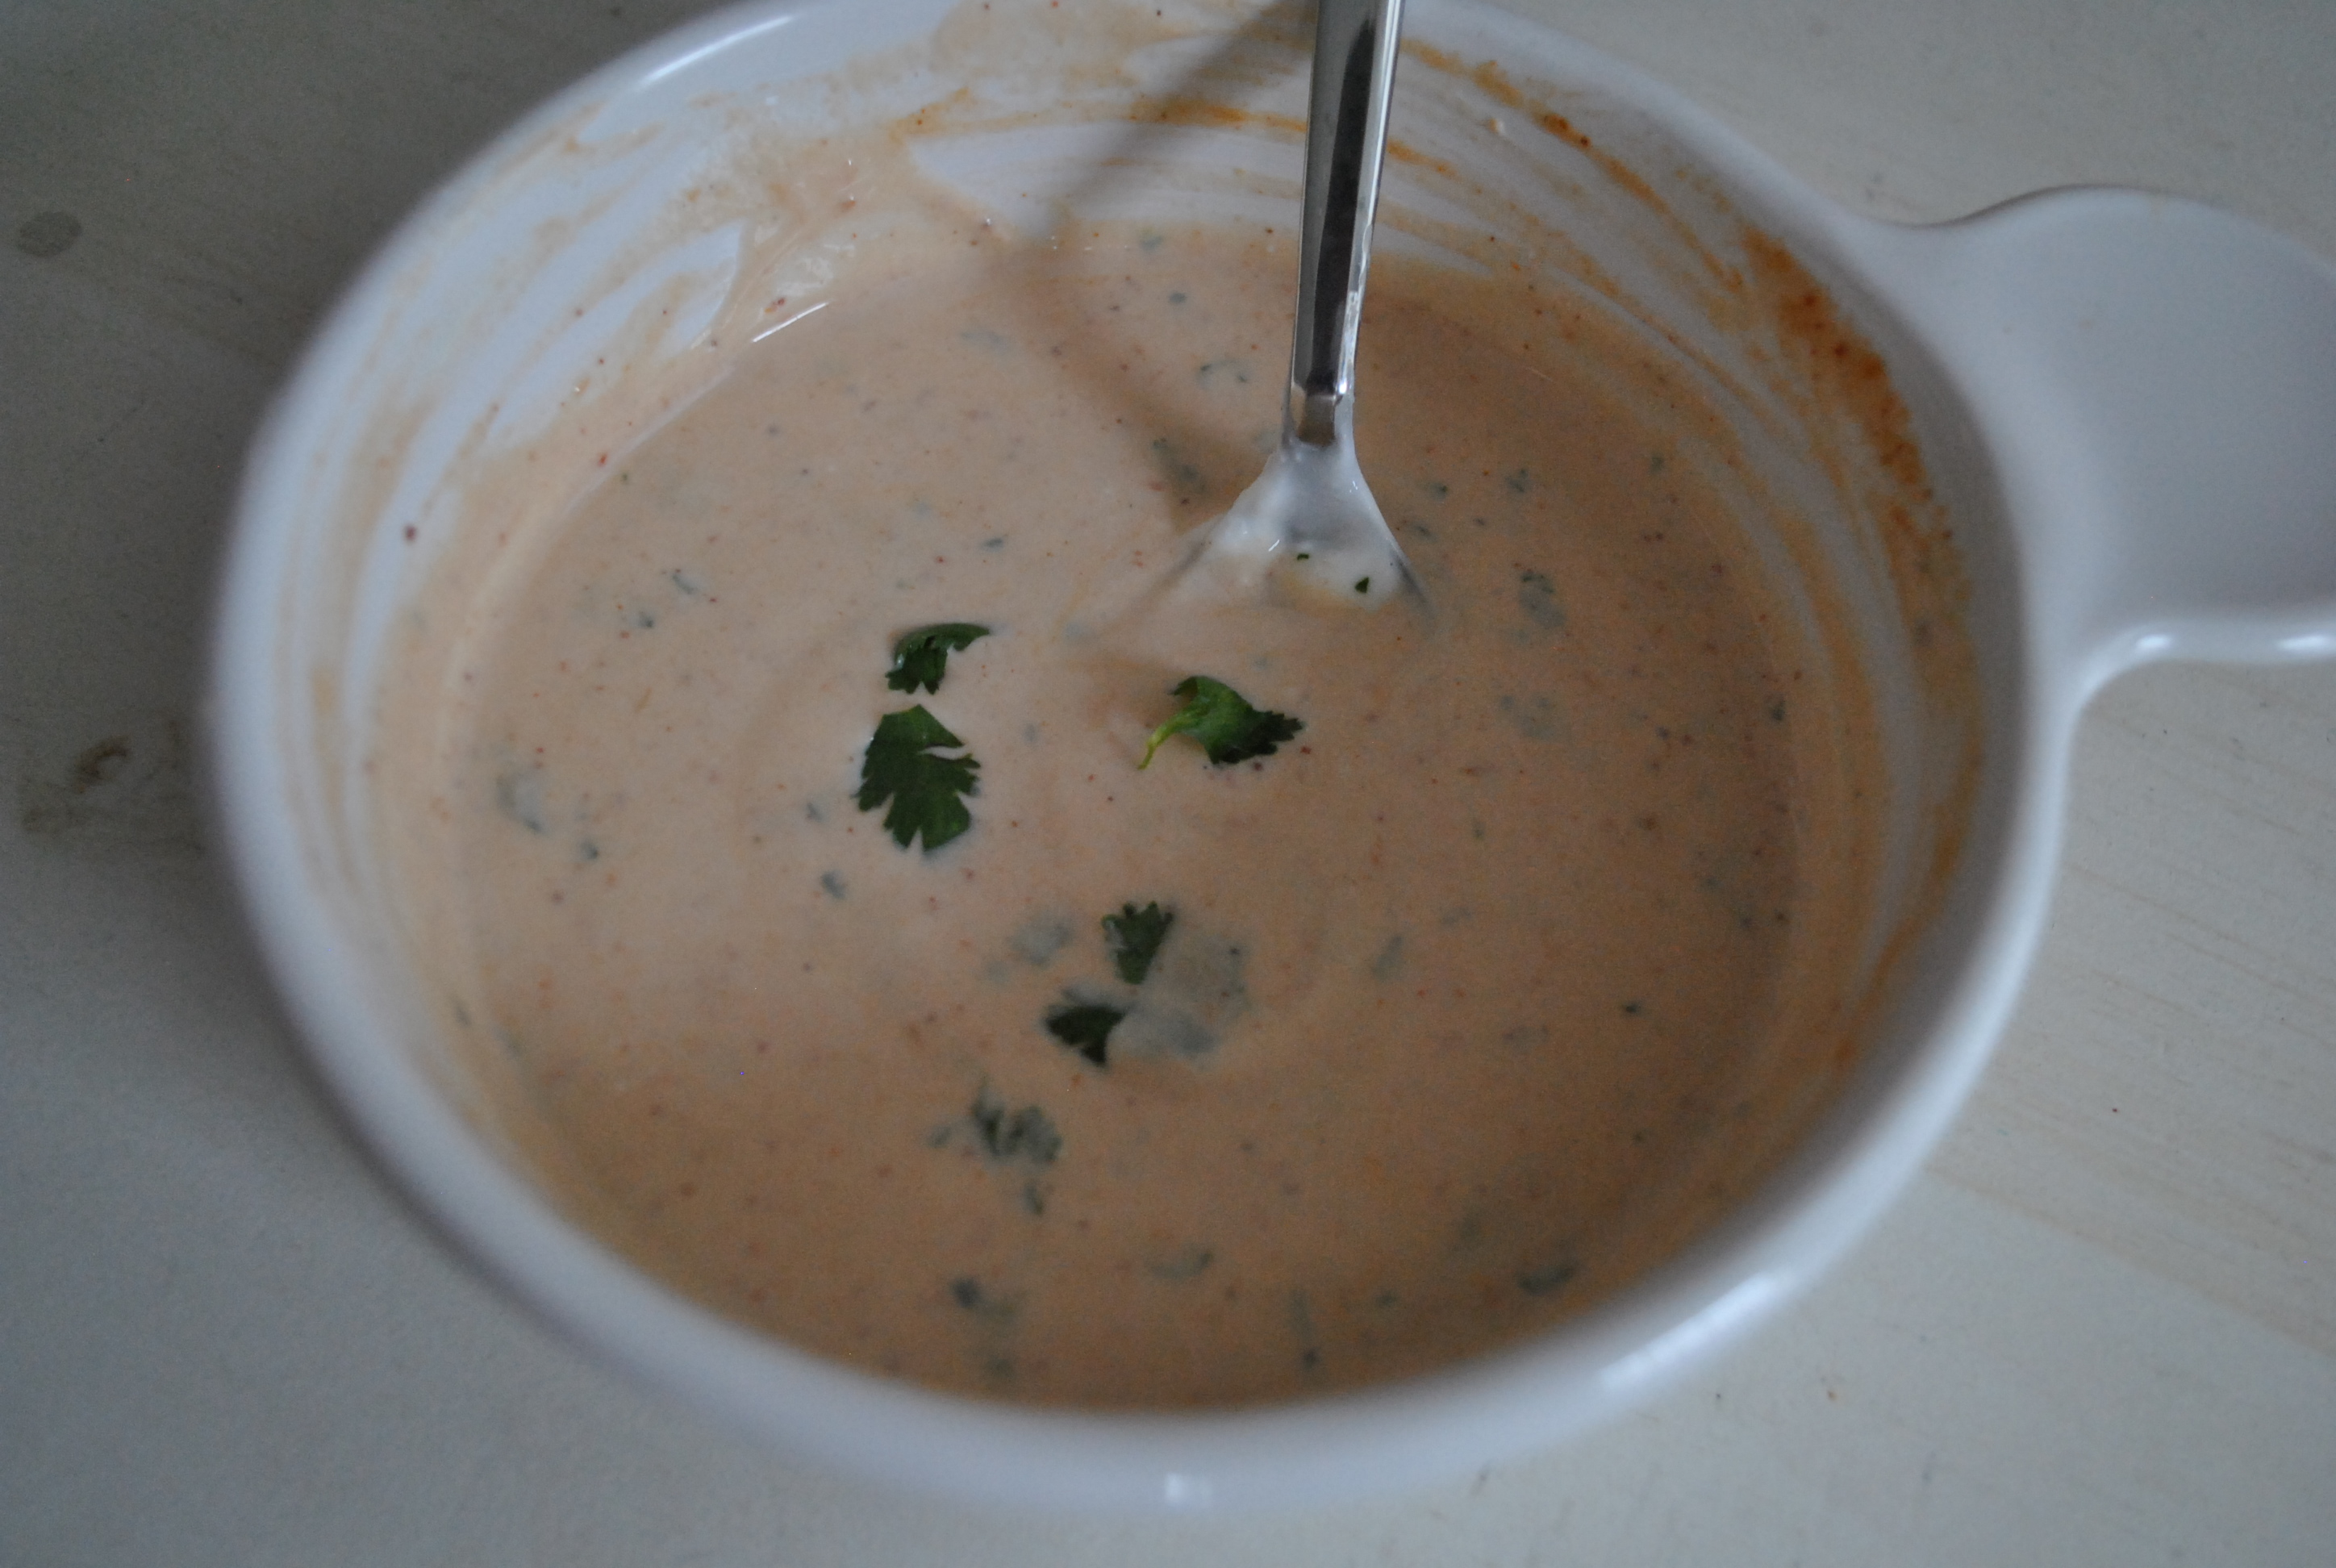
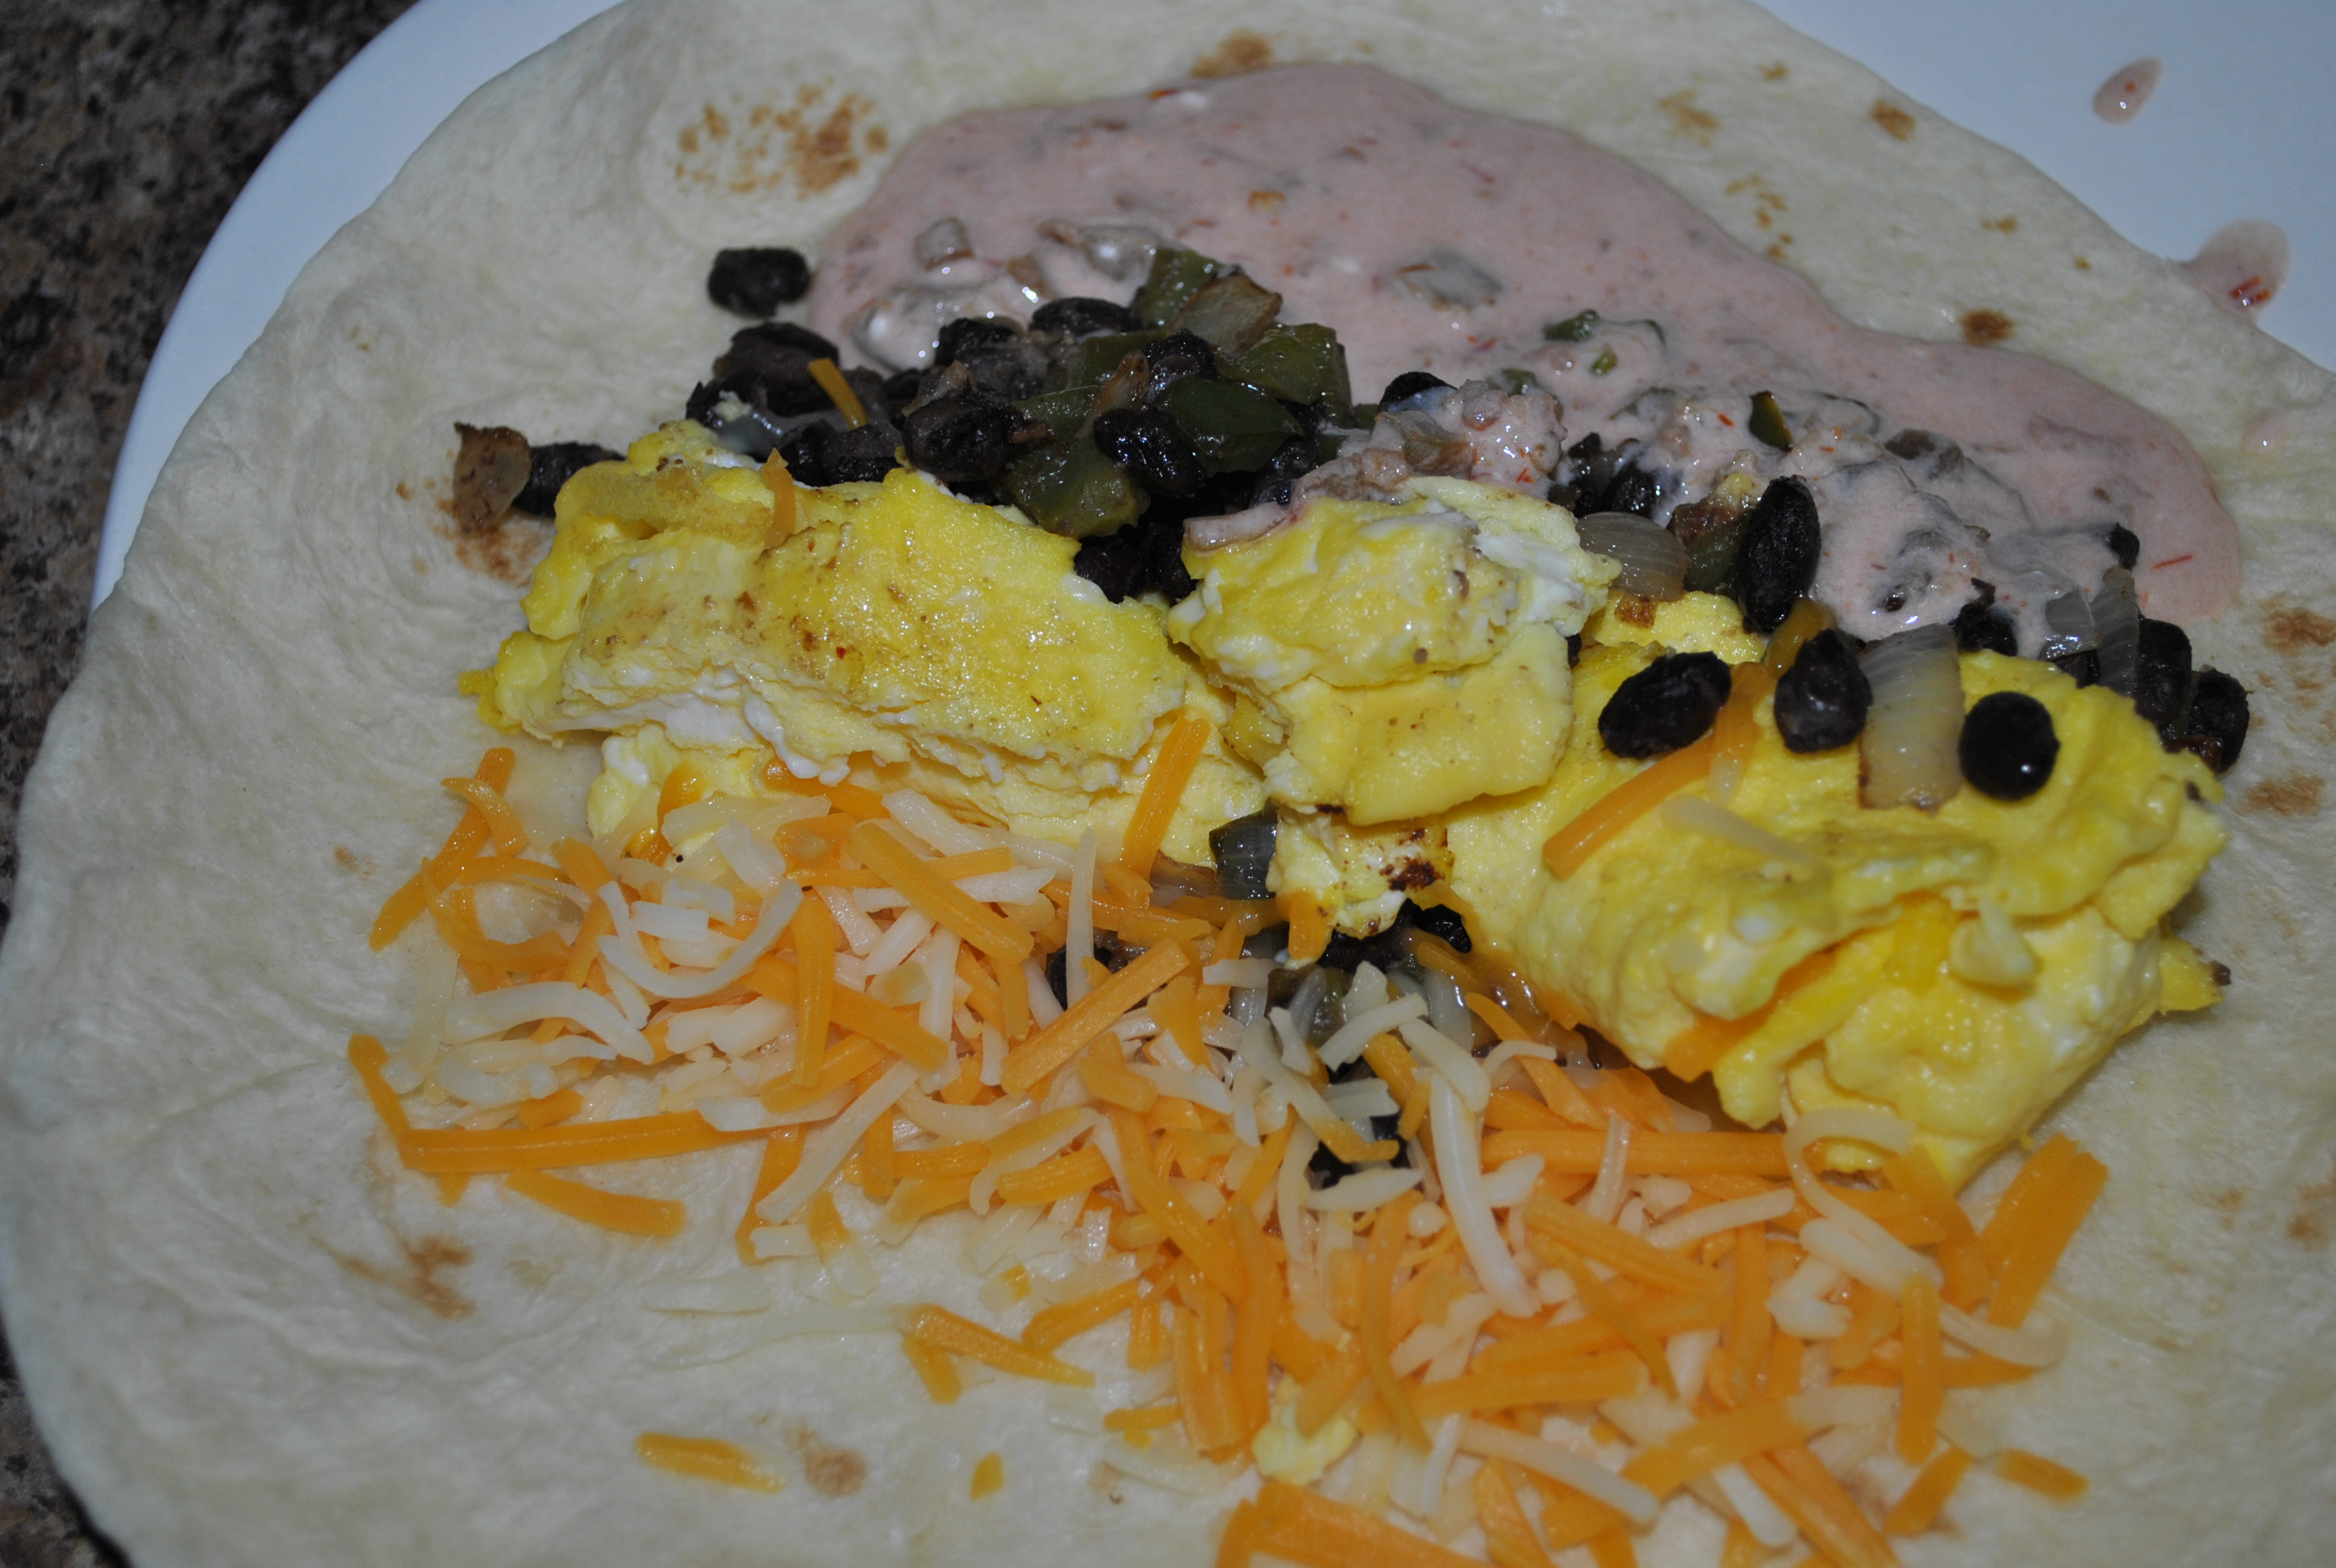
We topped our chili with cheese, sour cream (or plain Greek Yogurt) and some green onions. Healthy never tasted so good.

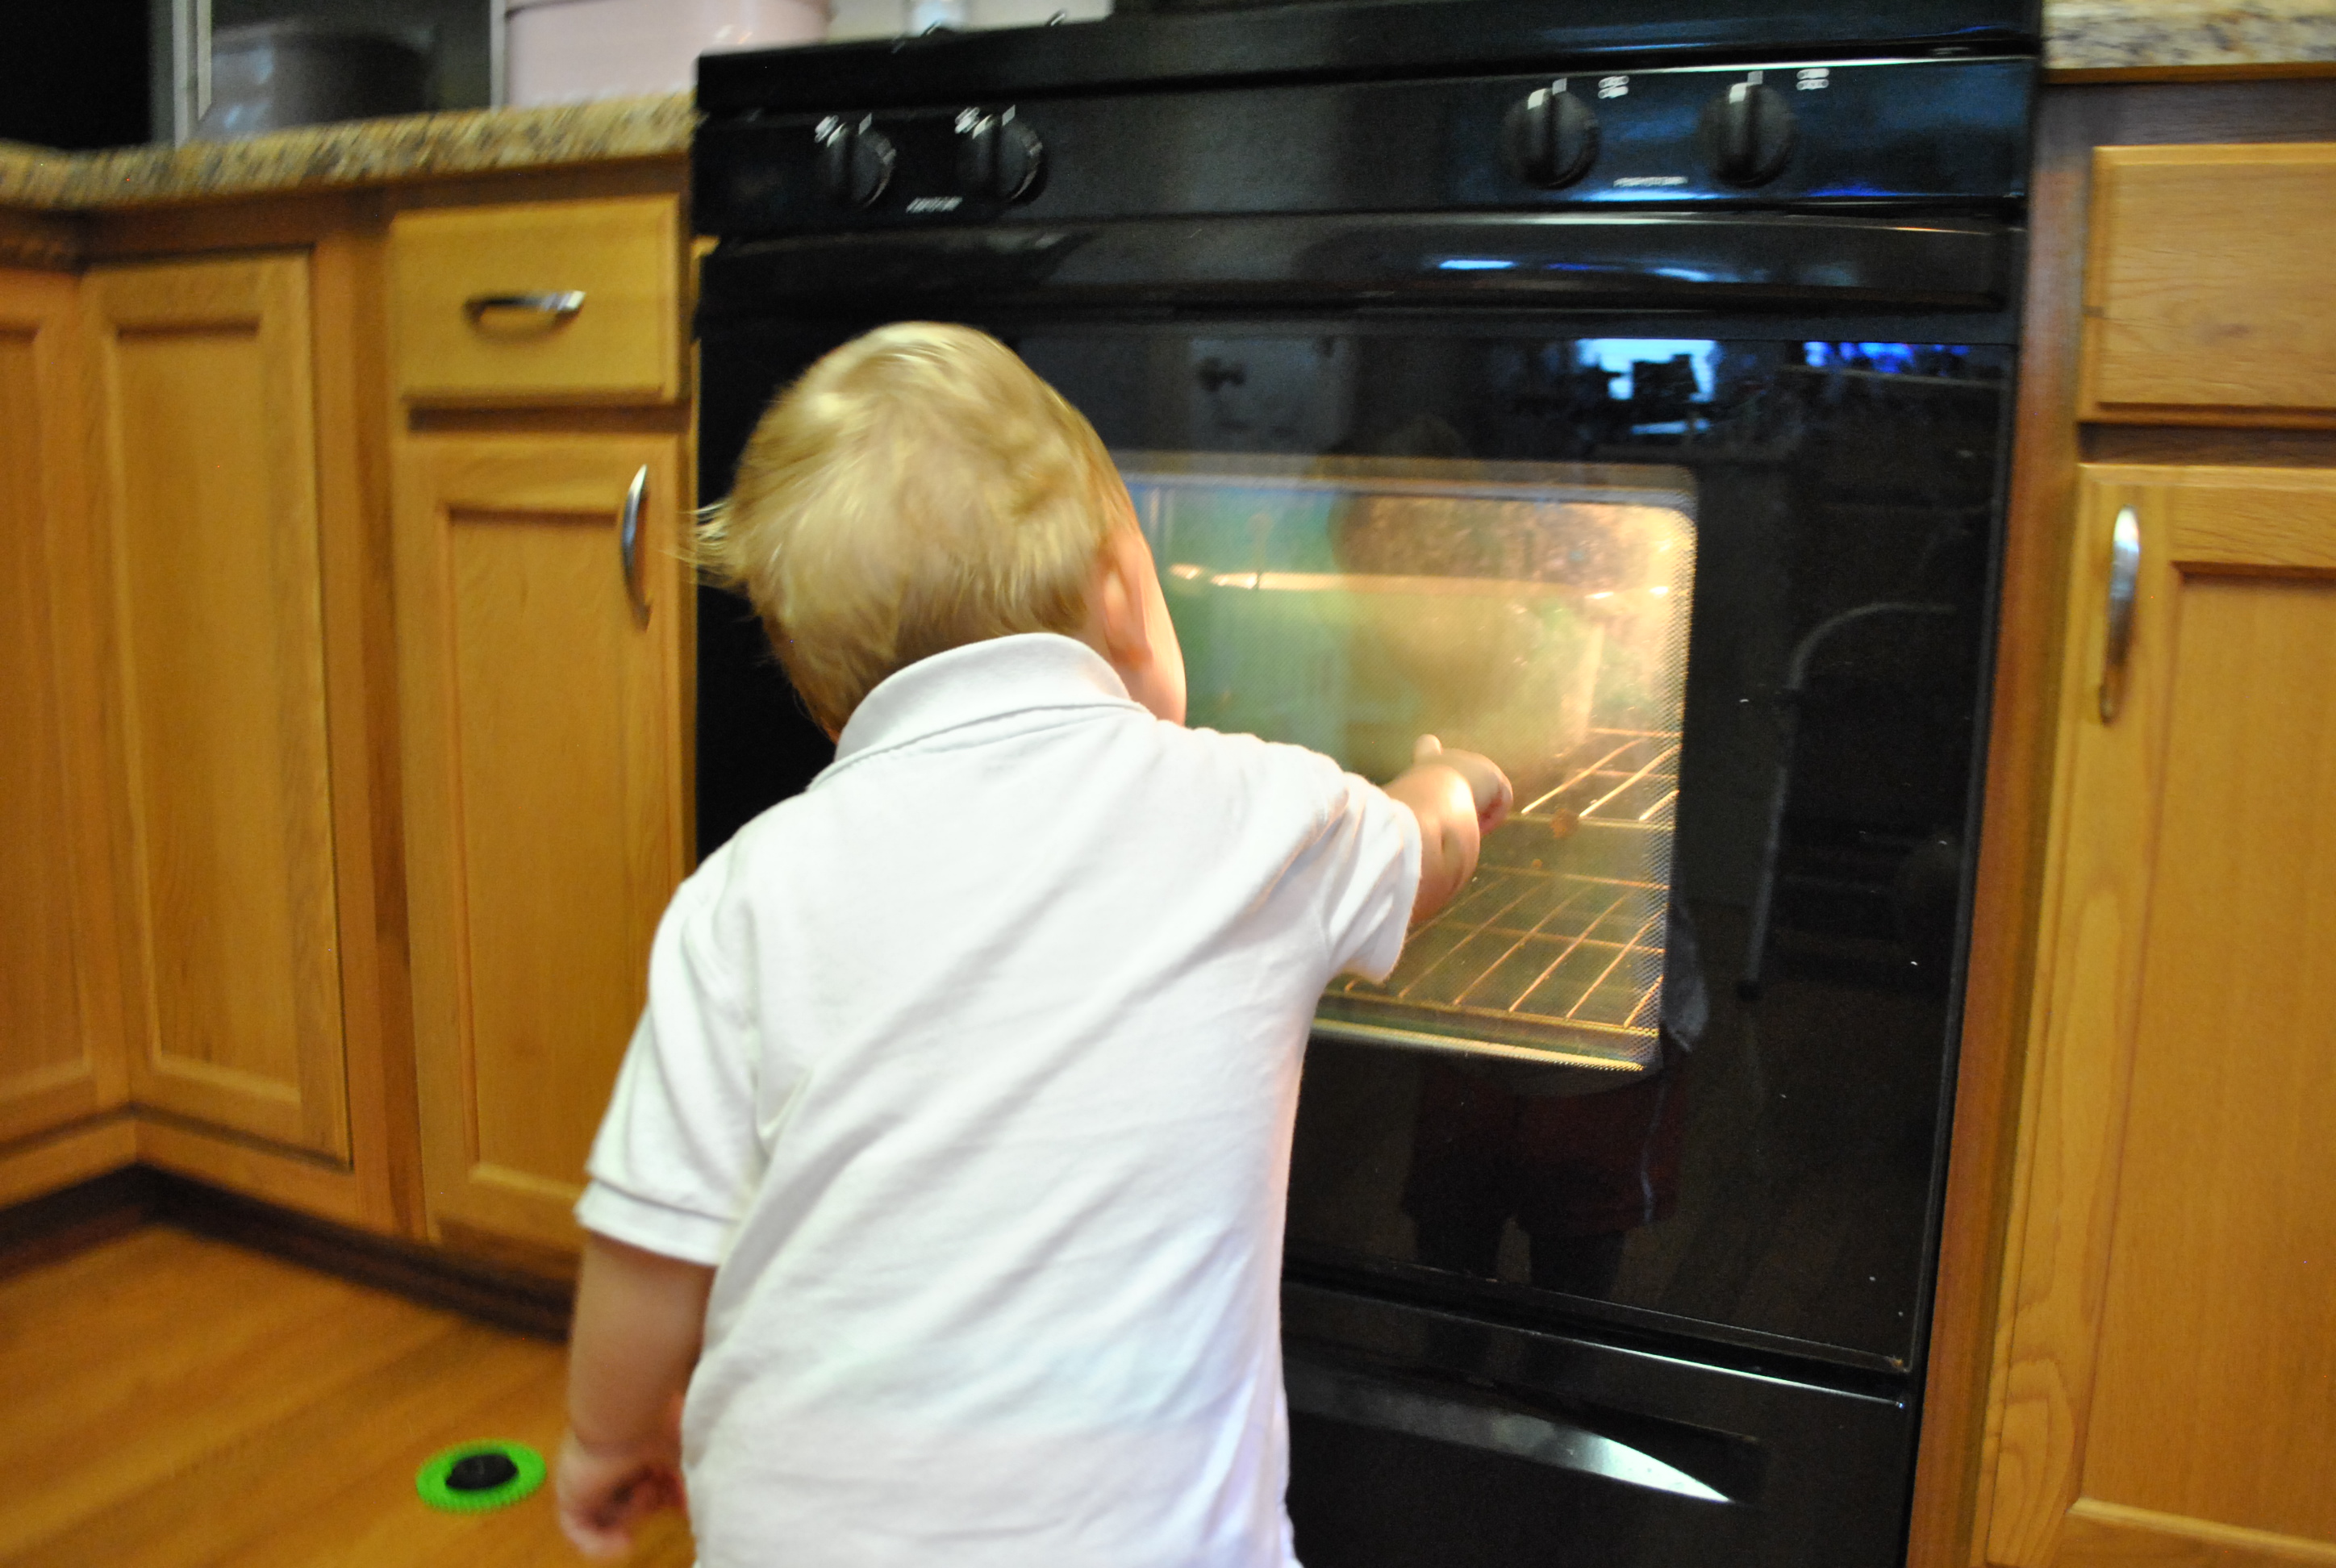
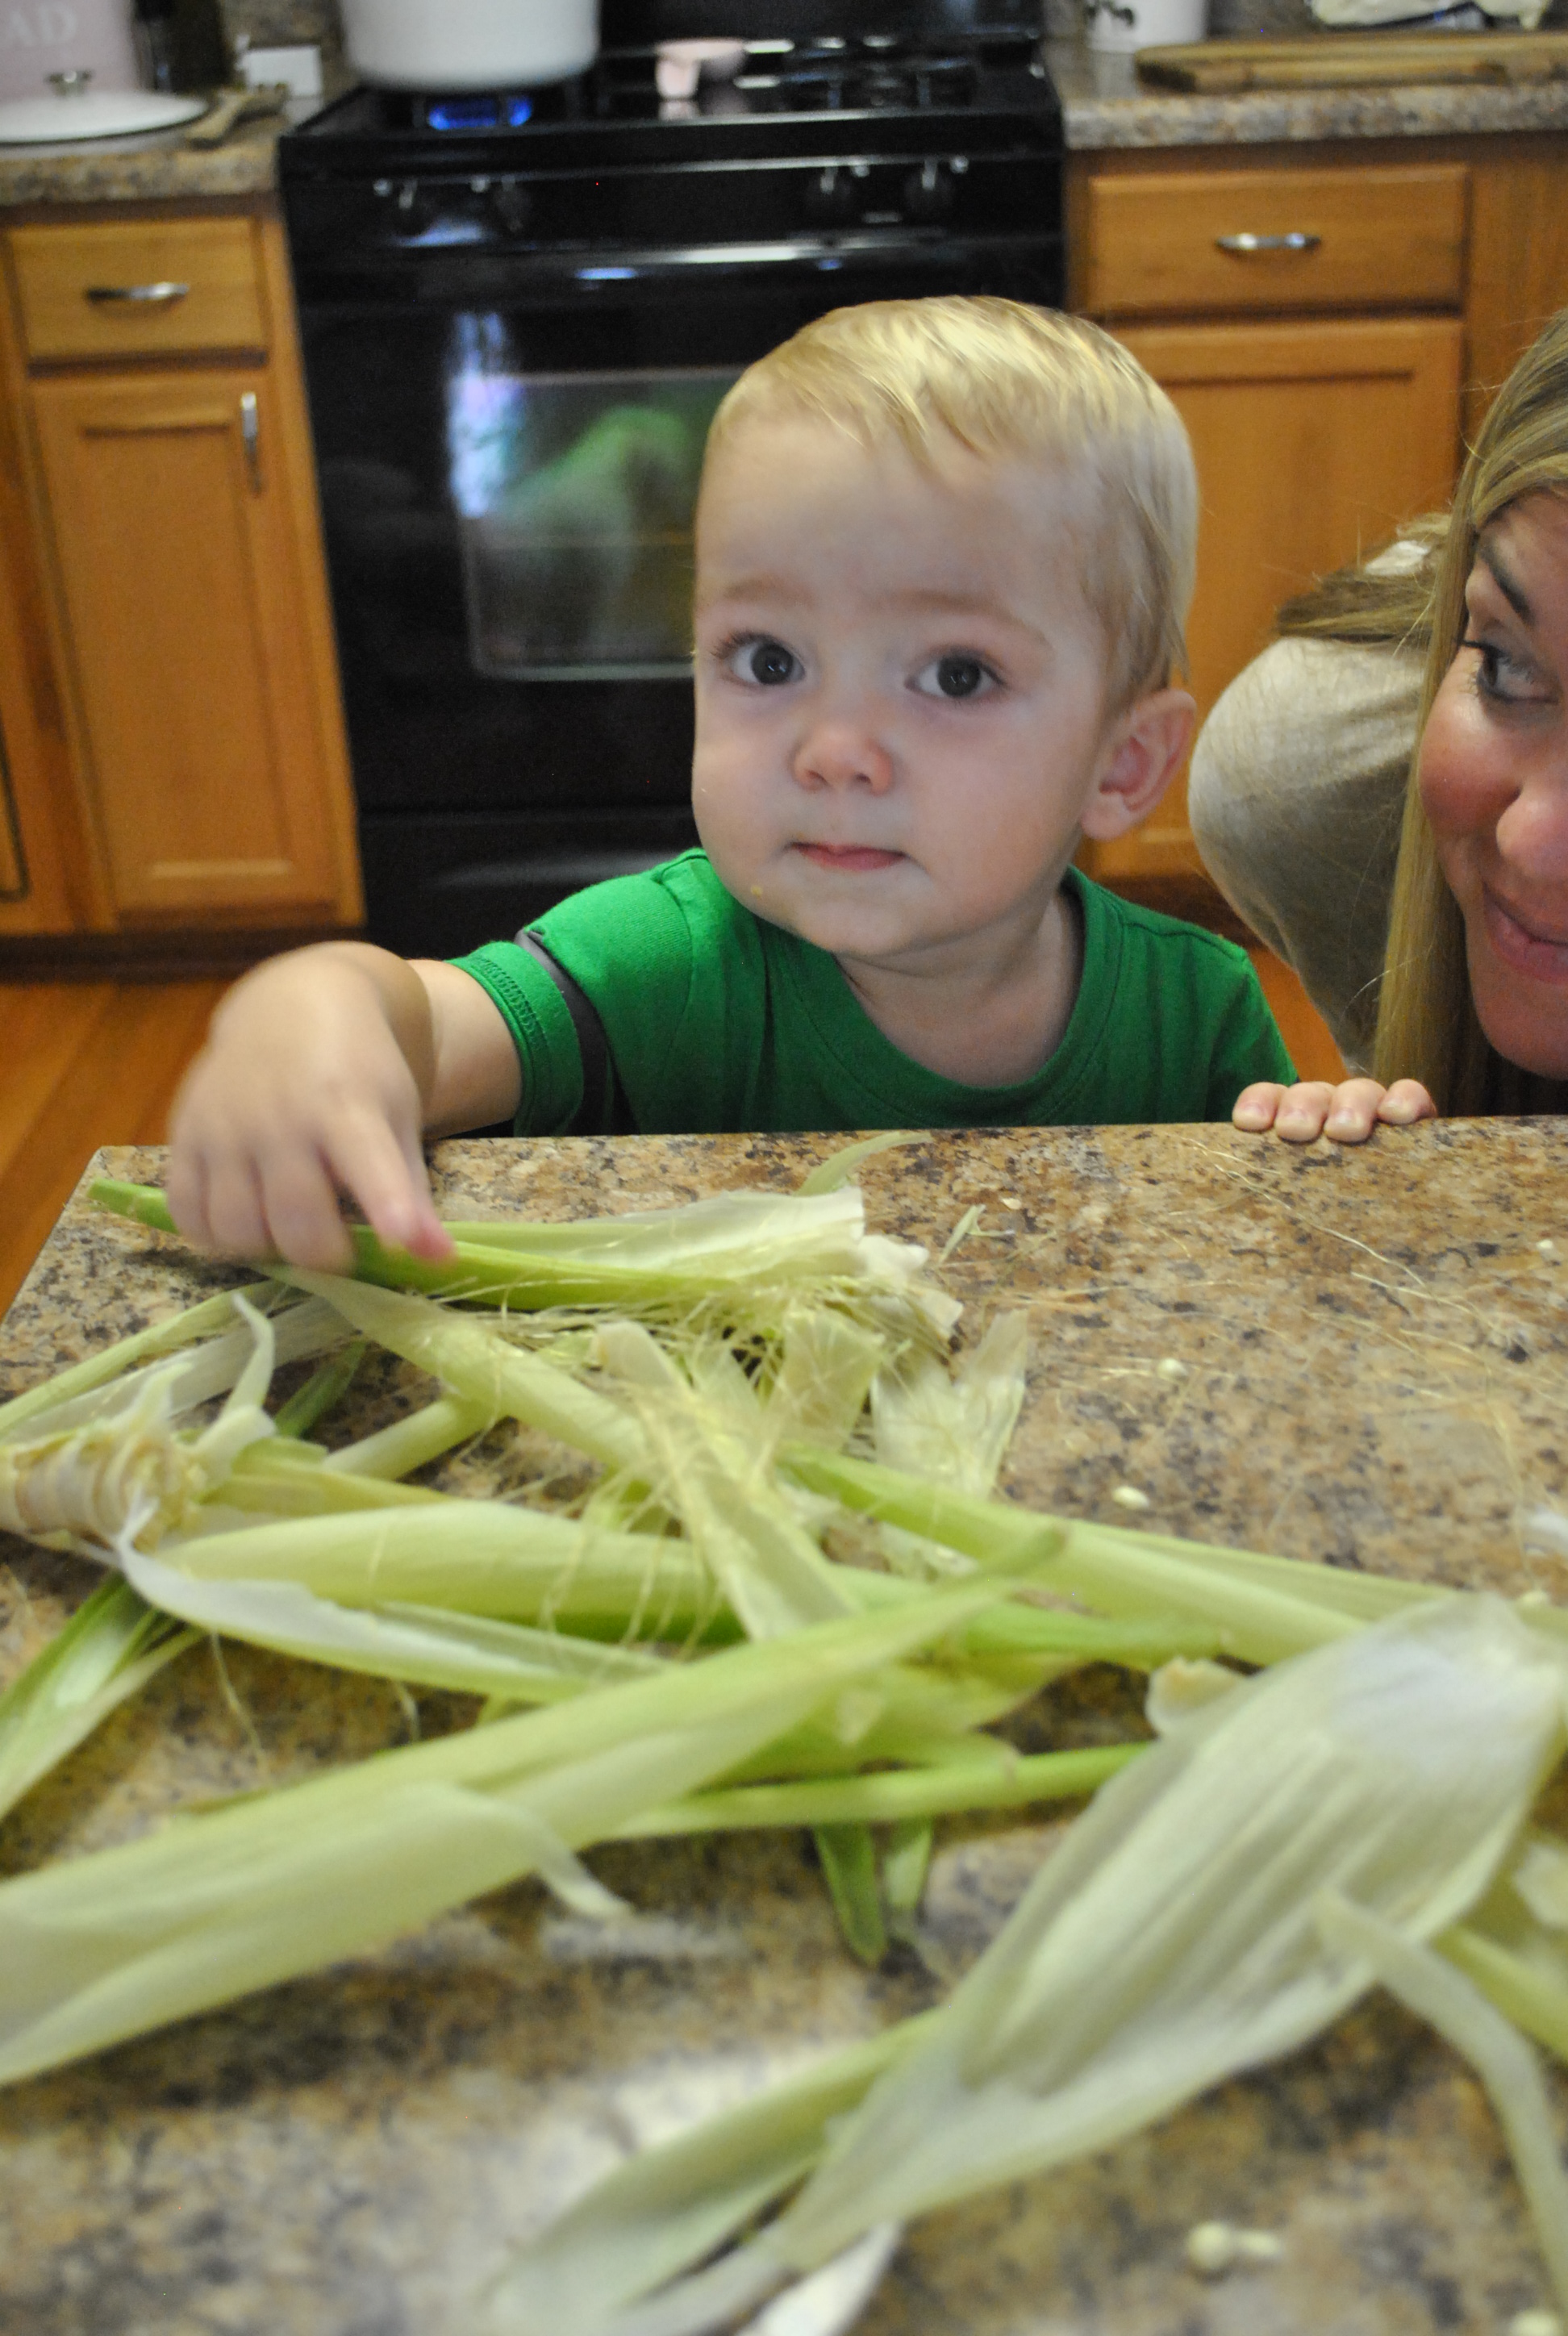
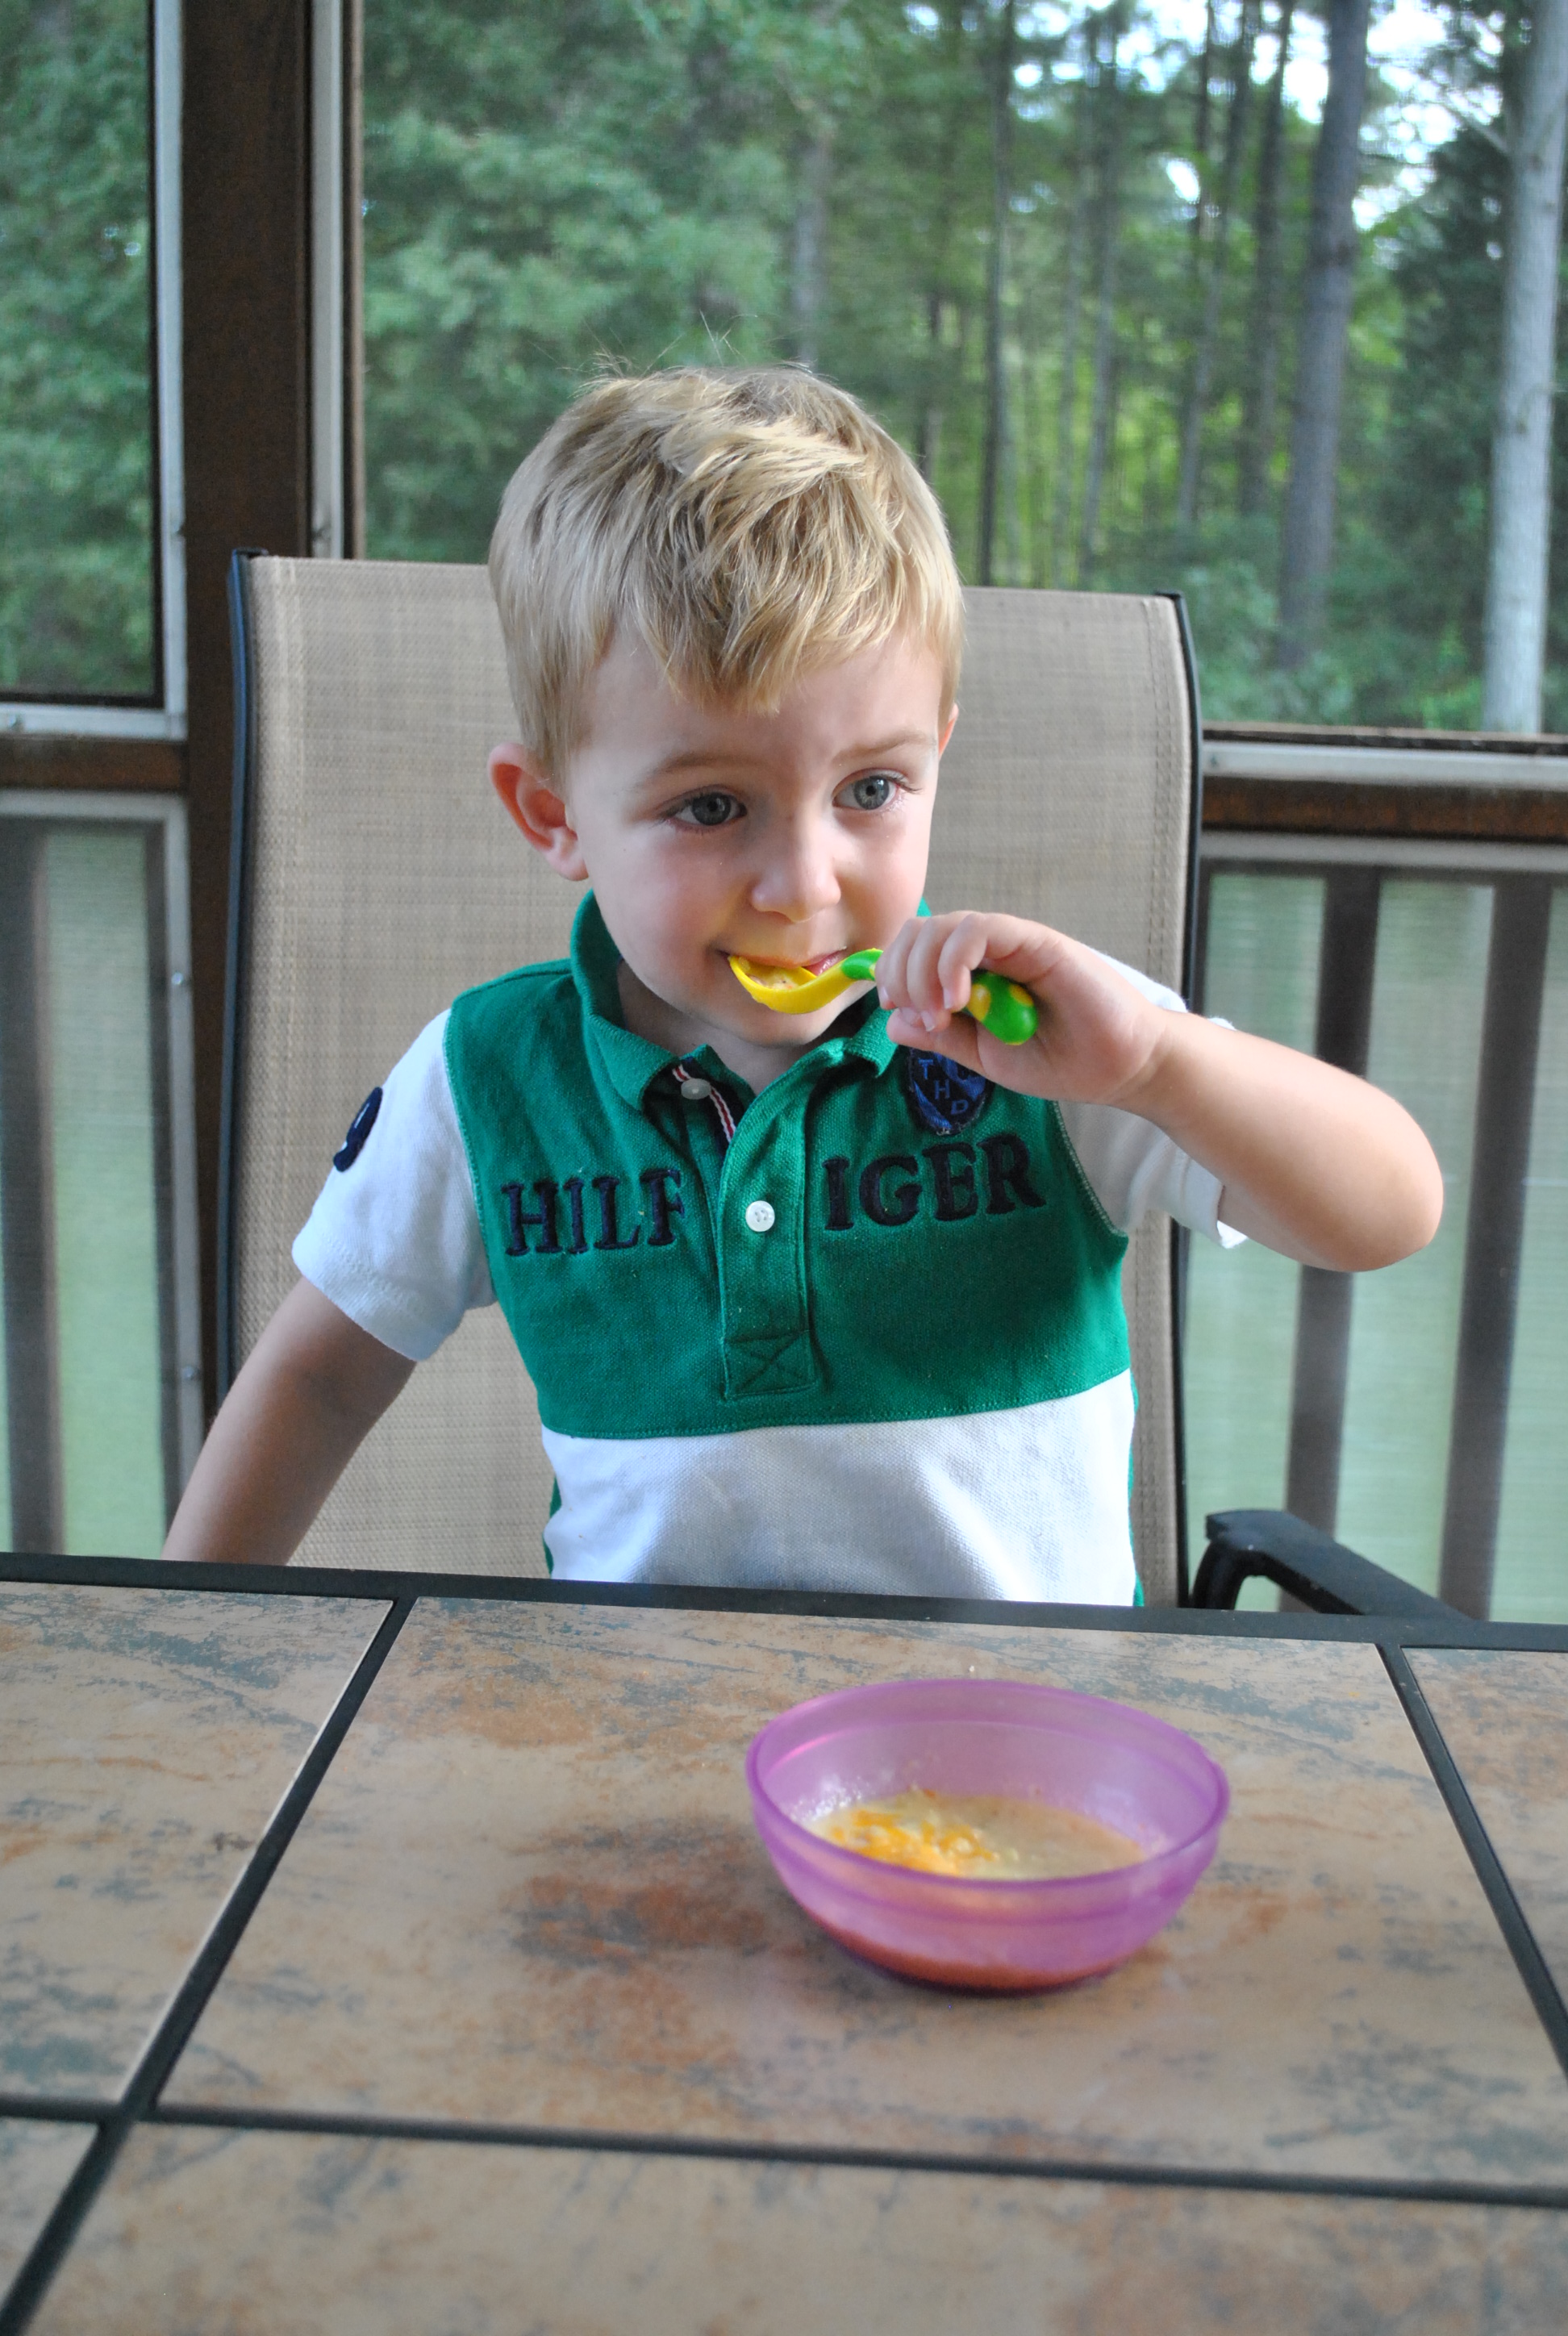
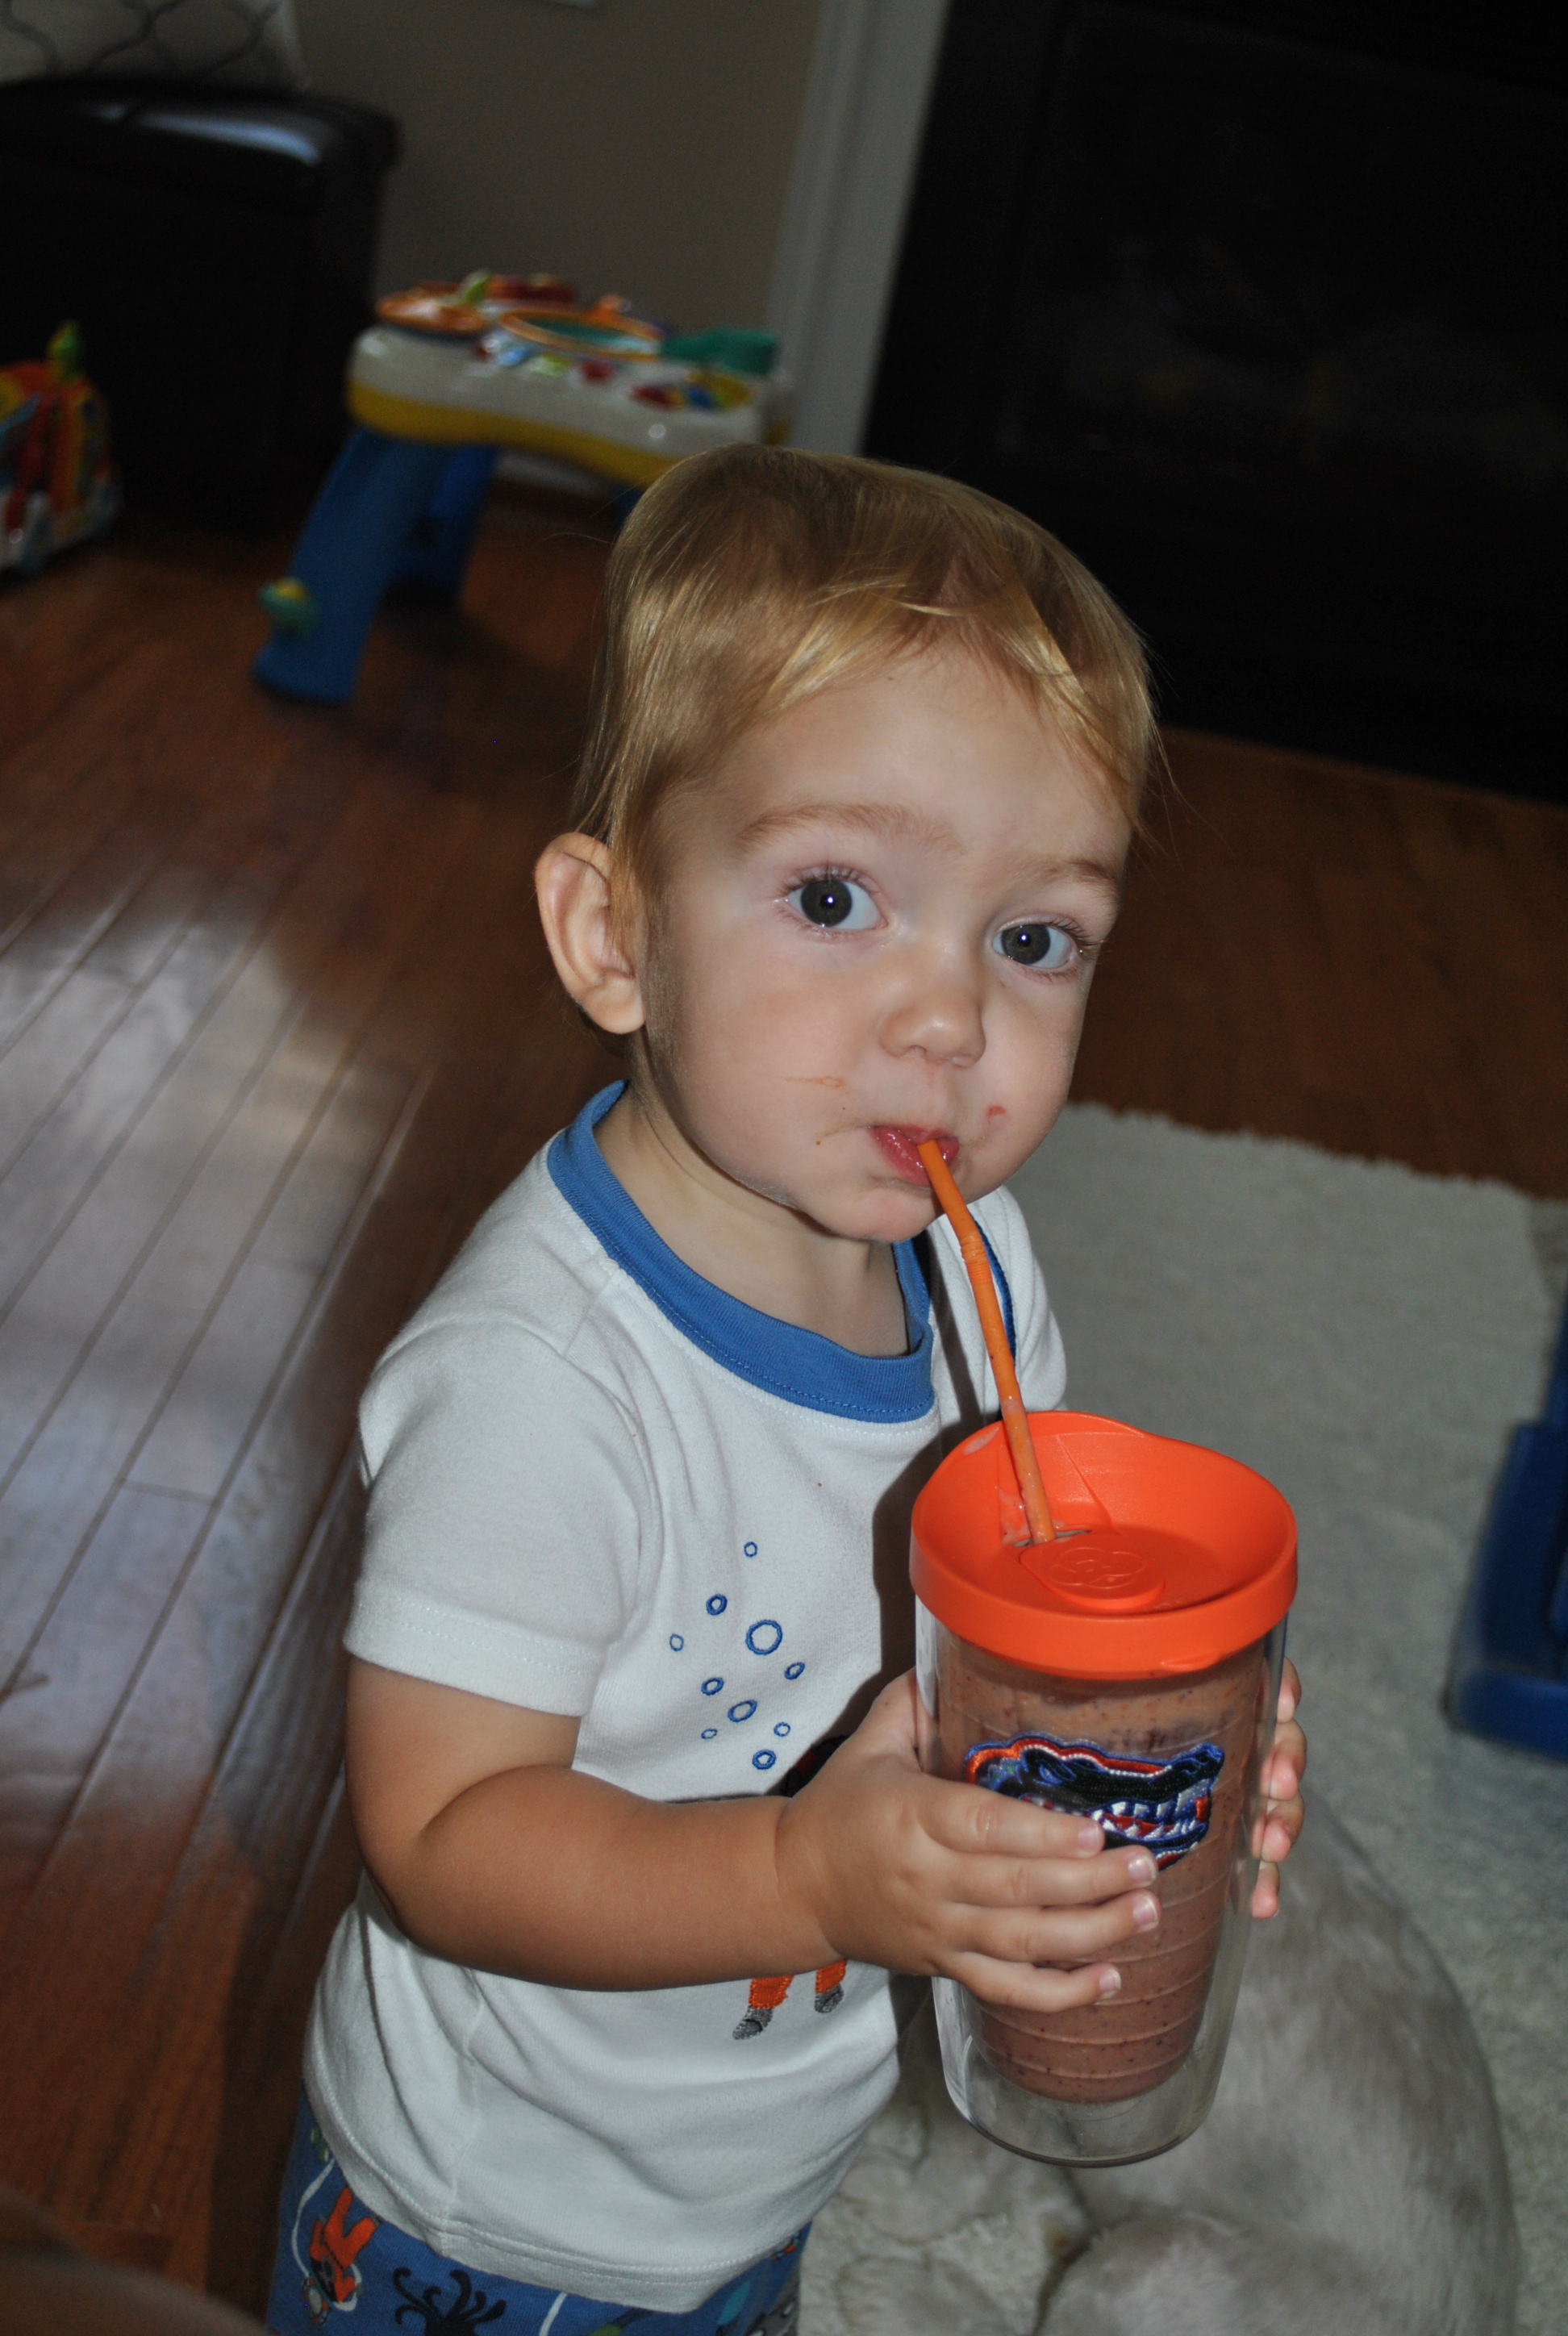
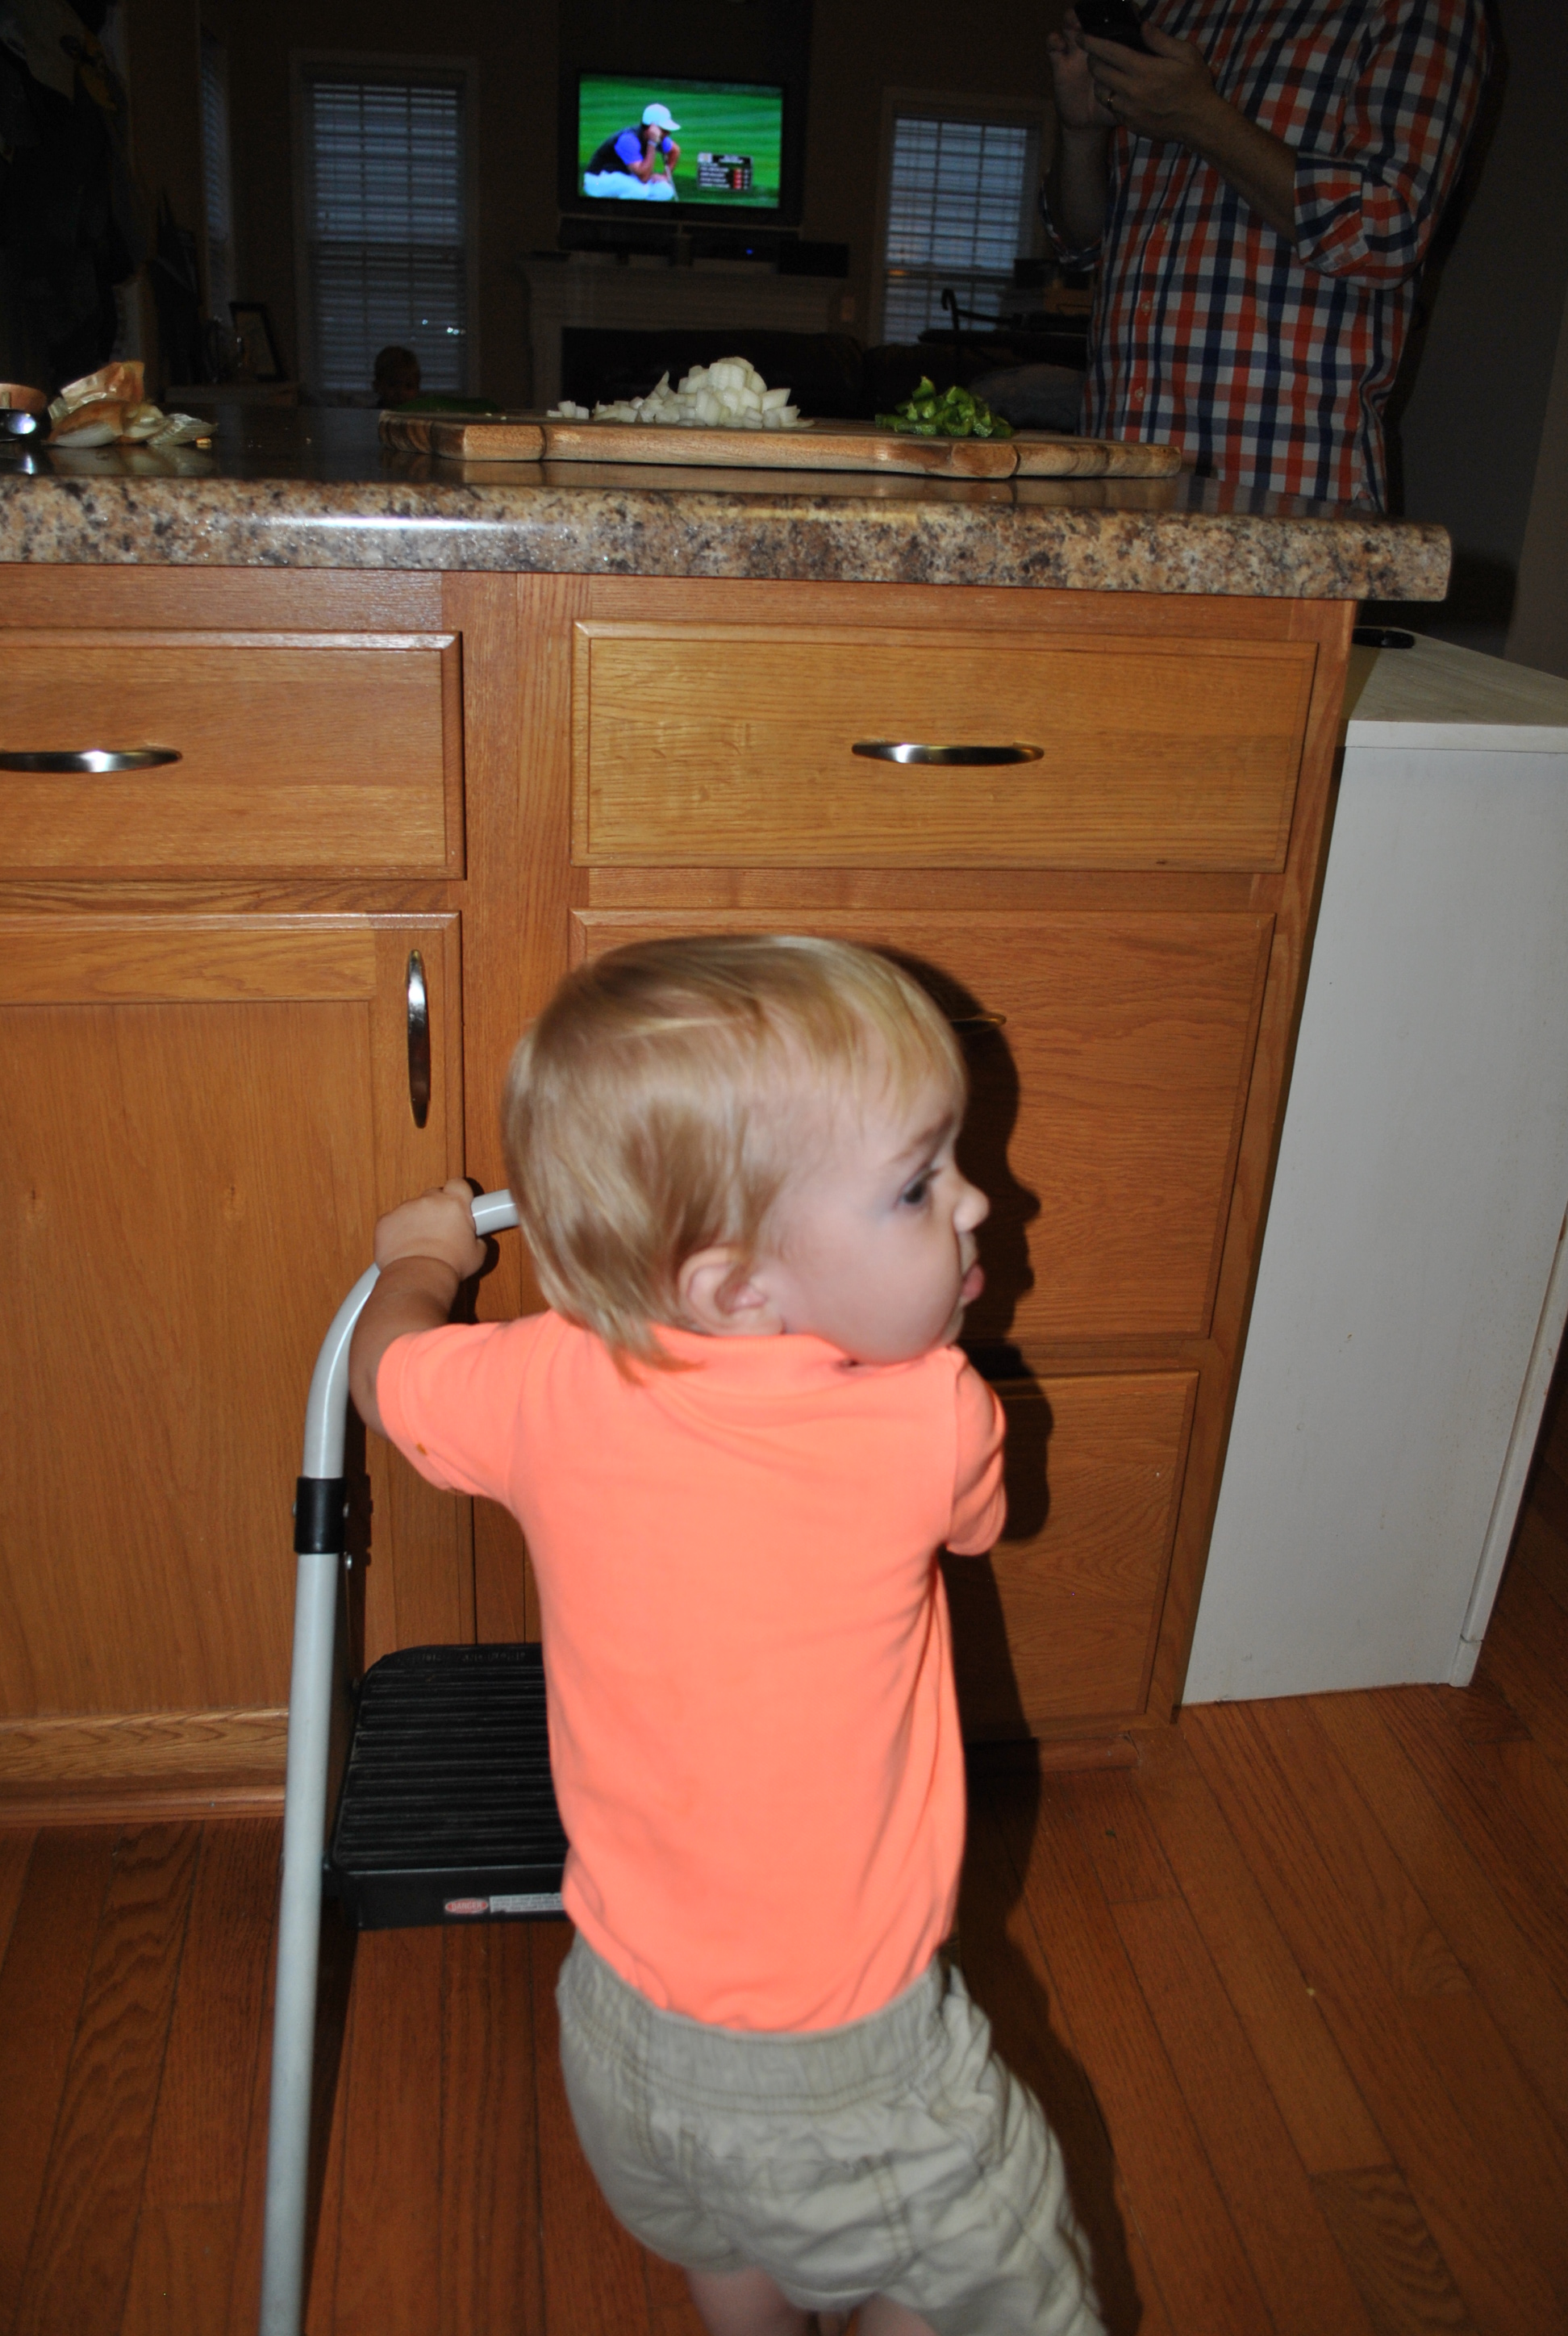
I should mention that while Brady did most of the cooking today, Nolan was WAY into the eating part. The boy just loves chili. Always has! Let’s not think about tomorrow’s diapers…

DSC_0715 DSC_0717

And the best part is…there’s leftovers for tomorrow’s lunch!

DSC_0708

DSC_0705

Football + Fall + Food= Freakin’ Fabulous!

Sweet Treats- Kids Cook Monday

So, it’s no secret that I have a sweet tooth. My favorite food is birthday cake. I get that that does not bode well for my health and waistline, but I come by it honestly. My whole family is full of dessert loving people. Nolan has been a sweets lover from the beginning, but Brady has always been my healthy eater. He’s always preferred a fruit smoothie to desserts.  So, in an effort to appease mine and Nolan’s sweet tooth, but not forgo Brady’s healthy ways, we tried a few new dessert recipes this weekend.

The first was inspired by our love of Rice Krispie treats. Traditional Rice Krispie Treats are full of rice cereal, butter, and marshmallows. Delicious, but no nutritional value. I decided to use that same rice cereal but combine it with bananas and some all natural peanut butter. We made them into bite size balls and stuck them in the freezer. The result was a sweet, gooey, moist, ball of peanut butter goodness. It took about 5 minutes to come together and a half hour in the freezer to set.

Choco-Peanut-Banana-Rice Balls

Ingredients

3 Cups Rice Cereal
3/4 Cup Peanut Butter
A squirt of honey
1 Tablespoon Cocoa Powder
1 Ripe Banana

DSC_0644

DSC_0647

All we did was throw the peanut butter, banana, and honey in a large pot and heat until melted. Once it was liquid-y we added the cocoa powder.

DSC_0648

We added the rice cereal and stirred it into the peanut butter mixture. We took it off the heat and let it cool for about a minute or two.

DSC_0651

Then we used our hands to roll the rice mixture into bite sized balls.

DSC_0655

We stuck the plate full of balls into the freezer for about a half hour to let them set. Then they were ready to eat!

DSC_0656

We kept these guys in the freezer so they were nice and cold when we wanted one. They never got super hard so they were always ready to eat. This batch lasted us less than a day.


Now on to dessert #2 of the weekend…

Since the weather has cooled off so much lately, I’ve really been in the mood to make something pumpkin flavored. I LOVE my Grandma Dot’s pumpkin bread recipe, but I’m saving that one for when I’m really ready to indulge. Today we tried a Chocolate Chip Pumpkin Muffin recipe I found on Pinterest that is low in added sugar and gets it’s sweetness from bananas and some protein from Greek Yogurt. I’m posting the link to the recipe, but note that we added about a 1/2 teaspoon salt (because I really think it enhances the flavor of baked goods) and half a teaspoon of ground cloves (it’s in my Grandma’s recipe and SO tasty with pumpkin.) These are so great for a breakfast on the go or a sweet treat in the evening. The kids loved this one and have a blast any time they get to help bake! 

DSC_0659  DSC_0662

Here’s the recipe…

http://www.thirtyhandmadedays.com/2014/09/chocolate-chip-pumpkin-muffins/

DSC_0661

‘Tis the season of Pumpkin!

Fiesta Mac-N-Cheese {Kids Cook Monday}

What’s better than mac-n-cheese? I pretty much love all kinds. Fancy versions with truffle butter, super cheesy ones at BBQ restaurants, and even the kind you make from a blue box. While I have no shame in stocking up on Annie’s Mac-N-Cheese when they go on sale at Harris Teeter for 10/$10, every once in a while it’s nice to make a big home made batch that you can eat leftovers of for days. This mac-n-cheese recipe is substantial enough to have as a main dish, and has a fun Mexican flair. Who doesn’t love flair in their mac-n-cheese?!

DSC_0638

Yummmm.


Fiesta Mac-N-Cheese

Ingredients

DSC_0610

I actually used 2 of those bags of cheese (just forgot it for the picture!)

1 lb. Elbow Macaroni
1/2 stick of butter
1/3 cup of flour
2 1/2 cup whole milk
4 cups of shredded cheese
1 can tomatoes with green chilies
1 can black beans
1/2 bag of frozen corn (or 1 can)
1/2 bag of spinach leaves
1/2 tsp. Chili Powder, Cumin, and Garlic Powder
Optional Toppings; Green Onion, Crushed Taco Chips, Sour cream

Here’s how this one went down…

DSC_0613

Begin by boiling the macaroni in a big pot. Cook until just tender. Don’t overcook it because it will cook a little more in the oven.

DSC_0612

Drain canned tomatoes. Rinse and drain can of beans.

DSC_0615

Begin to make cheese sauce by melting your butter in a big (oven safe) pot.

DSC_0616

Whisk flour into melted butter and cook on low for about a minute.

DSC_0617

Slowly stir milk into the flour/butter mixture. Cook on low and stir until smooth.

DSC_0619

Stir in your Cumin, Chili Powder and Garlic Powder along with a little Salt & Pepper.

DSC_0620

Stir in 3 Cups of your cheese into the sauce. (You save your fourth cup of cheese to top it with before it goes in the oven.)

DSC_0621

DSC_0623

Delicious Cheese Sauce!

DSC_0624

Now you add in the cooked macaroni, can of tomatoes, can of beans, corn, and half a bag of spinach.

DSC_0625 DSC_0626 DSC_0627

DSC_0628

Top everything with the remaining cup of cheese and put into a 350* oven and bake until bubbly and hot (about 15-20 minutes.)

DSC_0629

Patiently stare at it in the oven…

wpid-20140921_182600.jpg

Take a quick selfie!

DSC_0631

Put your party hat on. It’s FIESTA Mac-n-Cheese afterall!

DSC_0635

The finished product! This recipe makes a boat load. I put a couple containers in the freezer to have for quick, easy meals when Chris is out of town.

DSC_0639

I’m loving that I have tons of leftovers of this meal. I also love that you could really throw in whatever veggies you have on hand and it would still be delicious!

DSC_0640

A kid friendly meal that is full of protein, fiber, and cheesy goodness.


End of Summer Corn Chowder- Kids Cook Monday


Here in North Carolina we’ve had a little Fall tease. Highs in the 70’s, windows open, and it. is. awesome. Brady and I made the most amazing corn chowder and it was the perfect cool September evening meal. This chowder uses up lots of fresh corn which is still super cheap at the grocery store and readily available at the Farmer’s Market, but is rich and filling and warms ya right up! This meal was just the right balance of Summer meets Fall.

14

I mean, seriously.

This is my favorite kind of meal to make. Lots of chopping (for some reason I love to chop!), easy jobs for the kiddo’s to get involved in (lots of shucking!), and it all cooks in one big pot.

2

I use this thing every chance I get! Best birthday present (that I bought myself) ever. I named her Ina. #dork

End of Summer Corn Chowder

1

Ingredients

5 Ears of Corn
6 Red Potatoes
2 cloves of Garlic
1 onion
1 carrot
3 stalks of celery
1 box of Vegetable Broth
1/4 cup Heavy Cream
Salt & Pepper
About 1//2 teaspoon Cumin

Toppings:
Chopped Green Onion
Cheddar Cheese

3

Chop the onion, celery, carrot, and garlic.

4

Sautee the veggies in olive oil until just tender. Season with salt, pepper, and cumin.


5 6 7

9

Get your helpers to shuck the ears of corn and cut it off the cob.


8

Wash and chop the potatoes into bite size-ish pieces. No need to peel.

10

Add entire box of broth to the onion mixture, bring to a boil. Add potatoes and cook until tender (about 15 minutes.) Add corn and cook another 5 minutes.

11

Reduce heat. Once potatoes and corn are tender, use an immersion blender to smooth the soup out a bit. (Fun tool for kids to use!) We did it just a little bit because I liked some pieces to be a bit chunky. You could also transfer it to a blender if you don’t have an immersion blender.

12

Love this part- stir in the cream. Yum!

13

Give everything a couple minutes to simmer on low and then you’re good to go!

16

Top the soup with cheese and green onions and serve with something warm and bread-ish.

17

Brady enjoying the “fruits of his labor.”

15

Good bye Summer, hello Fall, in a bowl!


Veggie Egg Muffins- Kids Cook Monday

Every once in a while, we get Chris home on a Monday morning with us while he’s working from the house. We take those opportunities to do our “Kids Cook Monday” meals in the mornings and have a big breakfast as a family sitting at the table. Of course, I’m always a fan of “Breakfast for Dinner”, but this time around we did “Breakfast for Breakfast.” What a concept!

DSC_0269

I recently found these new biscuits that were marketed as “Junior” size. Chris jokes that I’m the exact target that marketing teams salivate over, because I will literally buy anything that looks new or shiny. These biscuits looked new and shiny so I went for them. They are just a cuter little version of the normal Grands biscuits- and they were perfect for stuffing into a muffin pan and making the perfect 3 bite, portable breakfast.

DSC_0252

Veggie Breakfast Muffins

Ingredients
6-8 eggs
About 1/4 cup milk
A dash of Salt and Pepper
1-2 cups of shredded cheddar cheese
1 can of biscuits (I used Junior Size)
A couple handfuls of chopped veggies (whatever kind you like!)


Here’s how these little cheesy, eggy bites came together…

DSC_0253

Grease a muffin pan with a non-stick spray. Pull apart your biscuits into two halves. (One half a biscuit goes into each muffin)

DSC_0254

Press each half biscuit into the muffin tin. (You’ll have leftover biscuits to make another tray or just bake them up on their own.)

DSC_0255

Whisk your eggs, milk, salt and pepper and then pour the egg mixture onto the biscuits. Your biscuits might float a little in the eggs, but that’s OK!

DSC_0251

Get your favorite veggies prepped and ready.

DSC_0256

Throw your veggies onto your egg mixture.

DSC_0257

Top with cheese. Yummm….

DSC_0259

Bake in the oven at 350* for about 13-18 minutes (until the eggs have set and aren’t wiggly.)

DSC_0260

Nolan loves being in the kitchen. This was him watching the biscuits saying “hot, hot, hot!”

DSC_0262

Fresh out of the oven!


DSC_0263

DSC_0270

Everything you need- protein, veggies, all mixed up with a cheesy squishy biscuit!

DSC_0277 DSC_0279


Our meal times are not fancy. In fact they’re usually quite loud and chaotic, but anytime we’re together in the kitchen and eating as a family, it’s all good!

DSC_0267

Breakfast To Go {Oatmeal Smoothies} – Kids Cook Monday

We have been on such a smoothie kick here in the Smith household! It’s such a fun way to use up all that fruit that’s so ripe at the market these days. Plus, it’s an easy way to get the kiddos in the kitchen helping out with some of the “cooking.” Brady has been in love with smoothies for a while now, but recently Nolan has become addicted.  He takes them very seriously.

With back to school (pre-school for Brady) just around the corner, I wanted to try out an Oatmeal Smoothie recipe because it seemed like the perfect quick breakfast that can be taken in the car…for those days that we’re running late! This recipe is full of oats, fruit, and protein packed yogurt and skim milk. I can’t think of a better way to start the day!


Ingredients:

About a cup of chopped peaches (or whatever juicy fruit you have on hand)
About a cup of frozen berries (I had blueberries and strawberries on hand)
1 ripe banana
1 cup of milk
1 small container of Greek Yogurt (I used Blueberry flavored)
1 cup of ice
1/2 a cup of rolled oats (do not cook)


All you have to do is throw everything in the blender and blend until it’s smooth. This made enough for about 2 good portions. The oats give it a very thick consistency and make you feel so satisfied!

DSC_0141

Smoothie ingredients (plus a little ice!) I love having frozen fruit on hand. Whenever I realize I’m not going to be able to finish up my fresh fruit, I throw it in the freezer for smoothies!

DSC_0143

Nolan’s face while the blender is on. He HATES it!

DSC_0152

Yummy breakfast to go!


DSC_0162

And all is right with the world again.


Quinoa Salad with Peanut Lime Dressing- Kids Cook Monday

The Smiths are just now venturing into the world of quinoa. Here’s what I’ve learned about this ultra healthy pseudo-grain. It’s great- when doctored up with lots of other flavors. So, that’s what we did this week! I recently found a recipe for a Thai Quinoa Salad. This inspired me to make a similar version with Brady. It has lots of veggies and the dressing has peanut butter in it! Which, admittedly sounds a little odd to me, but actually is quite tasty. There’s a lot of ingredients, but not a lot of work that goes into this salad. It’s colorful and crunchy and Brady described it as, “Yummy! Delicious!” (Future food critic, for sure.)

2

Perfect as a side dish (you can leave it outside at a BBQ without fear of going bad!) or as a salad on it’s own. Tons of protein and good for you stuff!

Ingredients:

Quinoa (about 3/4 cup)

Salad ingredients:
One red pepper (diced)
1/2 a cup chopped green onion
1/2 a cup chopped cilantro
2-3 cups of cole slaw mix with carrots
About a 1/3 of a red onion, diced (optional, I may leave it out next time!)
1/2 a cup of chopped cashews (I used lightly salted)

4

Quinoa and salad fixins.

Dressing ingredients:
1/2 a cup smooth peanut butter
3 tablespoons soy sauce
juice of one lime
1 Tbs. Sesame oil (optional, just a fun flavor!)
1 Tbs. olive oil
1 Tbs. red wine vinegar
1 Tbs. honey

6

Peanut Lime Dressing ingredients. Melt the honey and peanut butter for about 20 seconds in your microwave before whisking all the other ingredients in with it.


8

First we cooked up our quinoa according to package directions. Once all the liquid was absorbed, we put it in a bowl and let it chill in the fridge for about 10 minutes to cool off.


5

Then, have your kid clean up all the quinoa you spilled all over the floor…


7

While the quinoa was cooking, we chopped up our veggies. I would most definitely use less red onion next time. Or leave it out altogether!


9

While the quinoa is cooling in the fridge, start the dressing by microwaving the peanut butter and honey together. Let you kid (or husband) lick the spoon.


10

Whisk all the dressing ingredients into the melted peanut butter/honey. Taste for seasoning or consistency. You want it smooth, thick, but pourable.


11

Here’s what our dressing looked like. Yum!


12

Toss the veggies, cole slaw, cooled quinoa and sauce together in a big bowl.


1

Ta-Da!


3

May he always be this adventurous of an eater!


Veggie Breakfast Burritos- Kids Cook Monday

It’s time for my favorite foods to come together…Breakfast for Dinner + Mexican= YUM! And the fact that this meal gets my kids to eat a protein packed meal WITH veggies is a total bonus! This meal is not very difficult to make because it’s mostly just assembling all the parts. Here’s how it went down!


DSC_0181

Scramble up about a half dozen eggs. I always make mine with a little milk, salt and pepper, and some American cheese melted in.

DSC_0189

Chop up one green pepper, a clove of garlic, and one onion. Look at my lil’ helper snagging some peppers to munch on!


DSC_0182

Rinse and drain one can of black beans.

DSC_0195

Sautee the onion, pepper, garlic mixture in a little olive oil until just tender.

DSC_0196

Add the beans to the onion mixture and season liberally with salt, pepper, cumin, and a little bit of chili powder. Cook until the beans soften and are nice and hot.

DSC_0175

We made a little sauce to add to our burritos. It was just half plain Greek yogurt, half jarred salsa, with a little bit of chopped cilantro.


DSC_0191

Meanwhile, make sure your other little chef is not getting into trouble behind you!


DSC_0198

Fill a large tortilla with your scrambled eggs, bean and veggie mixture, shredded cheddar cheese, and salsa/yogurt sauce. Optional toppings could be avocado, jalapenos, or tomatoes.


DSC_0201

Wrap up all the goodies and enjoy!


This meal easily fed our family of 4, but if we make it again (which we definitely will!) we’ll probably make a double batch and freeze a couple for easy breakfasts during the week. I hope you and your kiddos give this meal a try. With all the fun ingredients to munch on during the cooking process, your kids are sure to love it!

One Pot Garden Pasta- Kids Cook Monday

Recently I’ve been intrigued by some “One Pot Pasta” recipes I’ve seen on Pinterest. I couldn’t imagine they’d really taste as good as promised, but I had to give it a try to see for myself. (Mostly because I will use any excuse cook with my new Le Creuset Dutch Oven!) And of course, I couldn’t just follow a recipe exactly so I used what ingredients I had on hand to make it different. Our next door neighbor just gave us a BUNCH of yellow squash from his garden, so I knew I would be using some of those bad boys in this pasta!

The basic idea of this pasta is that everything (water included) goes in the pot all at once. You bring all the ingredients to a boil, then take it down to a simmer for about 15 minutes. The water is absorbed by the pasta, along with all the yummy flavors of the herbs, veggies and seasonings. Once all the liquid is gone, the pasta is cooked and you toss it with a little cream and Parmesan Cheese, and…its…DELICIOUS! Who knew?!

1

Everyone goes in the (beautiful, awesome, lovely, new) pot before boiling.


One Pot Garden Pasta

*I made my recipe a little smaller than other versions I’ve seen online- enough to serve 3 if it’s your meal (maybe 5 servings if it’s served as a side dish.)

Ingredients

1/2 pound thin spaghetti

2 cups of water

1/2 pint of mushrooms (sliced)

1 (big) yellow squash

1 cup of corn (frozen or fresh)

1 clove of garlic (chopped)

2 sprigs of thyme

Salt and pepper to taste

About 1/4 cup heavy cream

About 1/2 cup Parmesan Cheese

Put all ingredients (except cream and cheese) in a big pot or Dutch Oven and bring to a boil. Reduce heat to low and let cook about 15 minutes, or until the pasta is cooked and the water is all absorbed. Then, add cream and cheese and toss until the pasta is coated. (Add additional salt or pepper to taste.)

And it’s seriously that easy. But best of all, we got to use Brady’s thyme from the herb garden that he’s been helping me water every day and a home grown squash. Brady was quite the helper today. We were working on learning to cut the vegetables and he took the job so seriously. There was a whole lot of ownership over this meal!

3 4 wpid-20140630_114216.jpg wpid-20140630_114325.jpg      5


This meal was yummy, veggie packed, kid friendly, and too easy not to try!

2

Blueberry Greek Yogurt Muffins {Moo Muffins} – KCM

We went with a comfort food dessert for Kids Cook Monday this week. After a weekend full of potty training, we felt (gross, disgusting, frustrated) like we deserved a little treat! Brady has made great strides since embarking on his diaper free journey, thanks to his ultimate motivator- TV! That means we’ve watched lots of Mickey Mouse Clubhouse over the past couple days and got some inspiration for our recipe this week. Toddler parents; perhaps you’re familiar with Clarabell’s Moo Muffins? We decided to make our own Moo Muffins with the abundance of Blueberries that are in season right now.

DSC_0614

I love searching Pinterest for different recipes and then tweaking them to make my own creations. Several of the muffin recipes I’ve come across involve Greek Yogurt (yum!) and lemon (double yum!!) and I really wanted to give those a try. We were sure Clarabell would approve! Here’s what we came up with.

Blueberry Greek Yogurt Muffins

Ingredients

3 Cups Flour
1 tsp. baking powder
1/2 tsp. baking soda
1/2 tsp. salt
1 cup vegetable oil
1 & 1/2 Cup sugar
2 eggs
1 container Greek Yogurt (we used Blueberry, Lemon would be tasty too!)
Juice of 1 lemon
1 pint of fresh blueberries

Pre-heat oven to 350* and prepare a muffin pan with liners. Combine dry ingredients (flour, baking powder, soda, and salt) in a bowl. In another bowl, use an electric mixer to combine oil, sugar, eggs, yogurt, and lemon juice. Slowly add dry ingredients into wet and mix on low. Last, fold blueberries into batter. Bake muffins for approximately 20 minutes (or until golden brown and toothpick comes out clean.)

DSC_0619

Brady really got into baking and it was a nice break from potty training and TV watching; however, littlest man was much more into eating the muffins than B.

DSC_0635

These muffins were a great mix of sweet and tart and we will definitely be making them again!

DSC_0638